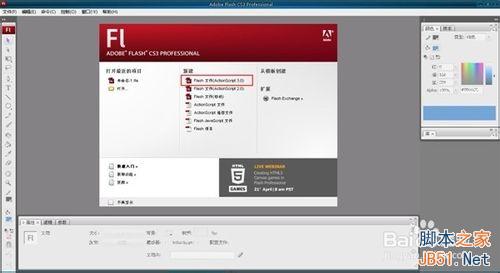
打开flash软件,如图我们选折新建项第一个:flash文件(Actionscript 3.0)。
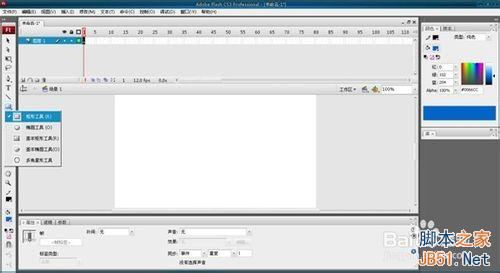
新建完成后,我们就要开始做gif的图片了,首先我们需要一张图片,我拿等边5边型做例子做图,选择左边工具栏选择矩形工具,注意要一直按着左键才会出现右边的工具栏,出现右工具栏后我们选择多角星形工具。
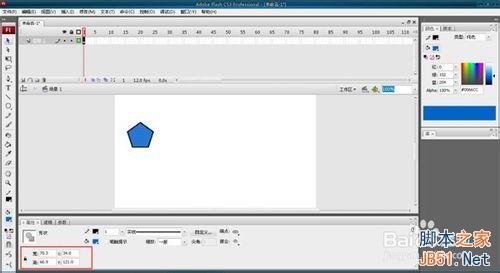
我们选择在图层1的第一帧,有数字的行列上的单位都为帧,我们的场景上画一个5角星形,然后选择左边栏的选择工具,选中整个图形,这步我们最需要注意必须要选择左边栏的选择工具,不然图形无法选中,因为我们之前选择的是多边星形工具,所以不选择选择工具,我们就无法选中图片,而是画的多边星形。
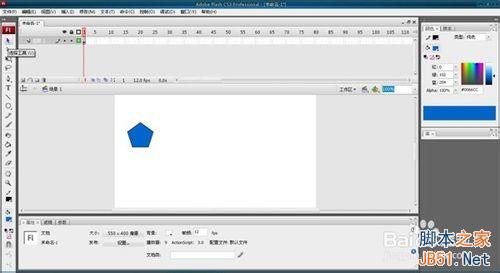
选中图片后我们可以看到图片的属性,宽度、高度、以及整个图片的坐标X为横坐标,Y为纵坐标,整个图层的左上角为XY的0点,关于图片的参考点,图片的参考点以最左边的点和最上面的点为0点,我们的图片只要处于场景之中就可以了,不能处于外围,外围的话图片到时候预览会发现图片跑出场景外看不到。
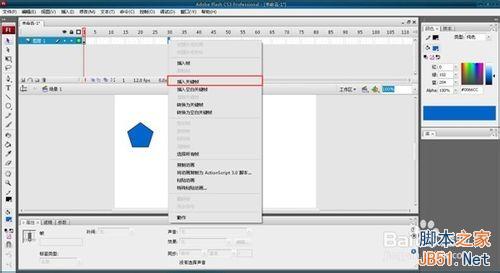
继续下一步,我们在图层1的第30帧上鼠标右键选择插入关键帧,此时我们看到1到30帧上都有这个相同的图片了。
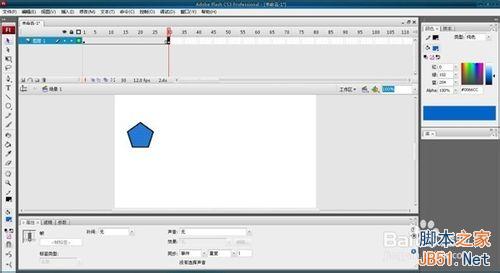
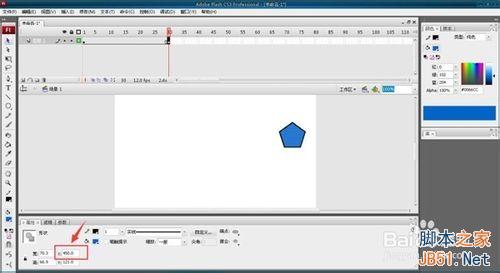
选择第30帧的图片,我们修改他的X坐标,之后在1到30帧之间任一帧上右键选择创建补间动画,好了我们的简单动画移动制作步骤就完成了。

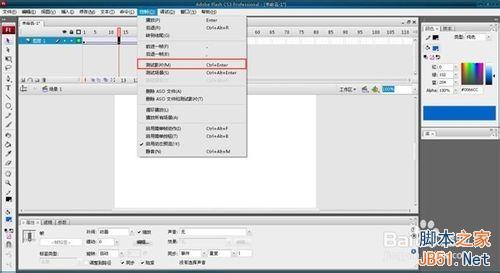
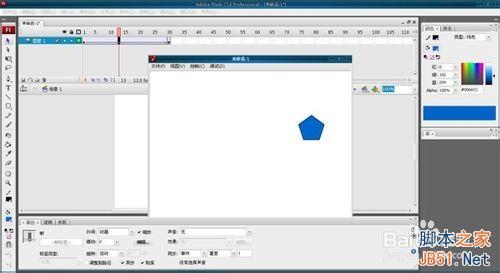
完成步骤之后,接下来我们要测试一下是不是有效果,选择控制-测试影片,我们看到了场景中在从左往右移动,动作成功完成。
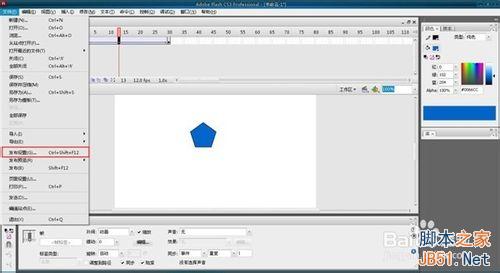
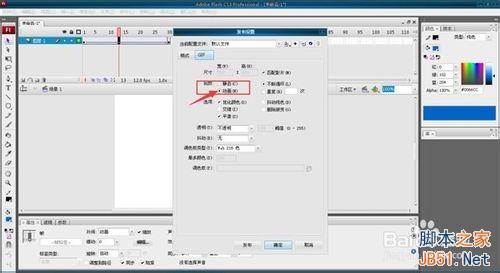
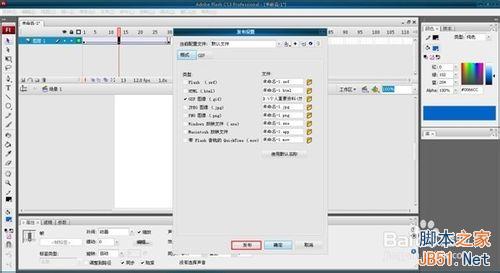
制作完了,那么接下来就要进行转换成GIF的图片了,专业的名词称为发布图片,点击文件-发布设置,我们看到了设置栏,选择我们需要的类型GIF图像,其他不需要的都去掉勾,选择GIF选项右边的文件夹选择要保存的文件夹,点击确认。

完成上一步后,不要急着确认还有一个主要的步骤,我们看到格式项右边有一个GIF选项,点击选择跳入该项设置,把回放的静态改成动画,这一步很重要,不然选择的是静态,那么发布后的图片是静止的,右边的就不改了无限循环就是不断的重复,当然你想他只重复几次停止那就选择次数的选项,设置好之后,点击发布。
好了发布完成,我们要的图片在之前设置的文件里查找,GIF图片找到后我们来预览一下。