ps合并树叶中的人物照片
发布时间:2015-05-12 来源:查字典编辑
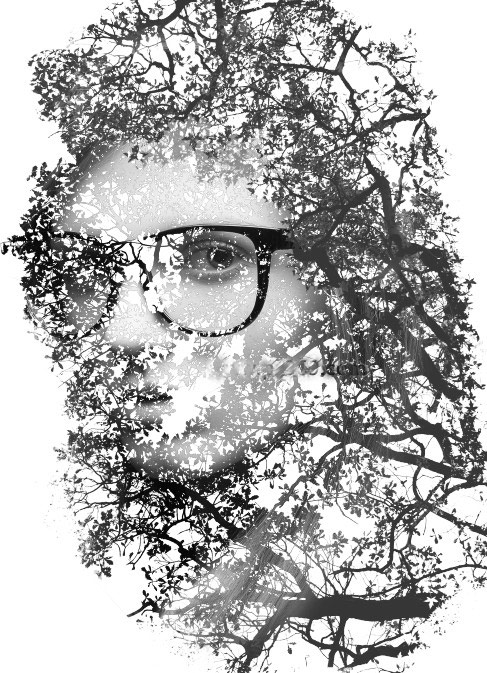
摘要:先来看看效果图:ps合成教程:合并树叶中的人物照片的具体操作流程如下:步骤一、打开PS后新建一个800X600px的文档,将要进行合成的照片...
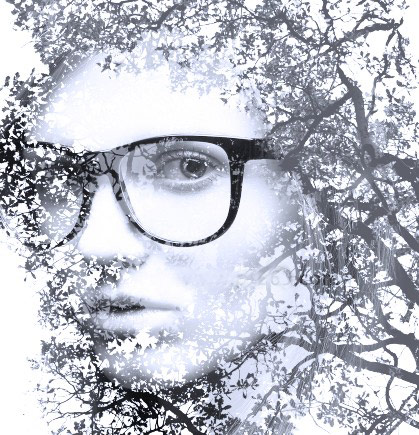
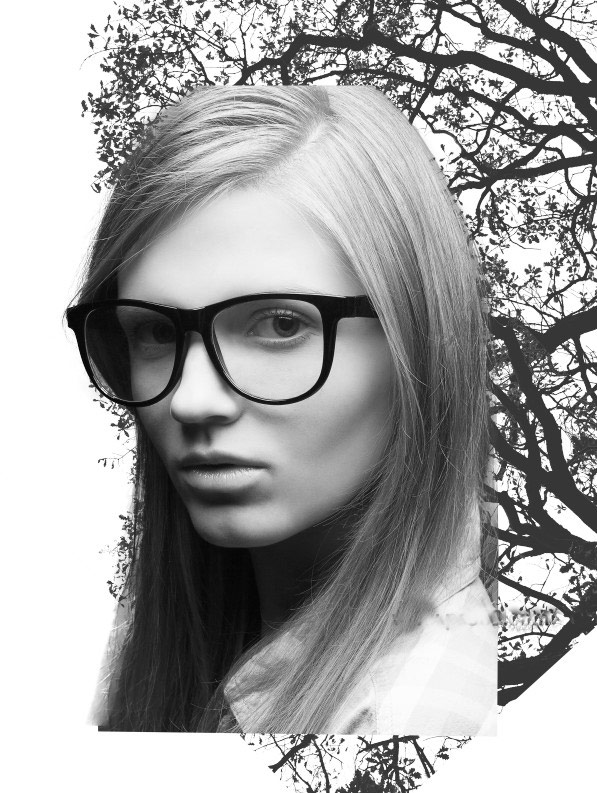
先来看看效果图:

ps合成教程:合并树叶中的人物照片的具体操作流程如下:
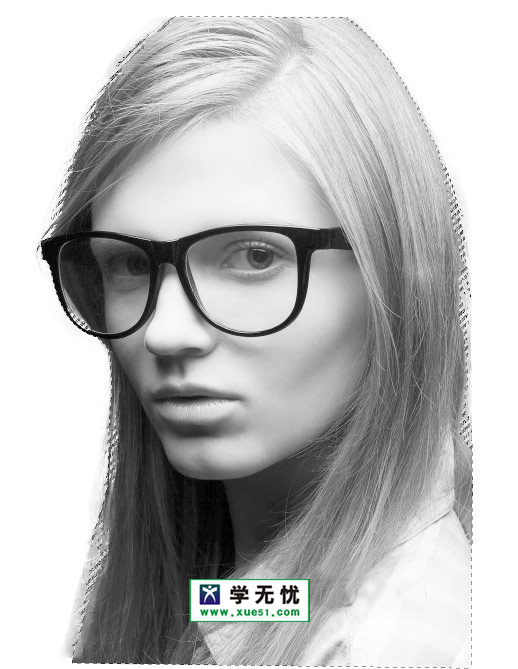
步骤一、打开PS后新建一个800X600px的文档,将要进行合成的照片(人物素材)打开,并对照片进行去色处理(CTRL+SHIFT+U)

步骤二、使用套索或钢笔工具抠出人物,在填充白色即可将人物照片背景色去掉。
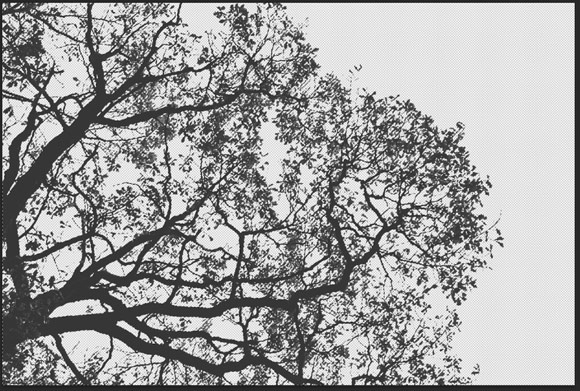
步骤三、找一幅树叶的素材,将颜色和背景去除,建议直接用魔棒工具。(这里给大家提供参考素材)
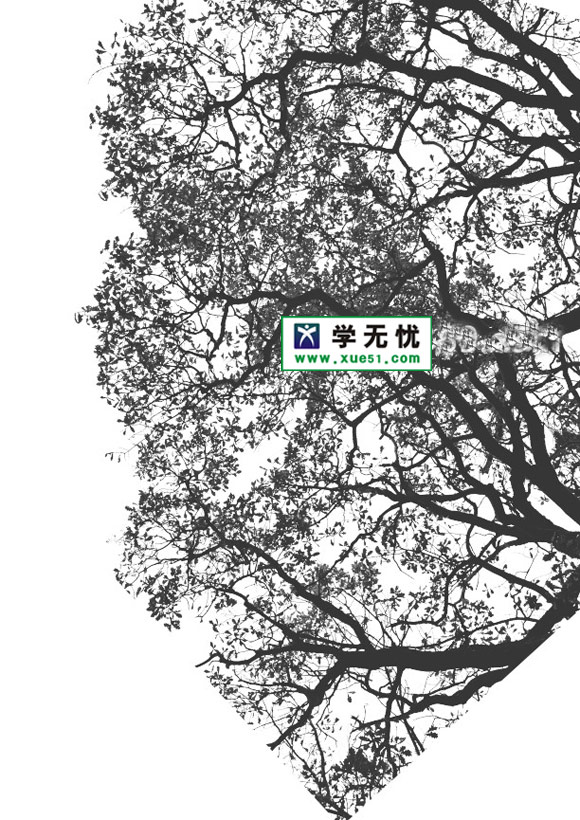
步骤四、.CTRL+T将树枝翻转,然后复制一层,让树枝更加精密,请参考或直接使用!
步骤五、现在直接将照片拖动到树叶中,按住CTRL+T快捷键摆放好人物的大概位置。
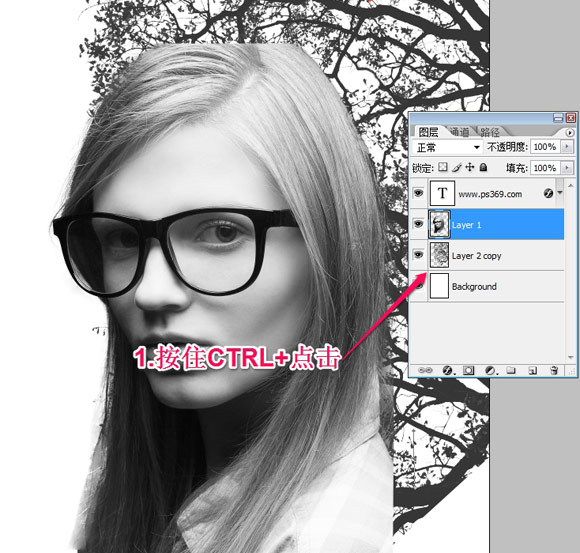
步骤六、按住CTRL键点击树叶图层,载入树叶的选区。
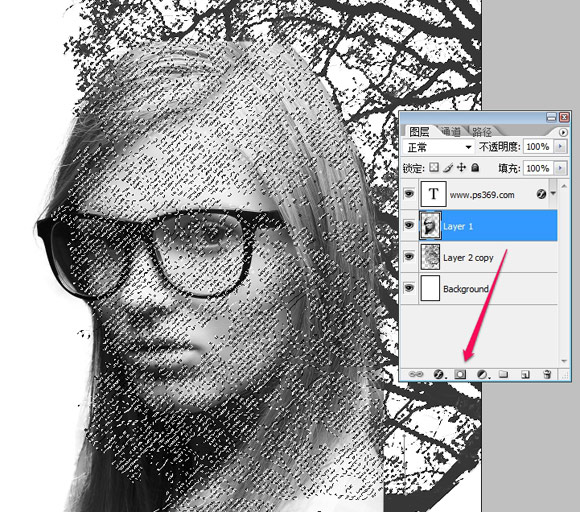
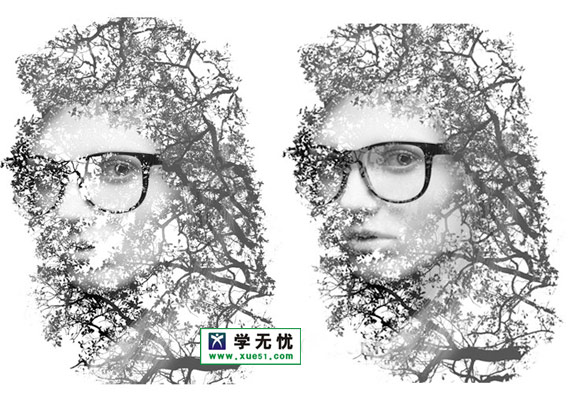
步骤七、点击添加矢量蒙板按钮,通过画笔涂抹进行涂抹就可以把看到刚才选区的部分已经被扣除,人物已经有融入树叶的感觉了。
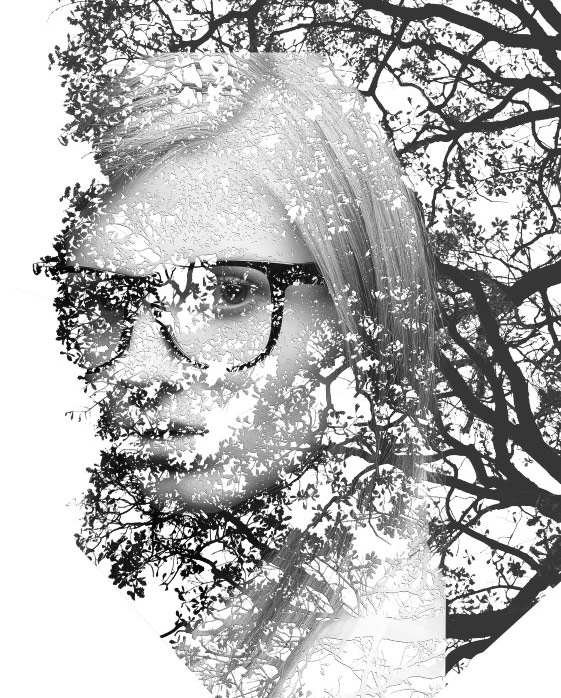
步骤八、用白色橡皮工具将多余的部分擦除(擦除蒙板).擦除后效果如下:
步骤九、在用黑色橡皮擦(透明度50%)将人物脸部给擦出。
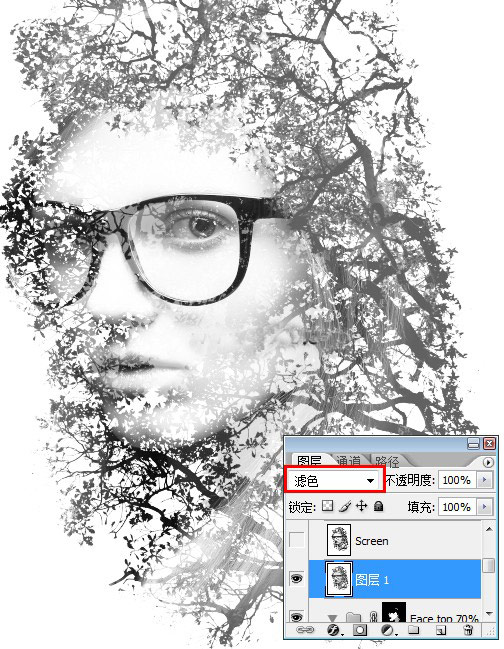
步骤十、CTRL+ALT+SHIFT+E盖印一个图层,将混合模式改为滤色。
步骤十一、最后添加一个照片滤镜,给照片添加一点橙色或是蓝色。
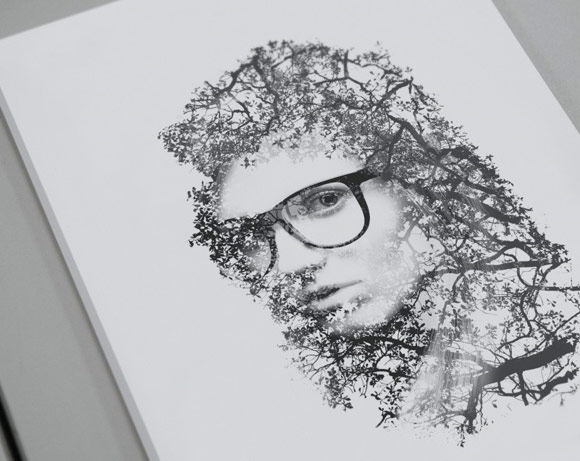
步骤十二、最终看下效果图: