Photoshop鼠绘漂亮模特
发布时间:2015-05-12 来源:查字典编辑
摘要:核心提示:一、先画一个线稿。就自带画笔,没有任何特殊设定。二、上一个基本色调,有一点明暗关系最终效果一、先画一个线稿。就自带画笔,没有任何特...
核心提示:一、先画一个线稿。就自带画笔,没有任何特殊设定。 二、上一个基本色调,有一点明暗关系
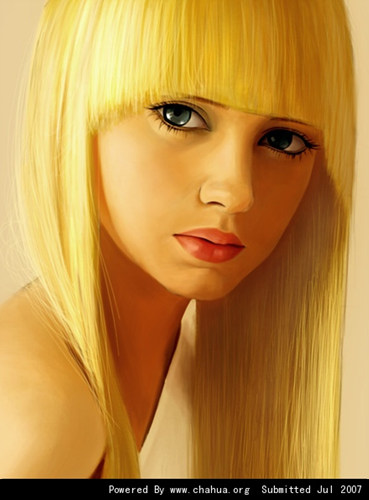
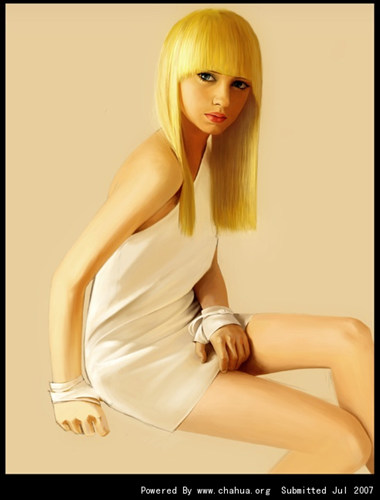
最终效果
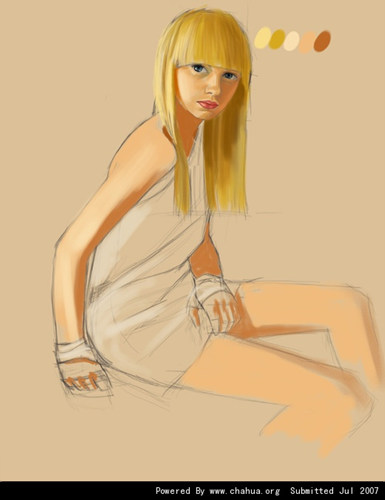
一、先画一个线稿。就自带画笔,没有任何特殊设定。
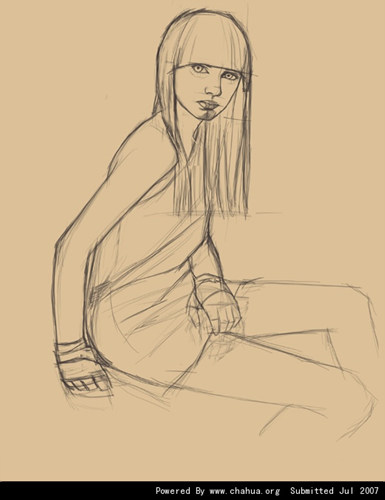
二、上一个基本色调,有一点明暗关系
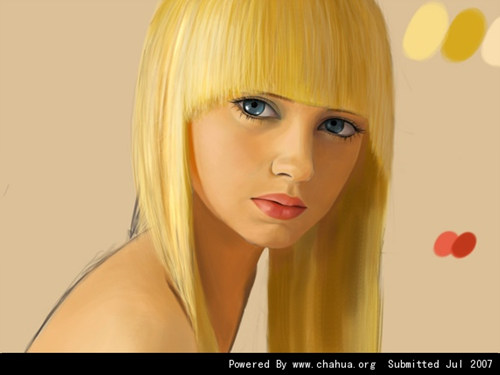
三、着重刻画了面部细节、眼睛及头发
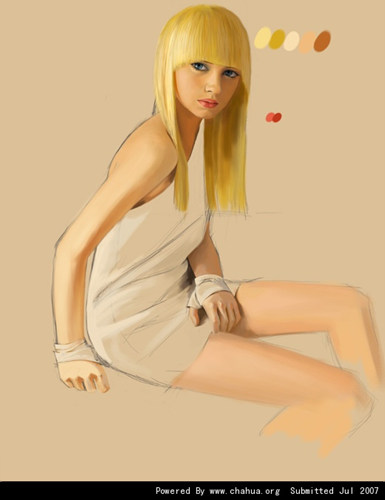
四、处理了衣服、手和腿的质感,进一步调整明暗对比

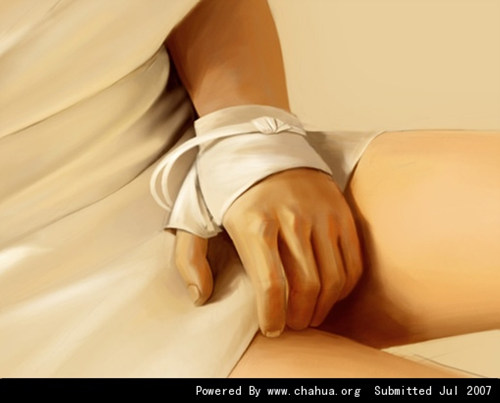
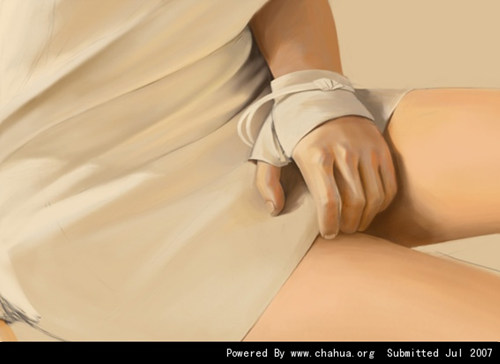
给一个衣褶和手部细节
五、调整面部的高光部分,调整胳膊和衣服的高光,调整画面色调。完成最终效果