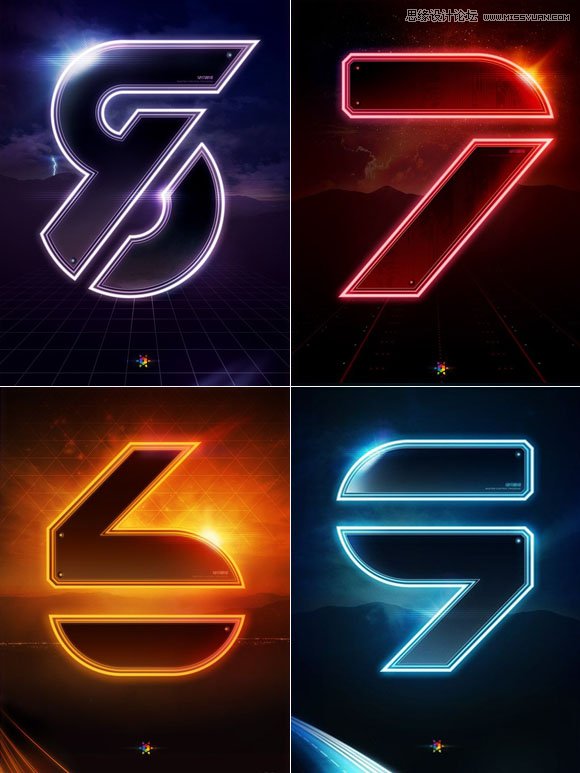
Photoshop制作绚丽发光的霓虹艺术字

这个就是香蕉提供的原图:

不过香蕉要求我把图中的数字“九”改成下面的LOGO。这个LOGO中带有F和B英文首字母,据说是香蕉自己的象征,意思是fabulosity Banana,人才啊。

还有就是我百度了几张同类型的海报,借鉴了其中几张的背景
下面开始我的山寨过程:
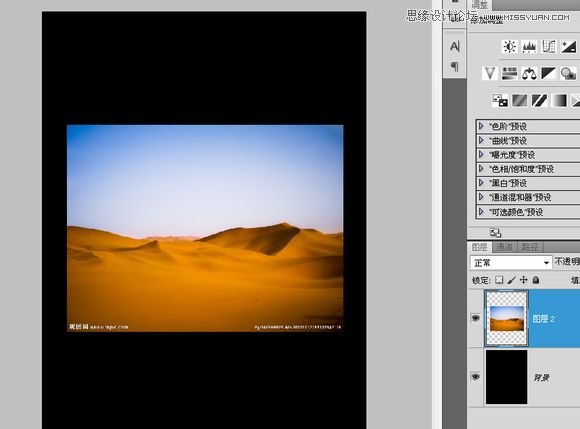
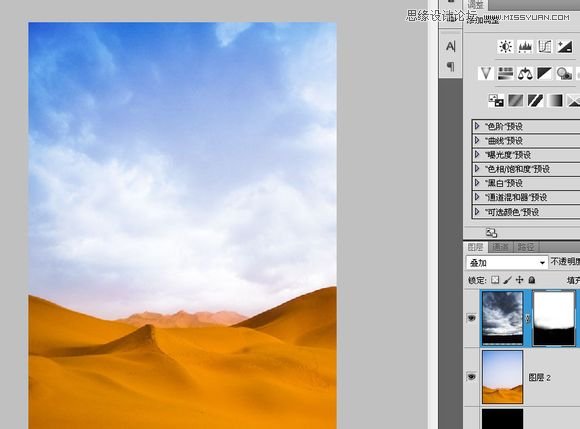
新建一个1600X1200,72分辨率,黑色背景色的新画布,顺便粘贴进一张沙丘图片
把山峰图放大,选了其中的一部分,水平方向我稍微做点变动,让左右山峰对称一点~

还找了一张云层的图片,天空有点云朵更符合我的审美观~
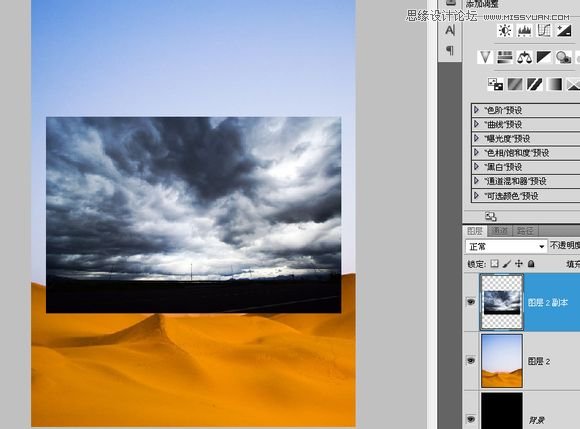
放大云层,叠加在沙丘上,再加一个蒙版涂掉云层下面的地平线~
把沙丘的透明度调至10%~
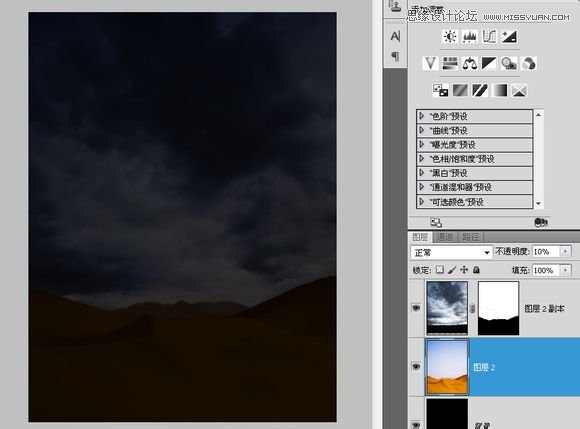
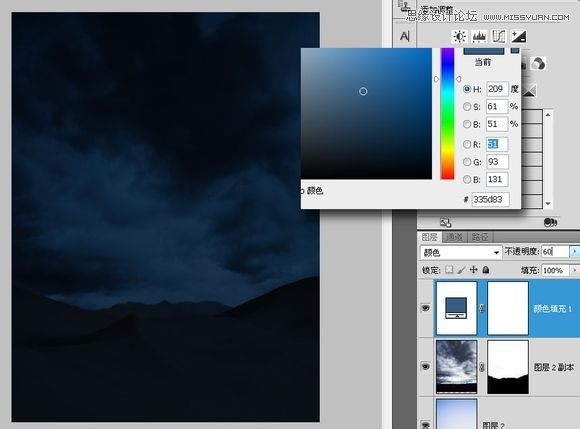
在最上面添加一个纯色调整层,图层混合模式设为“颜色”,好像太亮了,把透明度调至60%
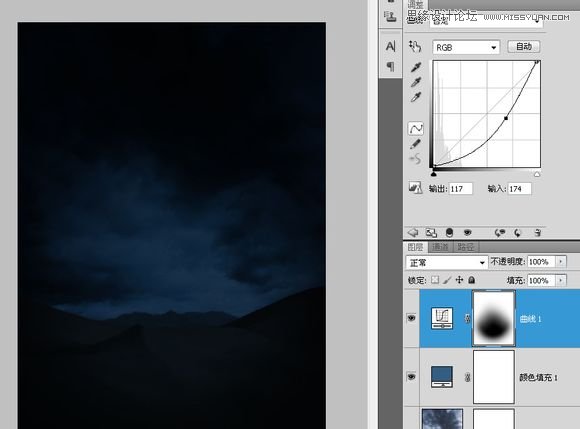
再加一个曲线调整层,用蒙版让四周暗下来,云层中间的亮度包不变~
我在考虑是不是也加一个闪电~

后来觉得还是先放放,到收尾阶段再做这个闪电。把闪电隐藏掉,粘贴入香蕉提供的LOGO,布置四条参考线来界定原图中LOGO的大小和位置~
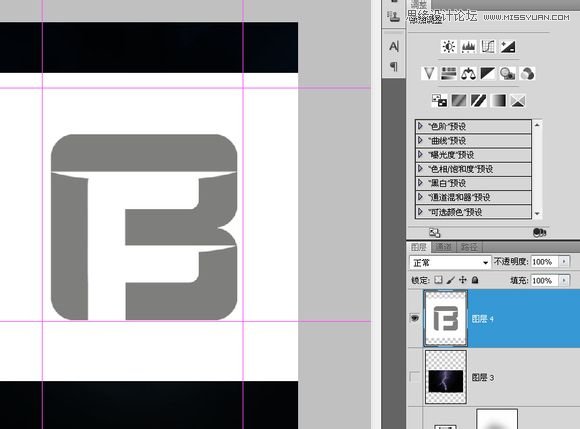
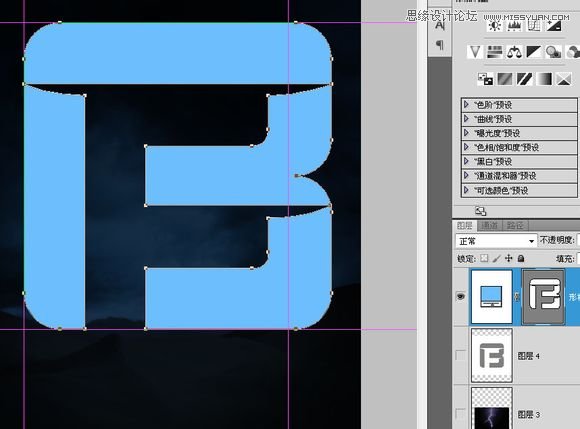
我不建议立刻对这个logo进行拉伸调整到参考线的位置,这样logo的圆角都会变形扭曲,最合理的方法按原本的比例做出矢量形状后调整锚点。
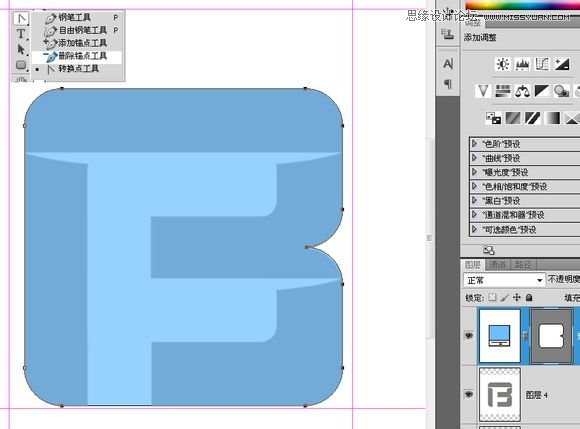
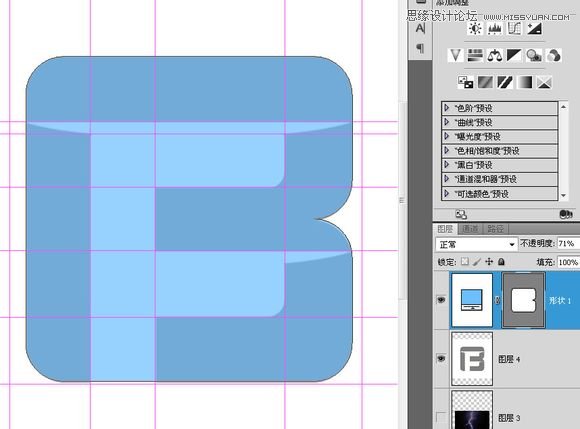
用一个圆角半径为85像素的圆角矩形画B的上半部分,减低一点透明度方便看到底下的原图~
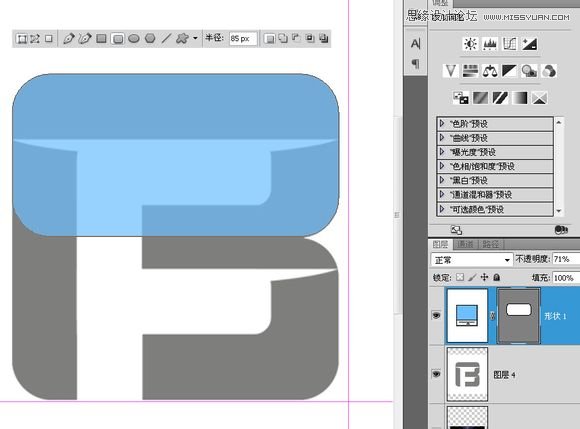
按A点击这个圆角矩形,CTRL+ALT+T复制后移动到下边,要点就是两个圆角矩形有重合的部分~
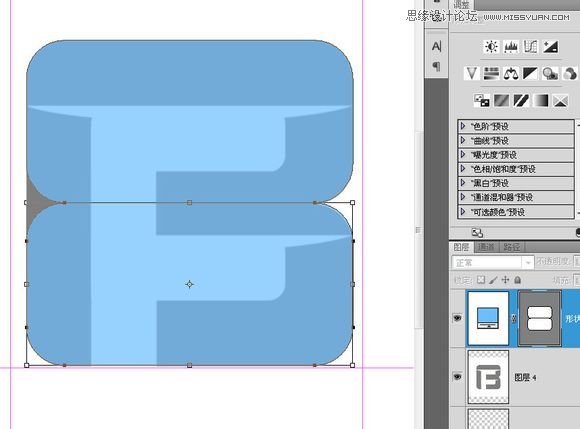
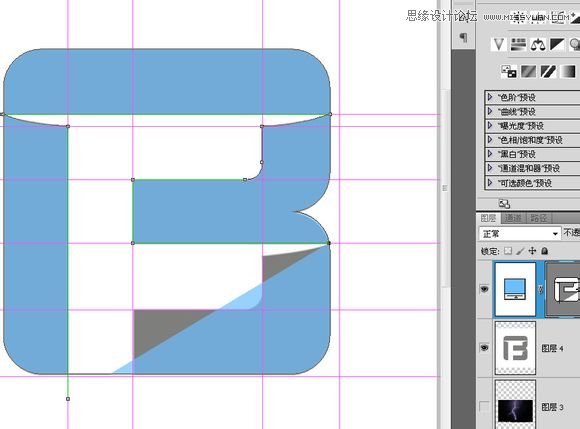
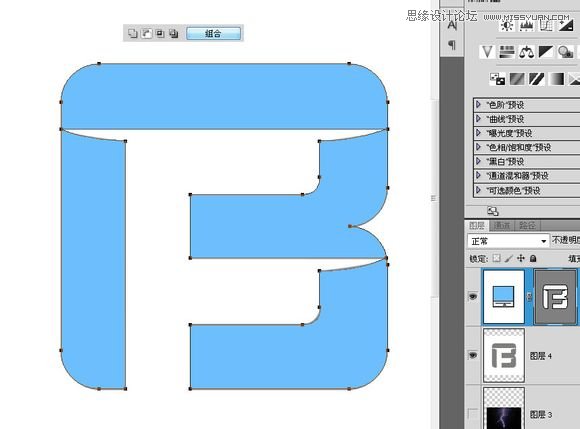
点击“组合”按钮合并这两个圆角矩形~
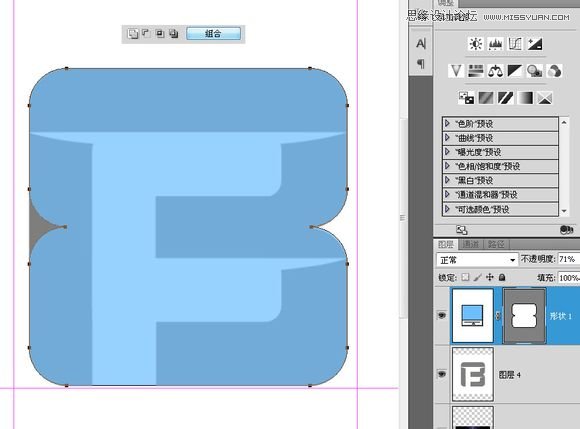
选择钢笔中的“删除锚点工具”,把左边中间形成凹陷的三个锚点删除~
用参考线标出LOGO~
用钢笔工具利用“减去”模式画出logo的空心部分~
合并这个LOGO~
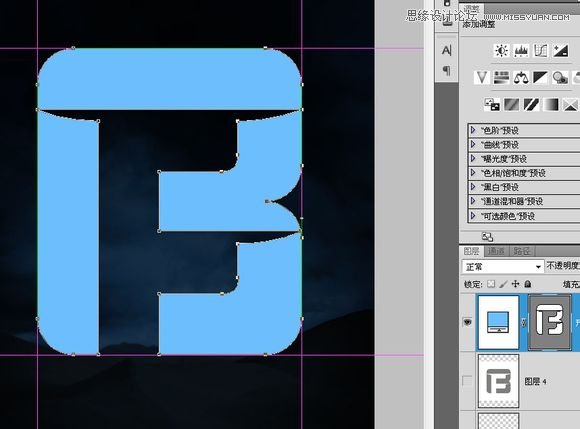
按A点击这个形状,按比例放大,使其先满足其高度能符合参考线位置~
选择“直接选择工具”,框住右边的锚点~

按住shift,把鼠标指针移到锚点或线段中间,摁住左键往右移动到参考线位置,确定位置后松开左键~
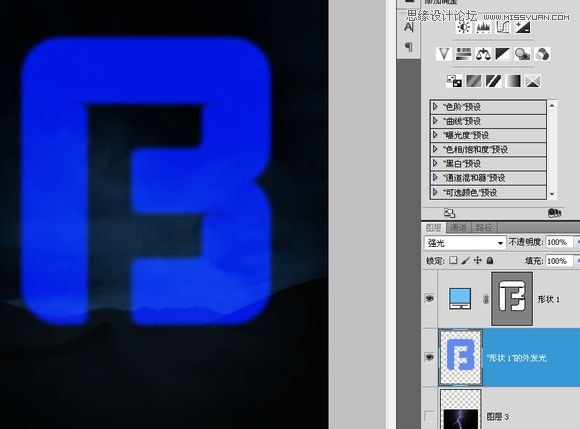
下面是logo外发光的效果,原图的外发光似乎还带有一些图案,所以在图层样式里不可能完全实现这个效果,为什么我用投影而不是直接用外发光
是有我的原因的,我认为阴影的编辑更可控一点~

点击“图层-图层样式-创建图层”,把这个外发光效果分离出来单独成为一个层~
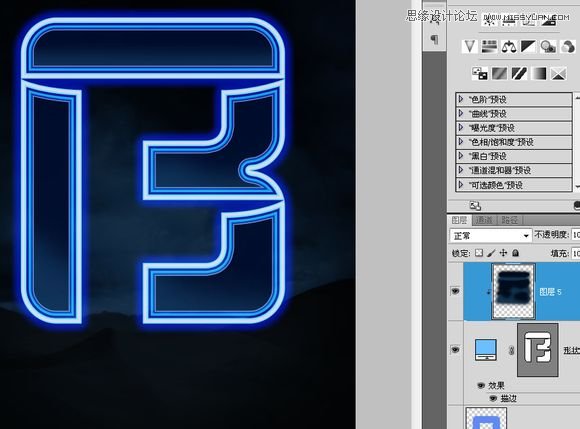
再次双击那个形状图层进入图层样式,给它加一个非常复杂的渐变描边。细致调整各个不透明度色标的位置。
PS:渐变预设里有点点乱,可能是我儿子弄乱的~

创建一个剪贴蒙版层,用画笔上色,有人会认为还是用渐变好,想法是不错,不过这个logo的形状限制了渐变的发挥,所以还是直接用画笔好~
在图层顶端新建一层,按D恢复前景色和背景色,填充颜色(黑色白色都一样),执行“滤镜-素描-半调图案”~
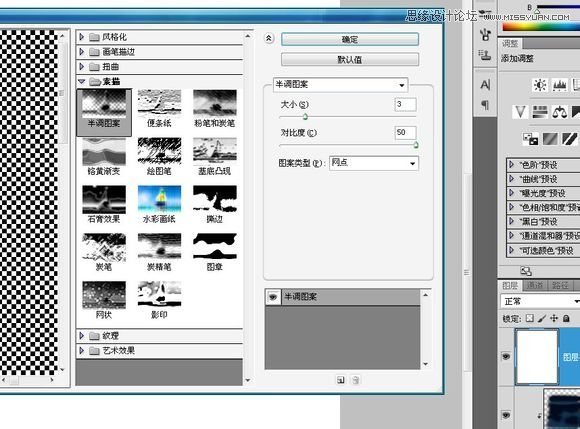
CTRL+ALT+G剪贴蒙版,把图层混合模式改为“叠加”,透明度改为11%~
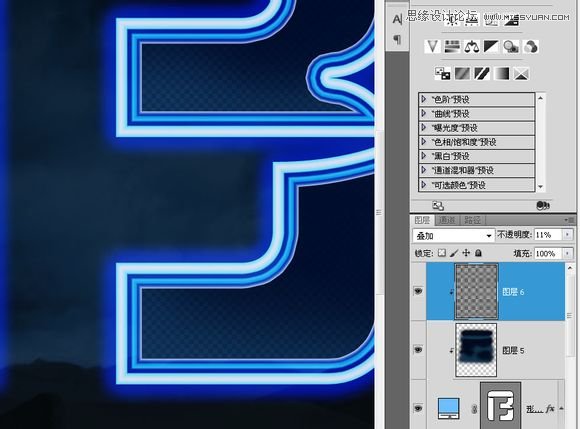
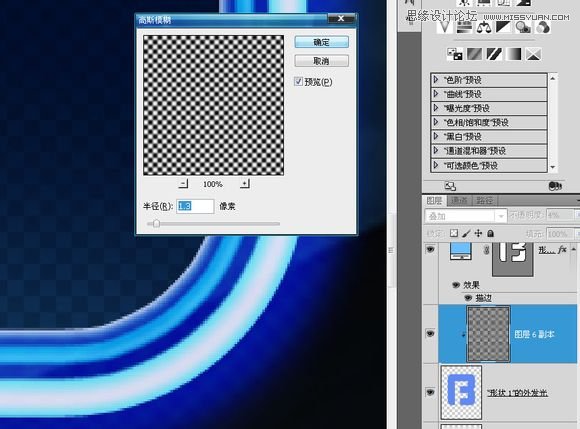
按住ALT移动复制这个半调图案层到“外发光”层上,CTRL+ALT+G剪贴蒙版,那透明度再降低一点,再加一些高斯模糊,
让外发光里能隐隐约约看到一点棋盘格图案~