

Photoshop调出性感模特后期质感修图教程
发布时间:2015-06-06 来源:查字典编辑
摘要:Photoshop调出性感模特后期质感修图教程本教程主要使用Photoshop调出性感模特后期质感修图,因为原图第一张图片表情到位,但没有很...
Photoshop调出性感模特后期质感修图教程
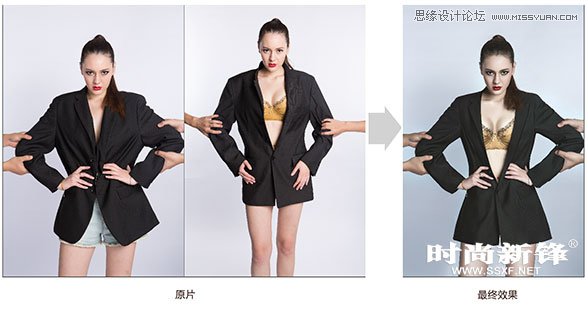
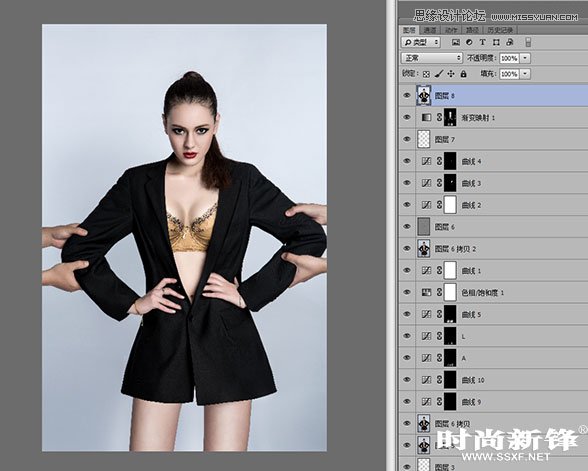
本教程主要使用Photoshop调出性感模特后期质感修图,因为原图第一张图片表情到位,但没有很好体现模特姣好的身材,并且短裤与图片表现的有所不符,需要去掉。第二张图片表现部分身材,故将两张图片合成,打造女神的情结。
原图与效果图:
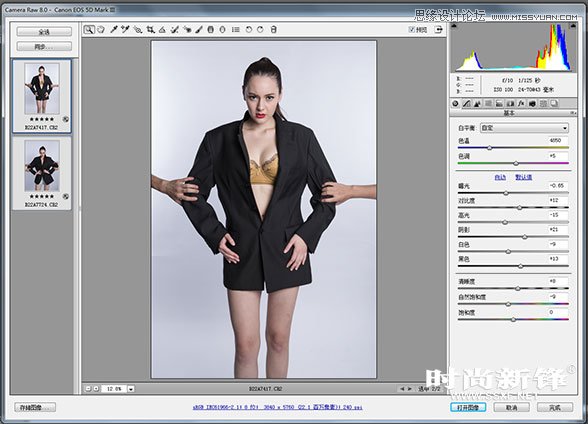
1、用CRW打开图片,并简单进行色彩处理。
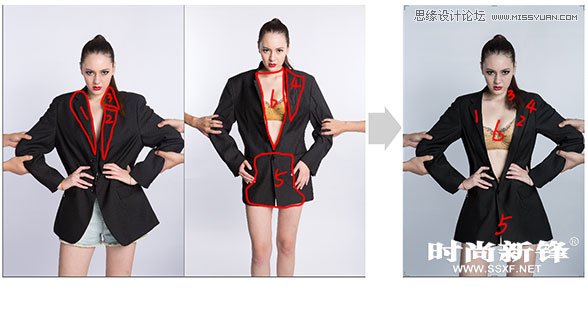
2、 将两张图片合成,并液化至较好身材。并注意合成过程中脖子处头发细节(此处头发用画笔画出来的,使头发与皮肤、衣服完美结合)。
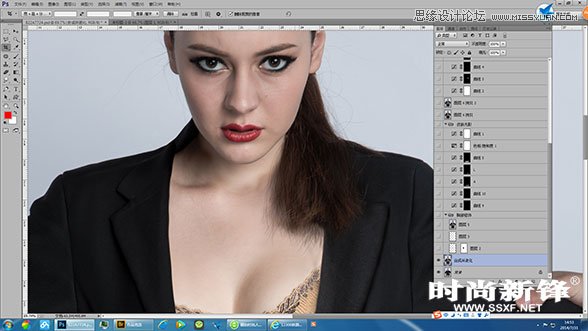
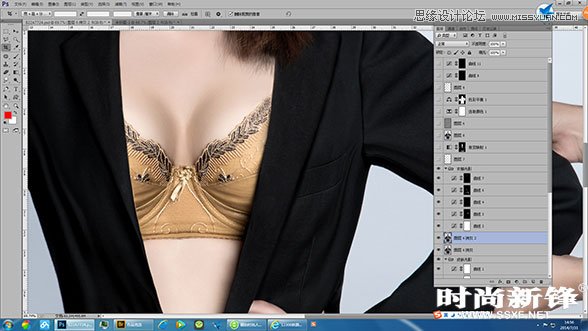
3、 修饰胸部曲线。复制右侧胸部到左侧,并调整位置、大小。胸罩结合自然。

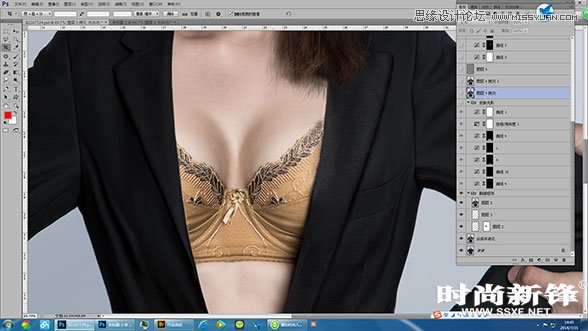

双曲线皮肤光影调整效果。
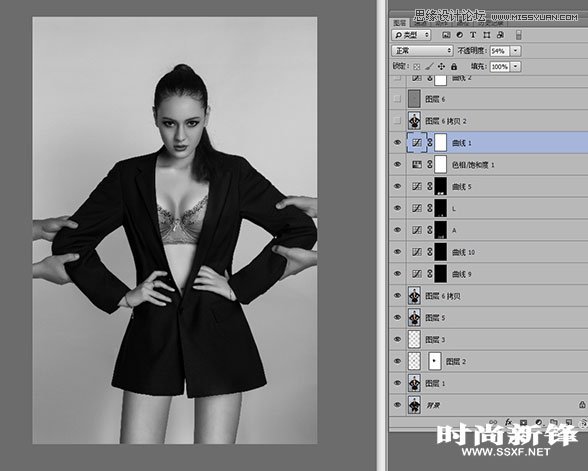
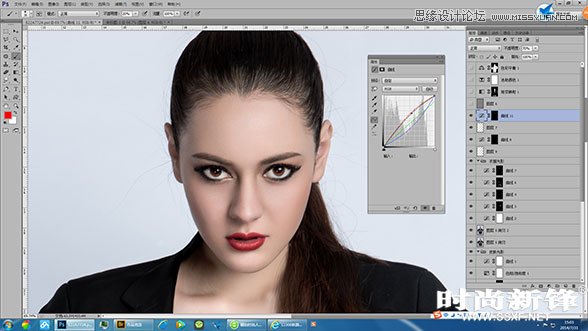
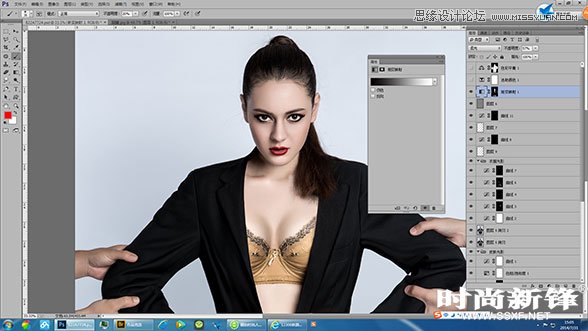
4、运用双曲线调整脸部、身体光影细节(建立黑白参照层)。
5、调整衣服光影。依然用到双曲线。
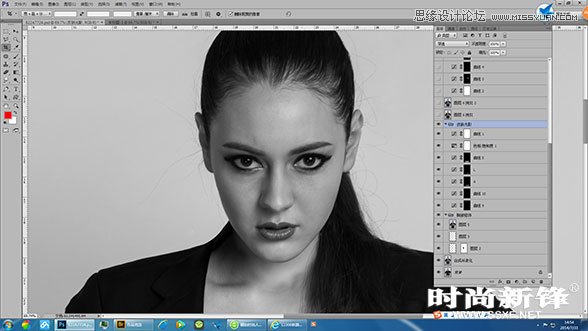
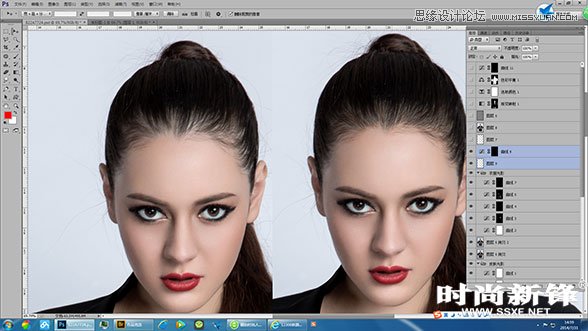
6、由于模特头发刘海处比较稀疏,显得额头过大,用画笔画头发。
方法新建2个图层,一个图层设为正片叠底,画黑色的头发,笔刷不透明度35-60左右;一个图层设为变亮,画颜色较浅的头发,笔刷不透明度50左右,营造头发的光影感。
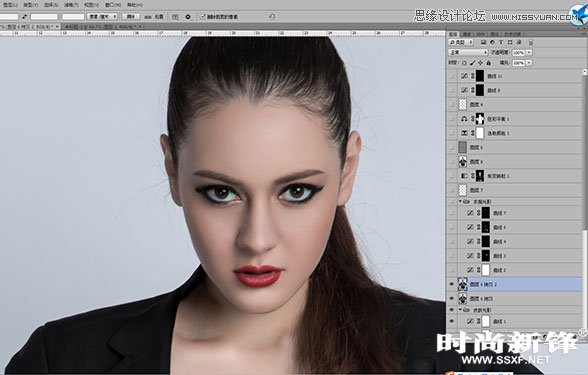
7、调整眼睛的眼白颜色变为正常。
8、高反差保留(本图片数值为4.5),设为柔光,增加模特皮肤的质感与真实感。

9、渐变映射(黑白),设为柔光增加皮肤的对比度,并将不需要加深的部分用蒙版擦除。
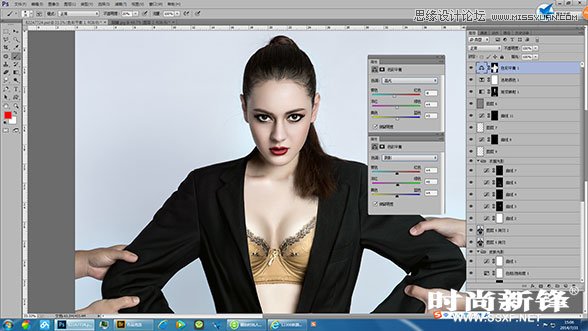
10、调整衣服的颜色。
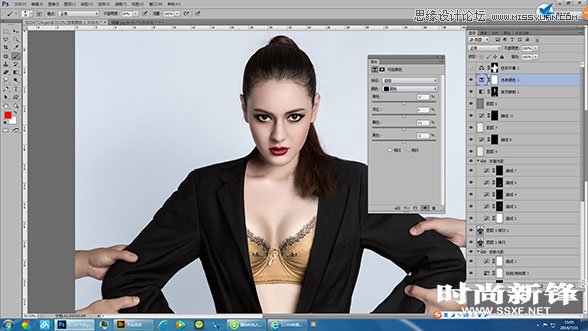
11、用色彩平衡调整皮肤的颜色,并将除皮肤以外的区域擦除,让皮肤变得干净,通透,数值如图所示。
最终效果对比!