Photoshop设计字体从墙面分离特效
本文教大家制作一种从墙上剥离开的文字特效,主要是利用给文字进行变形,给大家形成一种视觉上的效果,然后设置一些阴影效果,最后使文字更具立体效果。从网上看到的这个效果,为了能更好的山寨这个效果,我花了不少时间才找到跟原图差不多类似的字体。
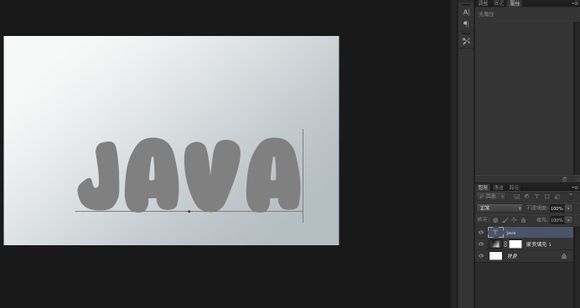
字体名称是BubbleGum。
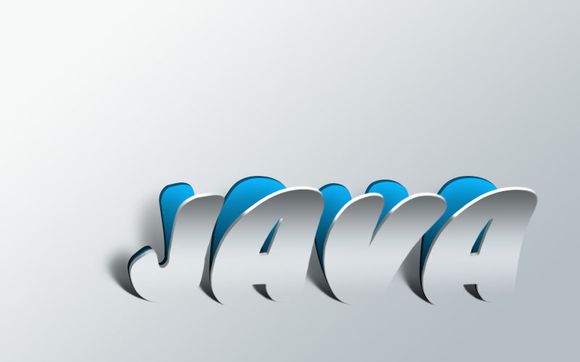
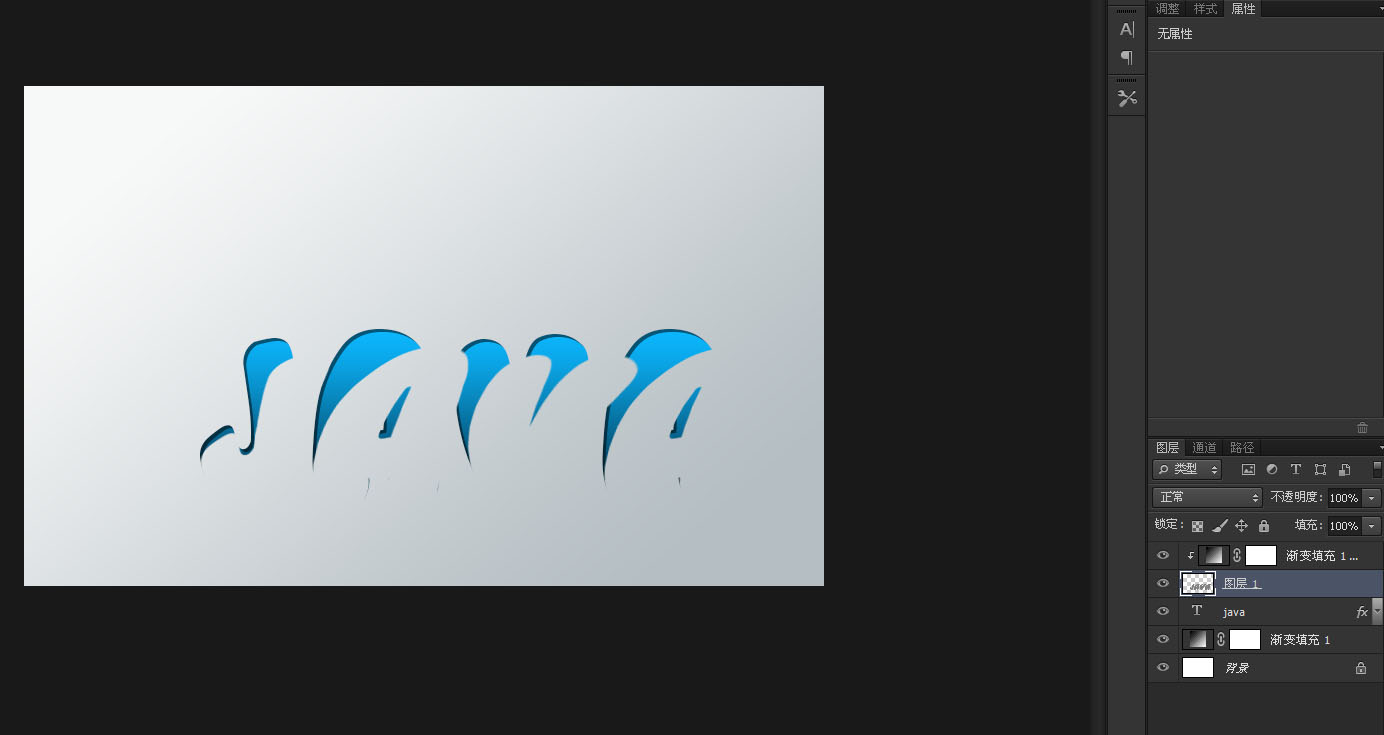
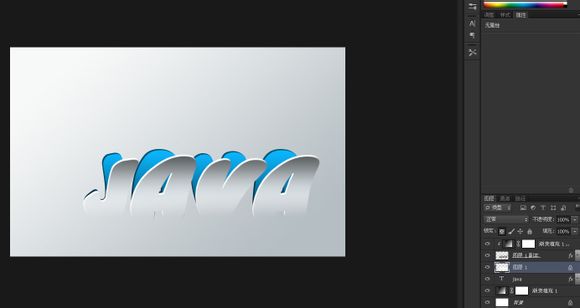
山寨效果:
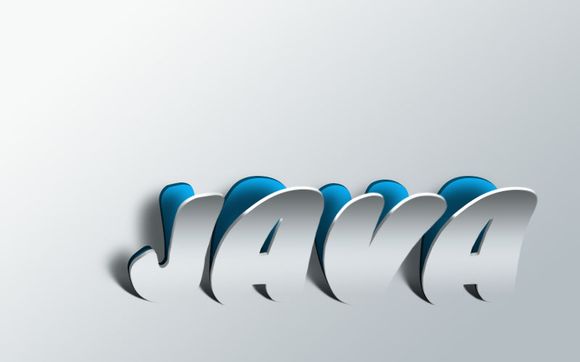
原图:
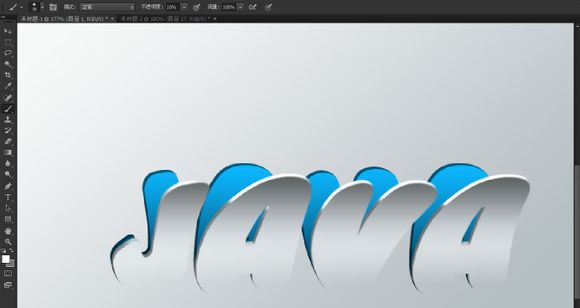
现在开始山寨,为了节省篇幅,我尽量简短的讲述。
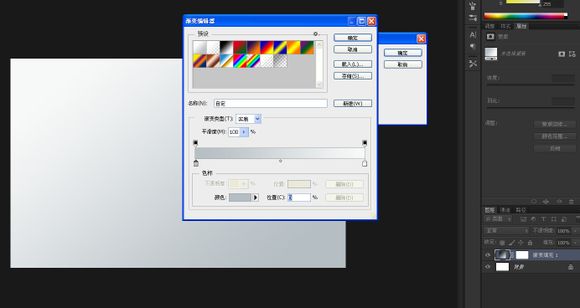
先添加一个渐变填充层
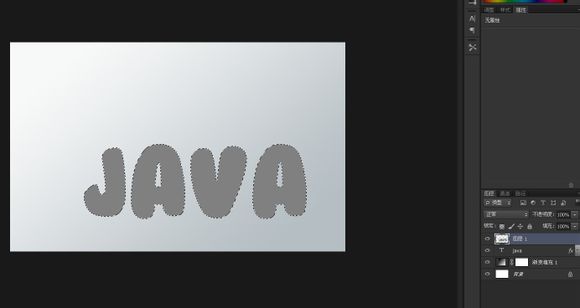
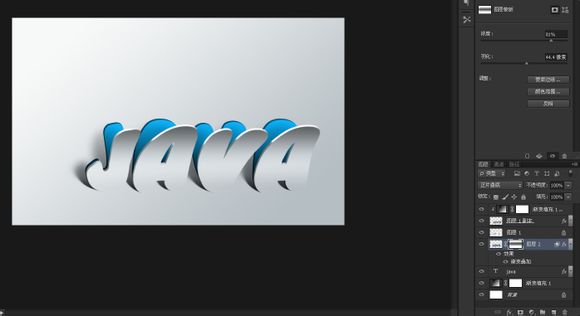
输入几个字母~
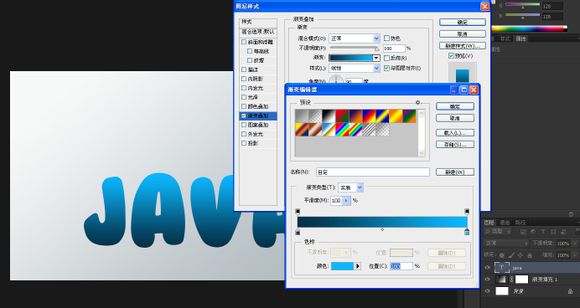
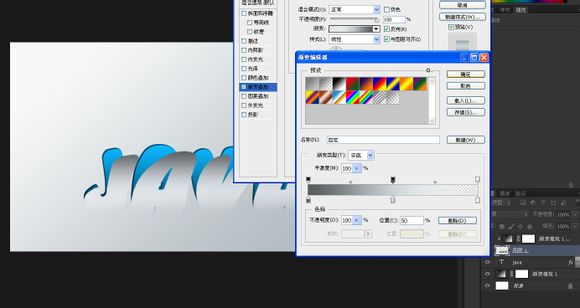
双击字母层打开图层样式,添加一个渐变~
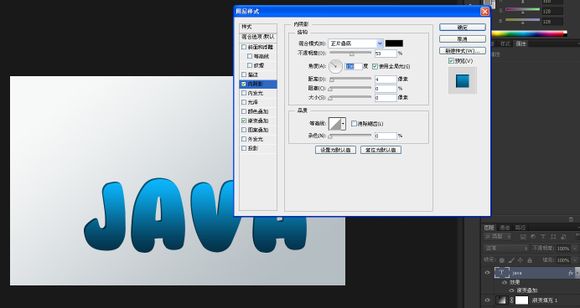
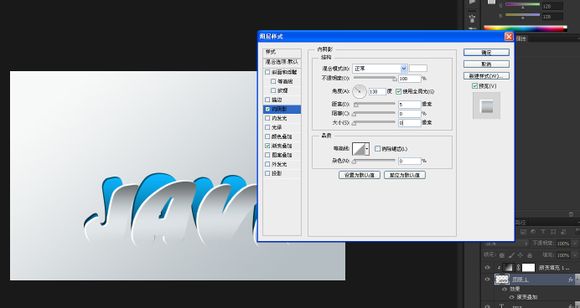
还有内阴影~
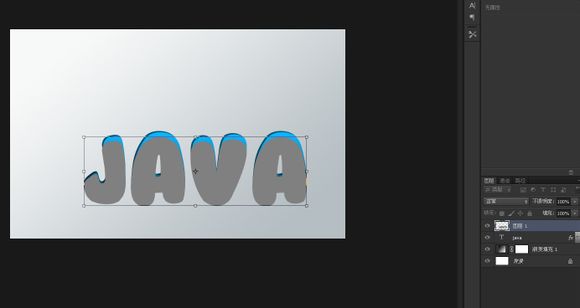
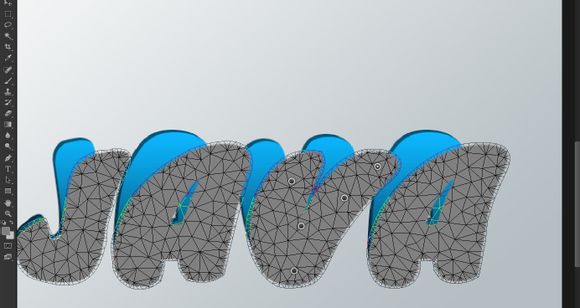
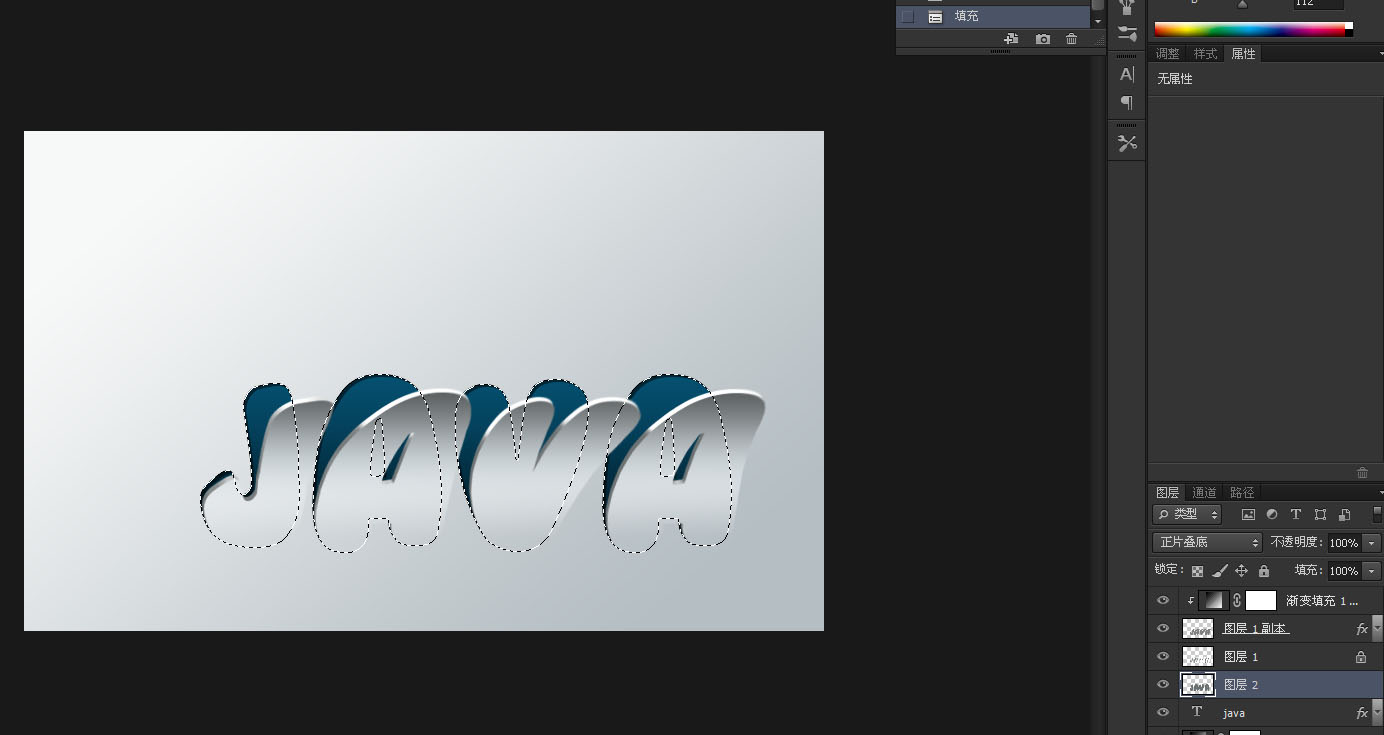
新建一层,按ctrl点击字母层的缩略图载入选区~
填充任意颜色~
取消选区,ctrl+t,把这个填充的字母整体“压扁”一点~
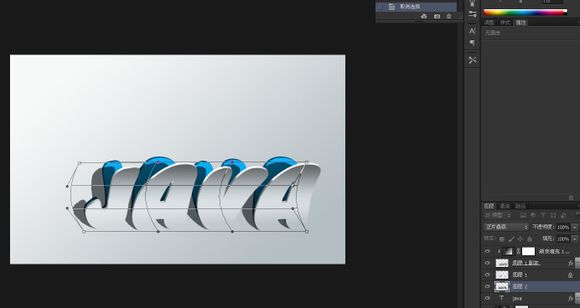
在操控框里右键选择“变形”~
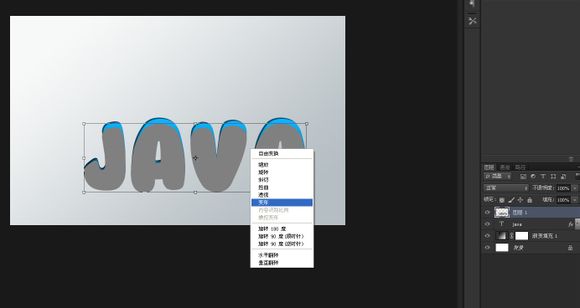
字母的底部保持不动,只调整上面的斜度,让字母产生从背景上剥离的效果~
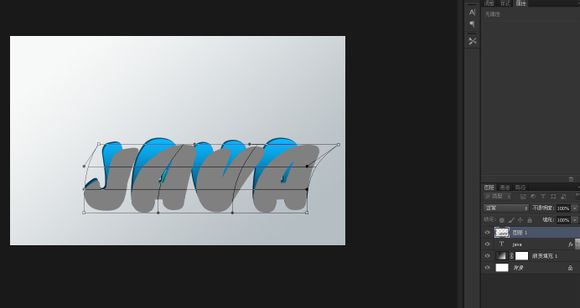
如果你对其中某一个字母的变形效果不满意,你还可以使用“操控变形”给它做细微的变化,比如图中的V字母~
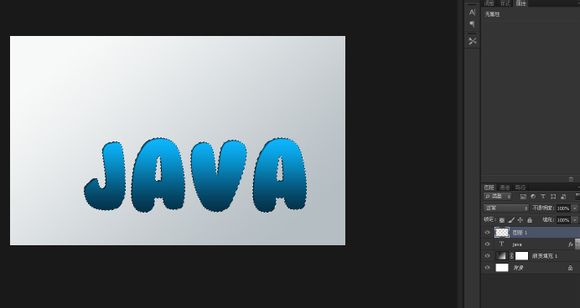
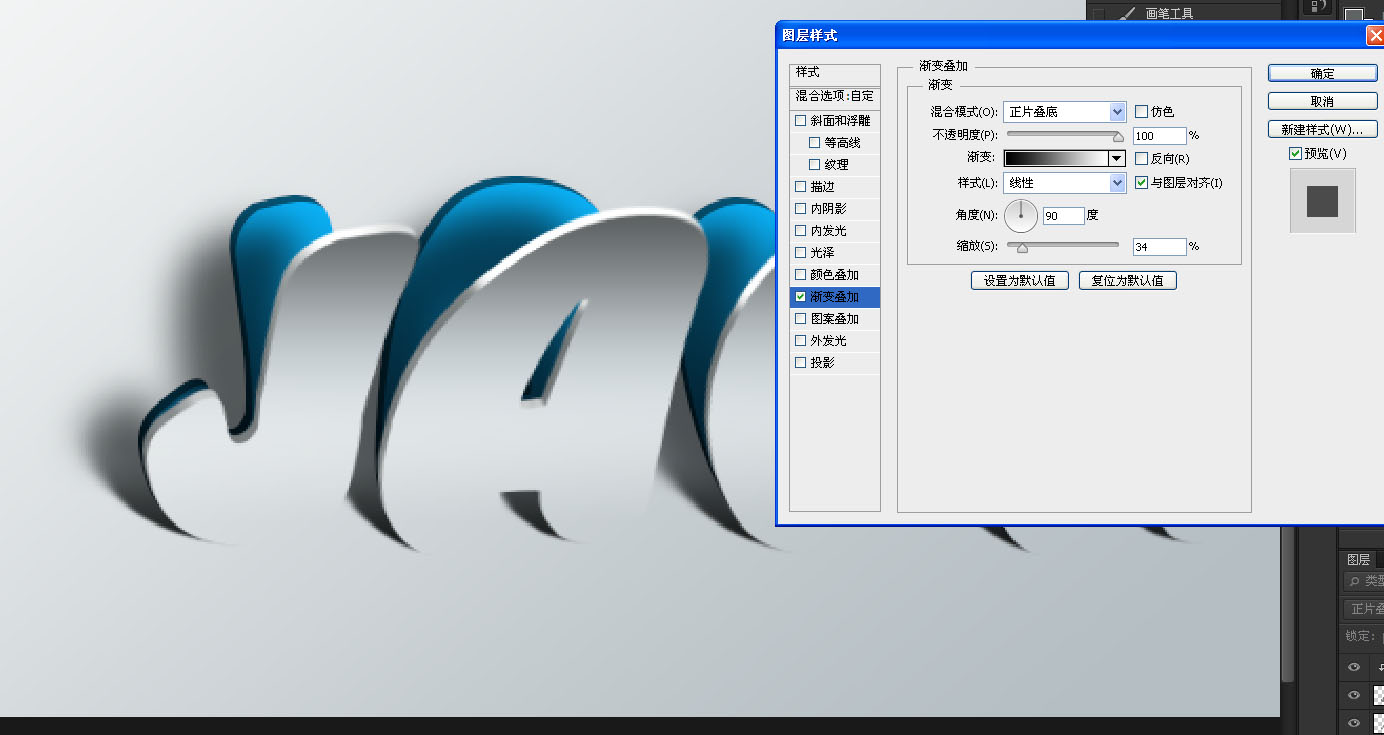
按住ALT将渐变填充层复制移动到经过变形的字母填充层上面,ctrl+alt+g剪贴蒙版~
双击字母填充层进入图层样式,添加渐变,顶端的颜色比较深是为了模拟字母变形后弯曲产生的阴影。
还有你应该注意到我为了让字母的底部跟背景融合使用了透明度的调节~
使用内阴影模拟变形字母的厚度,这里我不大喜欢原图的效果,原因就是它显得不真实,不过唯一的好处就是简便,适合懒人~
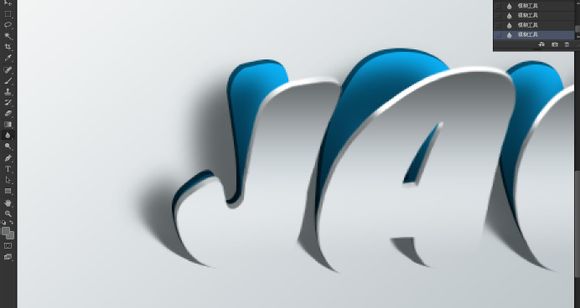
我做了一些改正,不使用内阴影。把变形字母复制一层,清除图层样式后点开锁定像素,填充白色。往左上角移动3,4个像素距离~
改变画笔的大小和透明度,吸取字母上面的阴影色,仔细涂抹。模拟出字母弯曲后在边缘投下的阴影。由于像素锁定了,
所以你可以大胆放心的画而不必担心“画出界”,这样是不是比刚才单纯用内阴影表现出来的效果要真实?
在文本字母上新建一层,按ctrl点击文本字母层载入选区,填充50%的灰色,把图层混合模式改为“正片叠底”~
像前面处理弯曲字母一样,压扁后变形,不过方向不一样,现在往左边弯曲~
选取硬度为0大小适中的画笔,,按Q进入快速蒙版,选择阴影字母的上面的大半部分~
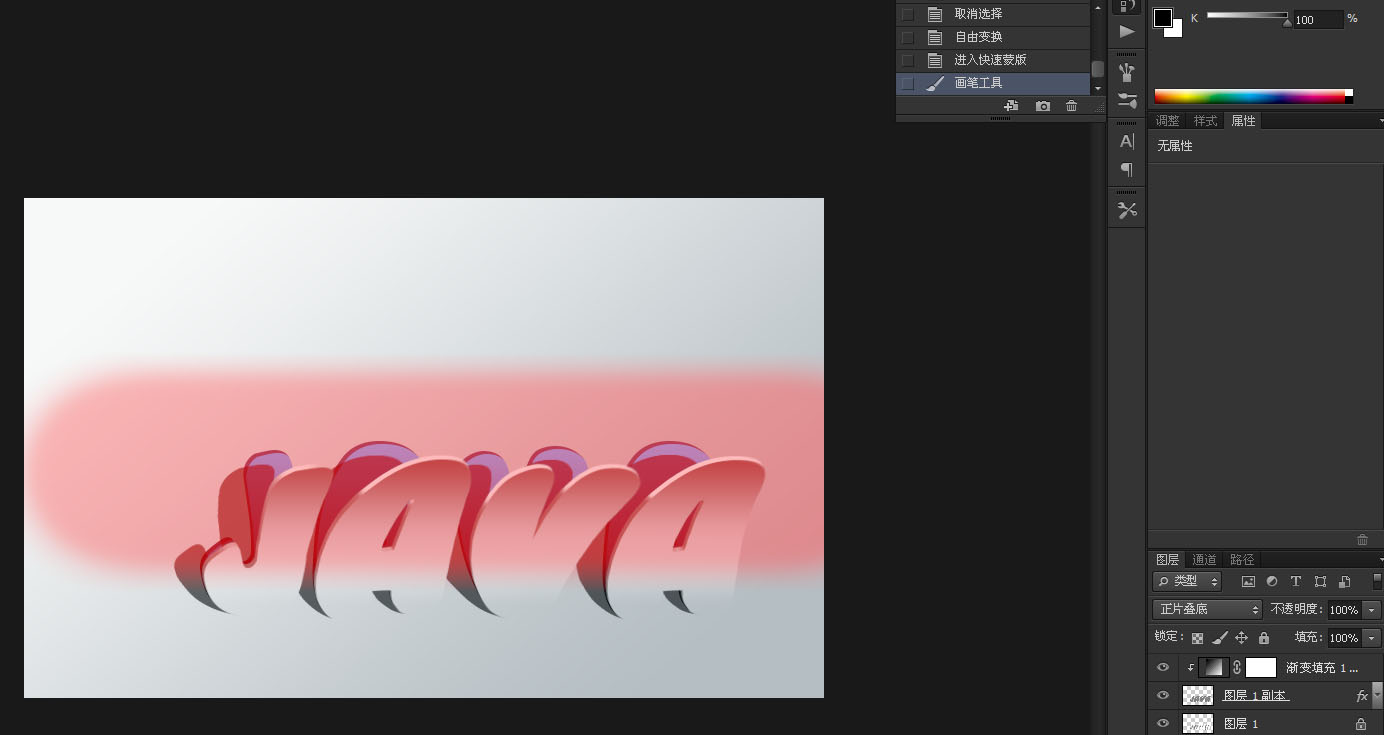
再次按Q退出快速蒙版,高斯模糊~
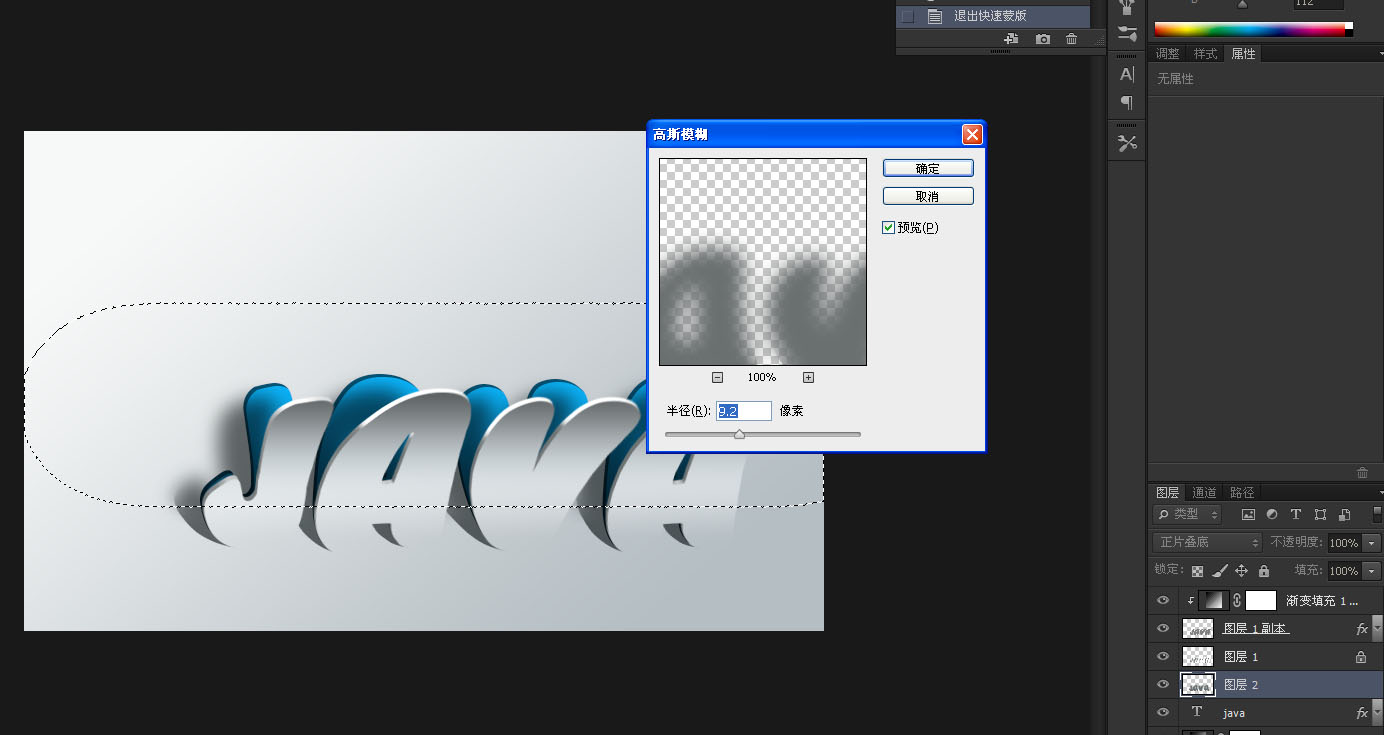
取消选区,用模糊工具将过度不正常的地方模糊一下~
就像你在平时的生活中看到的那样,当一个物体投下的阴影离物体越近,阴影的边缘会更明显,颜色也更深,反之颜色会越浅,
边缘也更模糊。双击这个阴影层,进入图层样式,添加渐变,让这个阴影变得更加真实。
大功告成,上面的小字我就不打算理他了~
看了看之后觉得还可以修改一下,给阴影添加蒙版,让远处的阴影更“虚”一点~
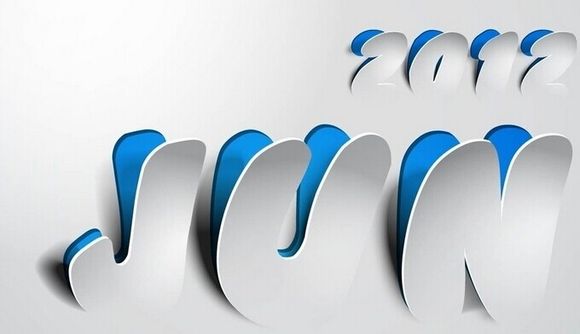
最终效果!