PowerPoint2013圆环制作教程
发布时间:2015-06-05 来源:查字典编辑
摘要:①启动PowerPoint2013,单击插入--形状,选择椭圆,教大家一个技巧,按住Shift键可以画正圆。②画出一个圆之后,利用复制粘贴的...
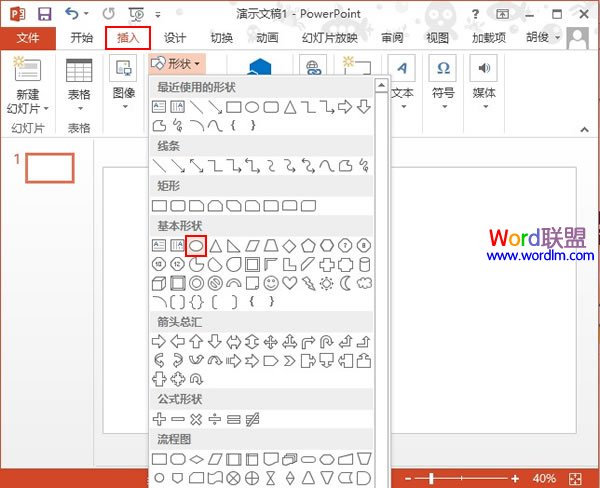
①启动PowerPoint2013,单击插入--形状,选择椭圆,教大家一个技巧,按住Shift键可以画正圆。
②画出一个圆之后,利用复制粘贴的方法作出另外一个圆。
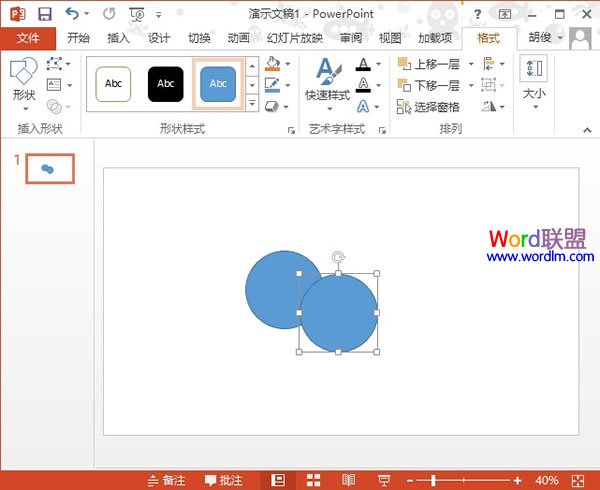
③调整其中一个圆的大小,右击小圆,设置对象格式。
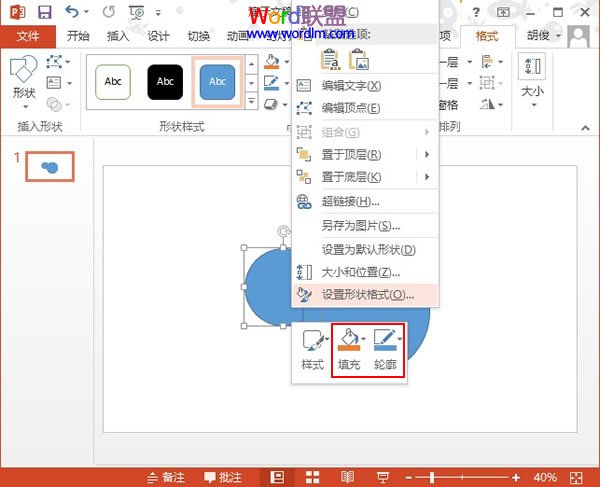
④将填充颜色设为白色,移动到大圆里面。

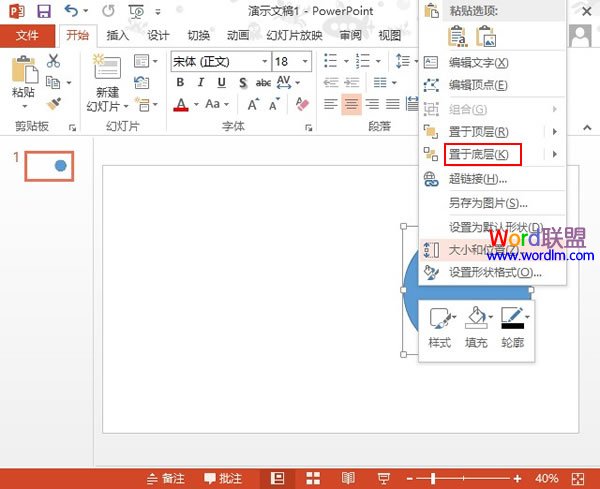
⑤右击大圆,将其置于底层。
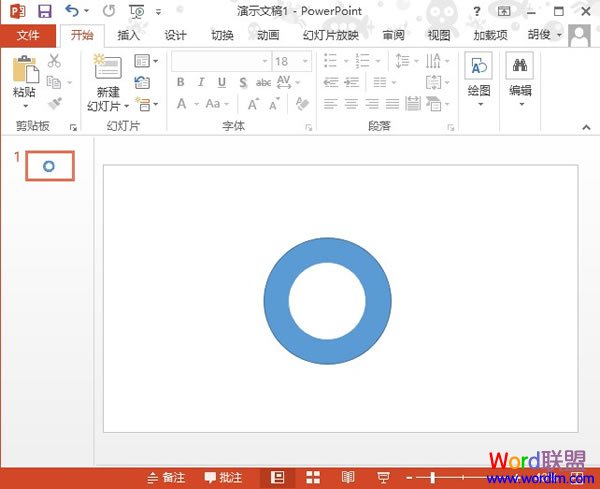
⑥OK了,同心圆环已经制作好了,将其组合,摆放到适当位置。