PowerPoint2013取色器使用教程
发布时间:2015-06-05 来源:查字典编辑
摘要:①选中图片或者其他东西,在格式选项卡里面单击取色器按钮,这时鼠标会变成一个画笔的样子。②用鼠标点击一下要进行取色的地方,这时颜色就被记录下来...
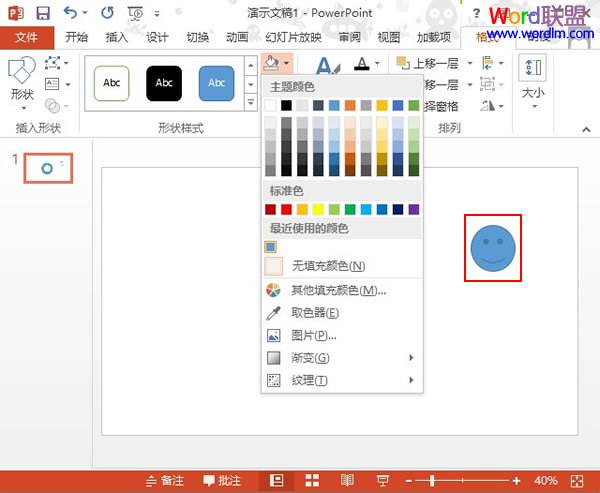
①选中图片或者其他东西,在格式选项卡里面单击取色器按钮,这时鼠标会变成一个画笔的样子。

②用鼠标点击一下要进行取色的地方,这时颜色就被记录下来。
③我们在最近使用的颜色中可以找到。
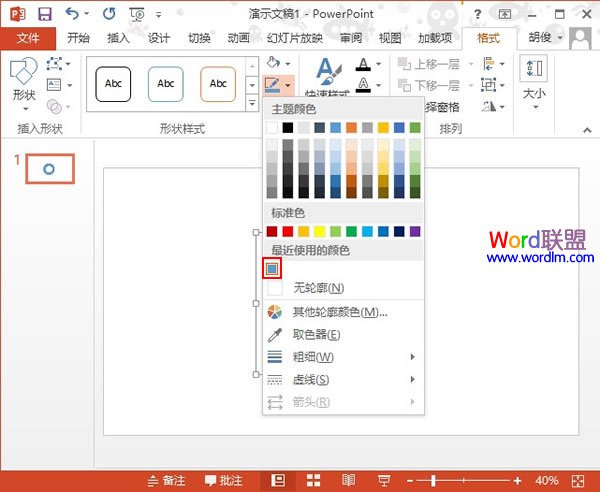
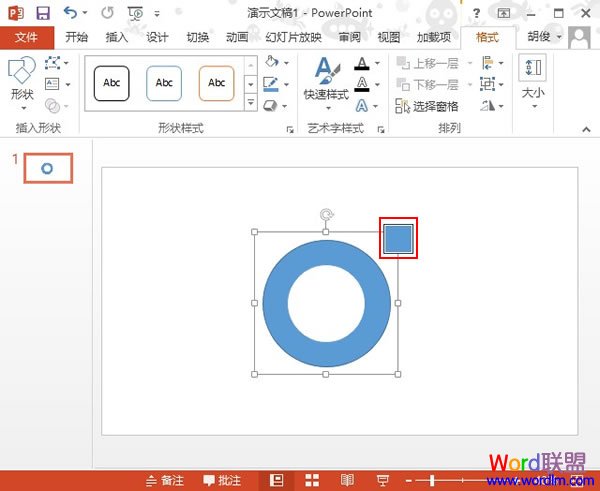
④直接将此颜色应用到新的对象中,快速方便,这比我们自己重新配色快多了。