

3DsMAX和Photoshop联合打造青铜宝剑
发布时间:2015-05-12 来源:查字典编辑
摘要:首先,我们使用3dsMax来粗铸剑坯。启动3DSMax8,新建一个Max文档。步骤1、绘制长方体:开启2.5维捕捉,选择标准基本体中的长方体...
首先,我们使用3ds Max来粗铸剑坯。
启动3DSMax8,新建一个Max文档。
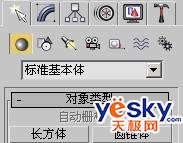
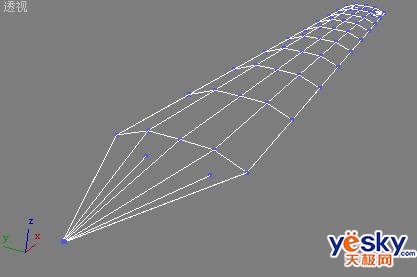
步骤1、绘制长方体:
开启2.5维捕捉 ,选择标准基本体中的长方体:
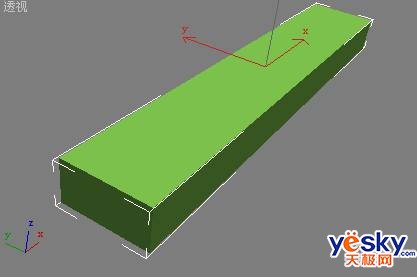
在视口中拖拉出一个由三点决定的适当大小的长方体、
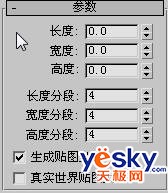
对三个方向进行合理的分段数设置:
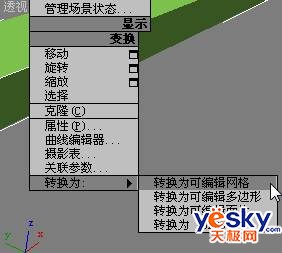
转换为可编辑网格:
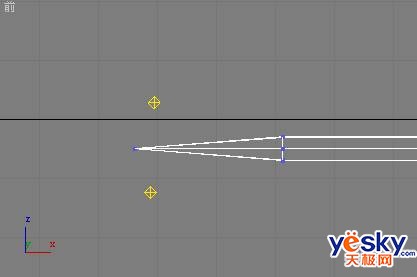
步骤2、移动顶点
进入可编辑网格的顶点层:

利用移动命令,缩放命令,配合参考坐标系移动长方体的各顶点:

得到理想结果:
步骤3、光源设置
于合适的地方放置区域泛光灯,以照亮剑锋:
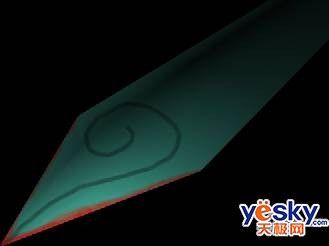
步骤4、半成品输出
改变实体颜色,渲染结果,并输出图象:
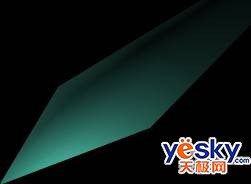
至此,剑丕铸造完成。
接下来我们转入Photoshop中做平面效果加工,精锻剑身。
启动Photoshop9,导入上一步生成的图象文档。
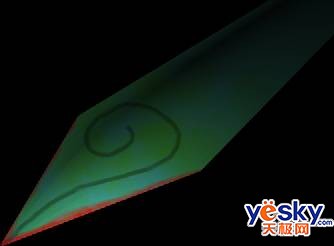
步骤1、制作云纹蚀刻
选择较深的颜色,普通画笔,模式正片叠底,勾画云纹,并于其后用模糊工具消除手颤痕迹。
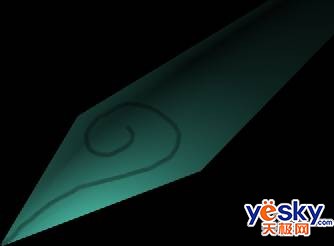
步骤2、绘制剑刃血迹
选择红色,普通画笔,模式柔光,沿刃绘制,并于其后用涂抹工具把颜色向剑身扩展。
步骤3、做旧剑身
选择暗黄等陈旧色,画笔直径略大的粗边圆形钢笔,模式变暗,擦画剑身。
步骤4、绘制剑锋逸光
选择黄色,画笔普通,模式正常,沿剑锋但不接触绘制条纹,之后涂抹其向后拖逸。
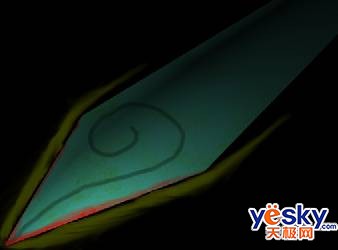
至此,青铜宝剑打造完成。