1.使物体平滑的面实现凹凸感觉
如果大家在龙的教程中学会一部分物体的创建,在这个作品中会很容易实现的.仙人刺的基本部分创建和龙的创建很相似,但比龙要简单的多,在这个作品中运用对面的extrude bevel操作
2.使一个物体随机的分布到另一个物体上面
刺的部分运用的离散scatter

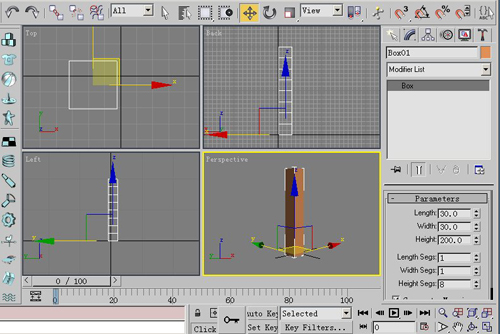
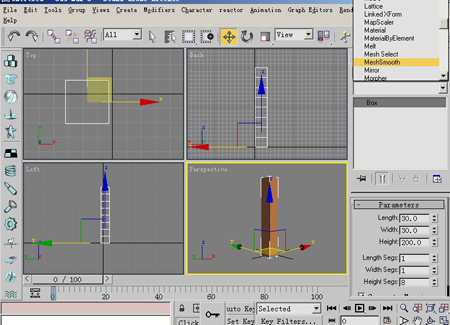
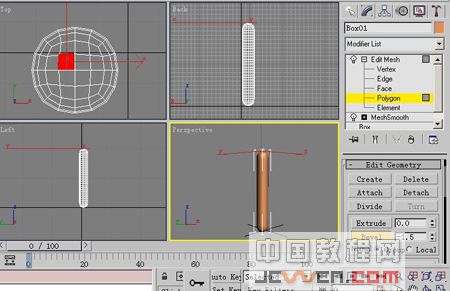
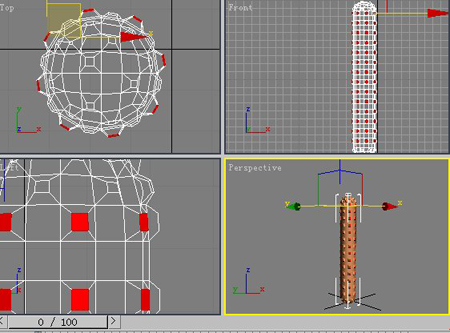
1.在MAX 中创建一立方体,参数设置如所示
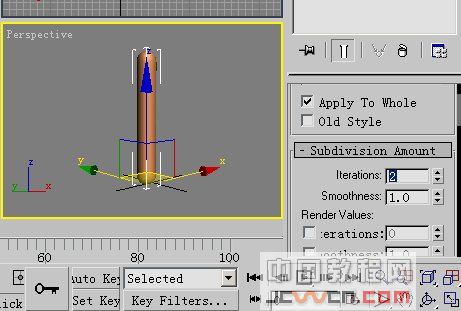
2.为物体加入meshsmooth.并改其参数
3.再次展开modifier list.加入edit mesh命令
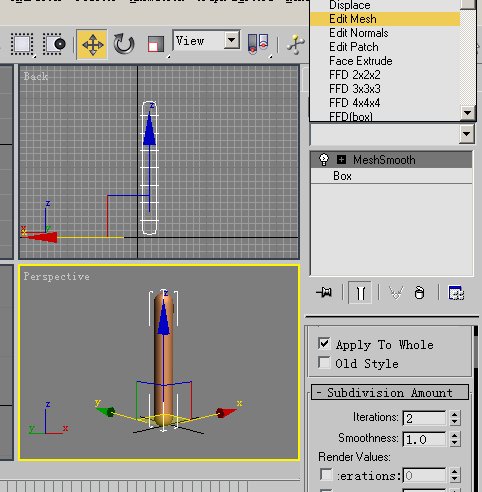
4.在edit mesh堆栈中选择polygon了层级
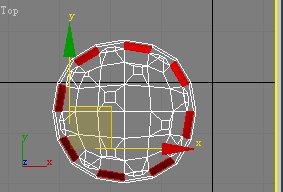
在顶视图中选择一个面,如所示,点击edit geometry 下的extrude按钮,参数为2
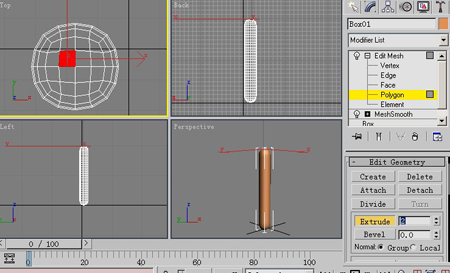
5.依然在edit geometry下 点击bevel 参数为-1.5
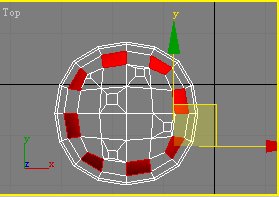
6.依次在顶视图中选择几个面.重复4.5两步步 切记,如果两个面之间有相连(不管是一个边或一个点都可以称为相连)那么这两个面一定要分别来实现第4.5步(不可以用ctrl一次选择两个面共同实现4.5步);因为两个面有一个点或一个边相连的话,那么这个点或边就是他们共用的,实现extrude.bevel时两个面就会连在一起
7.依次在顶点选择面 继续加入extrude bevel;
如果面没有任何相连. 我们就可以在ctrl键下选择多个面一起来实现extrude bevel
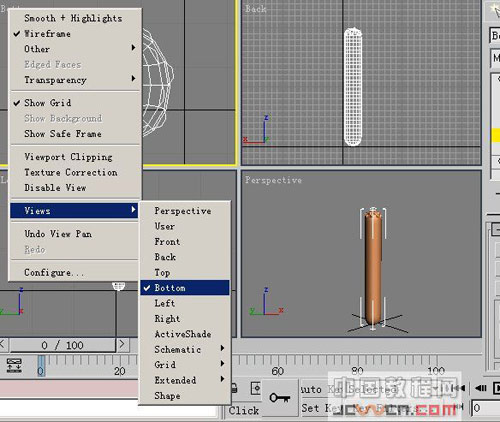
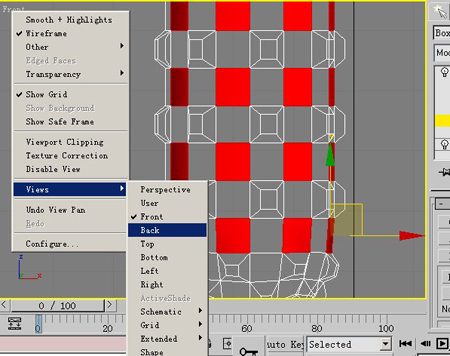
8.在顶视图左上方点击右键,选择views下的bottom 使顶视图改变为底视图
重复4-7步将物体底部实现和顶部相同
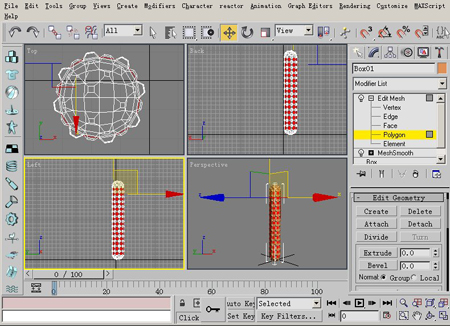
9.为顶部加入extrude bevel后,我们接下为中间部分加入命令
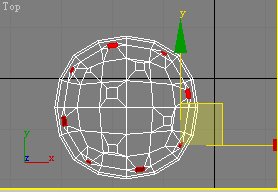
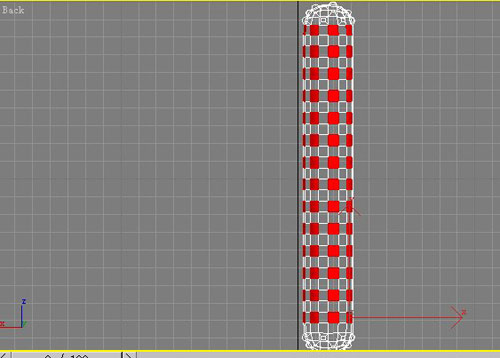
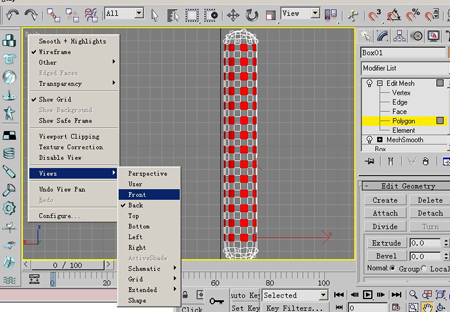
如所示,为了实现前面我们所说的任何面之间没有任何的相连,在选择面的时候 我们要将面隔行选择,如所示,在后视图中隔行选择面,然后将后视图转变为前视图,选择一圈所有不相连的面
最终效果如所示
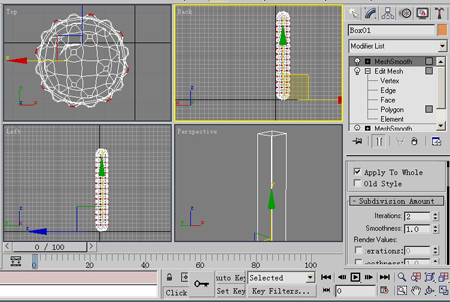
10.继续选择上步中没有选择的面,如所示,并实现效果
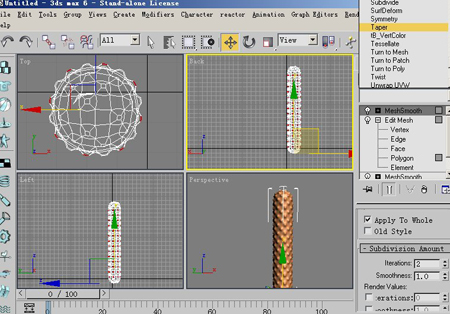
11.进入modifier list 列表中,我们 为面加入一个mesh smooth命令.使所有凹凸的面变得光滑.最终效果如所示

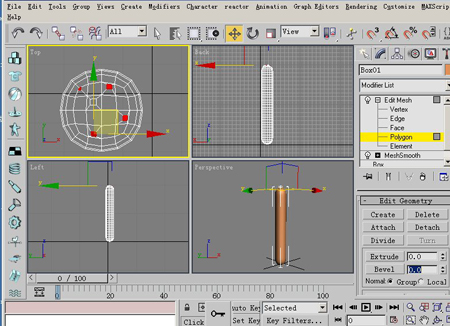
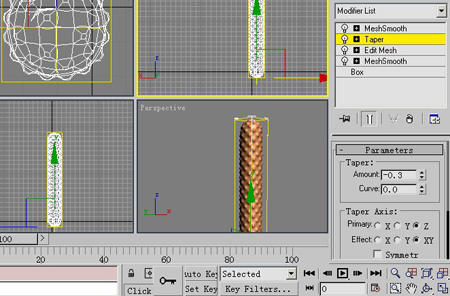
12.在modifier list下为物体加入taper命令
13.将taper的参数amount设为-0.3 这样会使物体显示上下不均
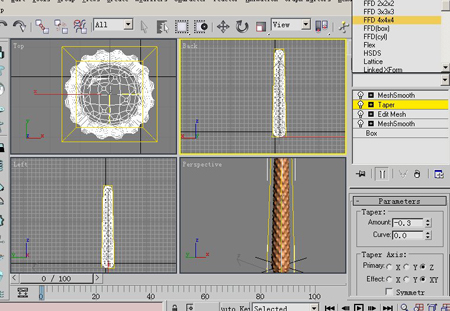
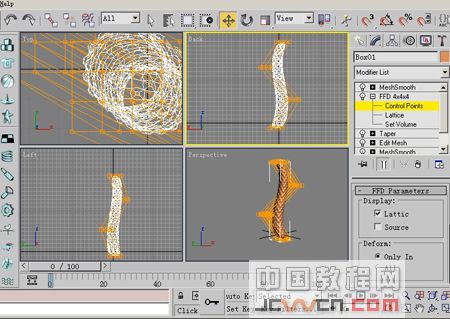
14.在modifier list下拉为物体加入一个FFD4*4*4的命令
进入contral points层级
移动中间点的位置,使有弯曲的效果,最终如所示
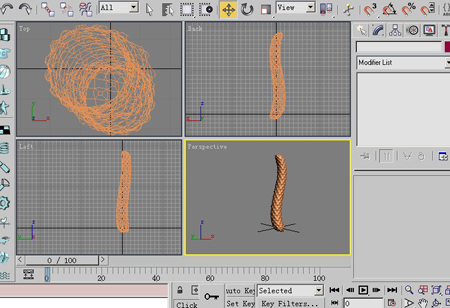
15.接下来我们要实现刺和刺离散的效果
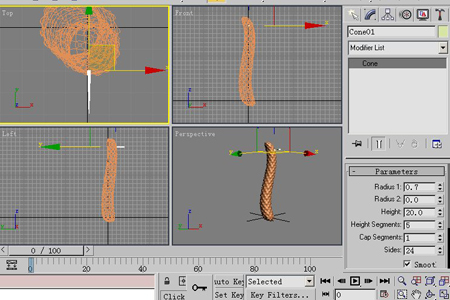
在前视图中创建一个圆椎模型(cone)参数如所示
再依次复制出两根刺,并移动合适的位置
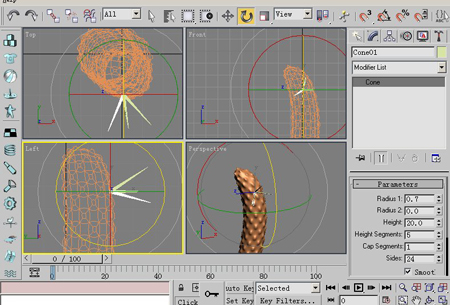
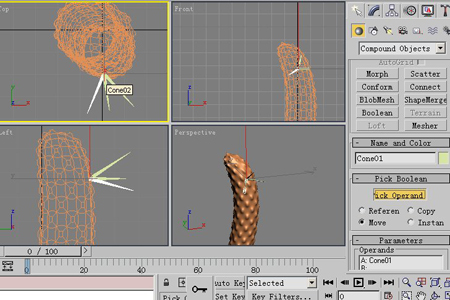
16.现在三根刺并不是同一个物体,将来我们实现离散的时候,可能会随机的将他们的位置打乱,因此我们要将三根刺做成一个物体
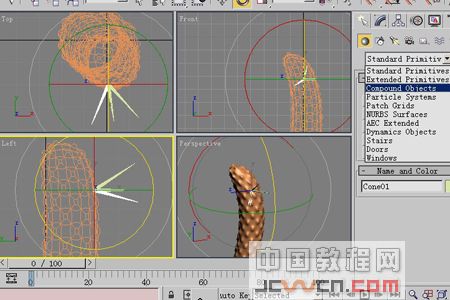
选择其中一根,打开复合物体面板(compound objects)选择布尔运算(boolean)在修改面板中点击pickoperand按钮,依次选择另两根刺
它们将合并为同一物体
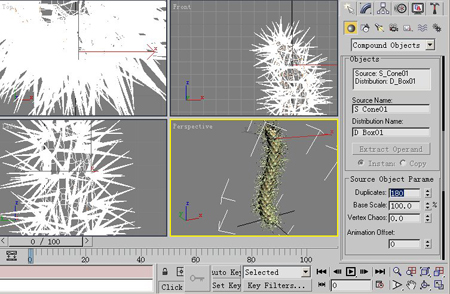
17.选择刺模型,在复合物体面板中(compound objects)选择scatter命令,在pick distrbution object 卷栏下选择pick distrbution objec按钮,在视图中选择仙人刺模型,刺将随机的分布在球体上,将duplicates的数值改为180这样球体上将会显示180个刺
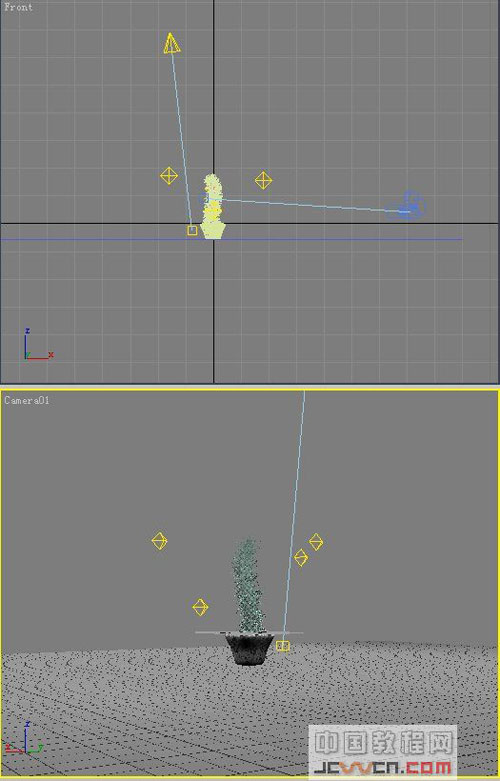
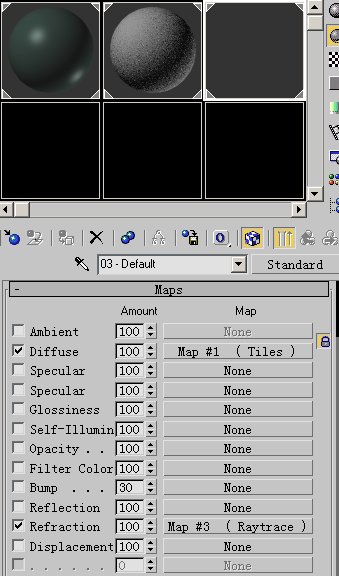
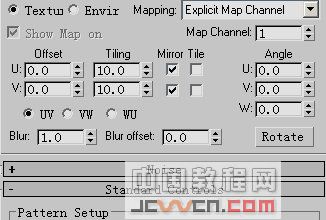
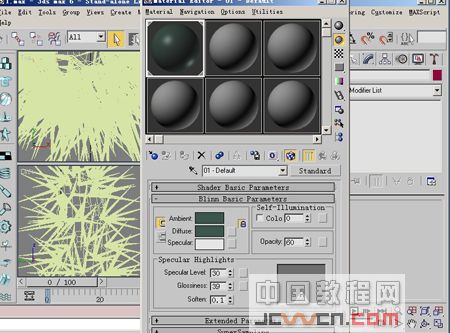
18.选择一材质球,参数如所示,将它赋给模型
19.加入场景效果,最后我们还做了一个倒立的水面,看一下如何(完)