

PhotoShop制作水彩效果的壁纸教程
发布时间:2015-05-12 来源:查字典编辑
摘要:教程学习用Photoshop制作炫彩水彩效果的壁纸,背景利用素材叠加出来,文字用图层样式来实现,给文字做阴影,再用图层样式做几个其它装饰,一...
教程学习用Photoshop制作炫彩水彩效果的壁纸,背景利用素材叠加出来,文字用图层样式来实现,给文字做阴影,再用图层样式做几个其它装饰,
一副炫彩的水彩效果壁纸就完成了,有兴趣的同学可以一起来学习一下。
先看效果图

新建文档1680x1050像素,背景白色,导入纸张素材。
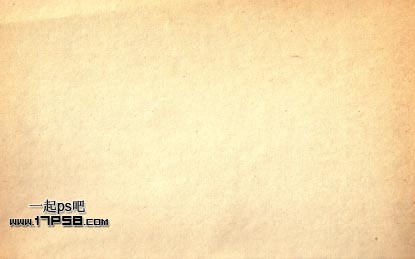
图层不透明度80%。
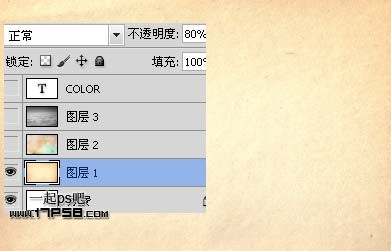
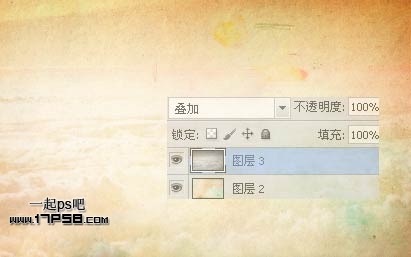
导入其他纹理。
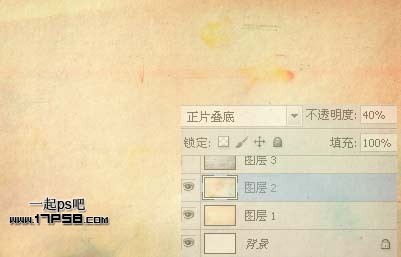
图层模式正片叠底,不透明度40%。
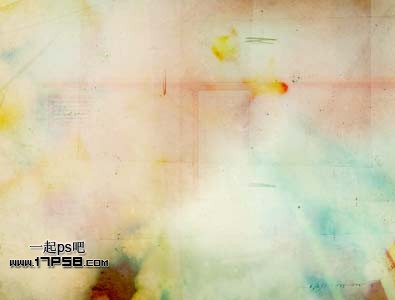
导入云彩素材。
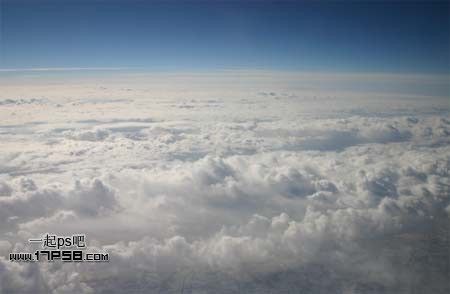
去色,图层模式叠加,效果如下。
输入黑色文字,字体MOD,每个字母1个图层。
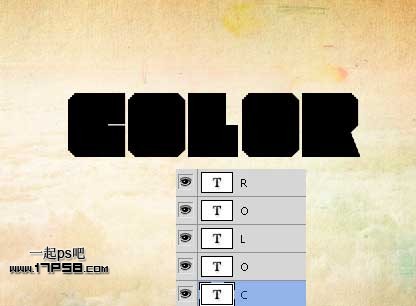
为这几个字母添加渐变叠加样式。从C到O。