

Photoshop制作真实汉堡包教程
发布时间:2015-05-12 来源:查字典编辑
摘要:平时我们所看到的一些立体感、质感超强的3D图像,在PhotoshopCS5中也可轻松的实现。PhotoshopCS5在菜单栏中新增了&ldq...
平时我们所看到的一些立体感、质感超强的3D图像,在Photoshop CS5中也可轻松的实现。PhotoshopCS5在菜单栏中新增了“3D”菜单,同时还配备了“3D”调板,使用户可以使用材质进行贴图,制作出质感逼真的3D图像,进一步推进了2D和3D的完美结合。
该教程精心为大家安排了一组3D图像,通过整个操作过程能熟练的掌握在“3D”调板中,如何为3D图像设置逼真的材质和贴图。在开始教程的学习之前,请先在网站下载配套的练习文件,以便跟随操作步骤学习。
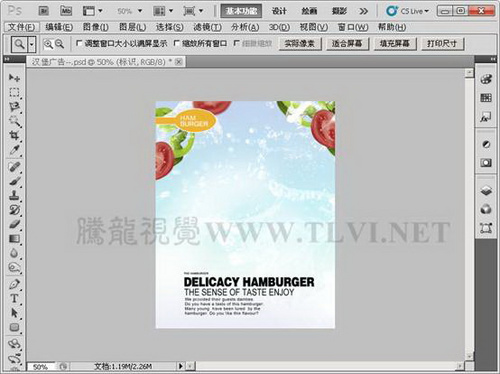
图00
(1)打开素材“汉堡广告.psd”文件。
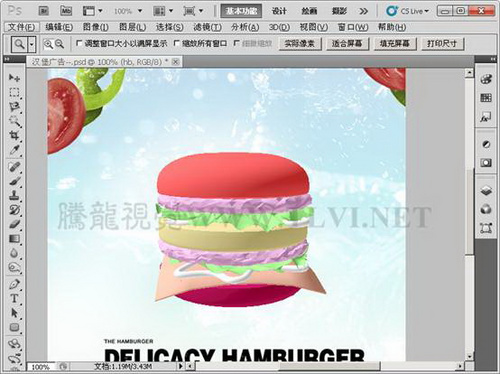
图01
(2)执行“3D”→“从3D文件新建图层”命令,选择本实例配套素材“汉堡模型。3DS”文件。
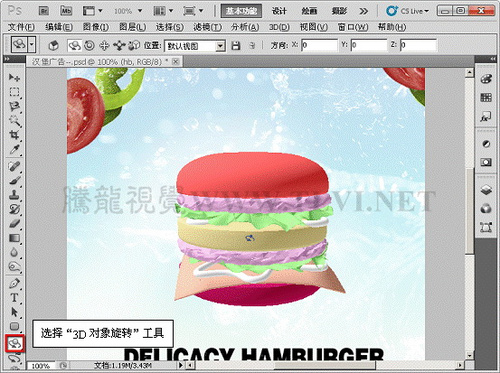
图02
(3)在工具箱中选择“3D对象旋转工具”,对图像进行旋转。
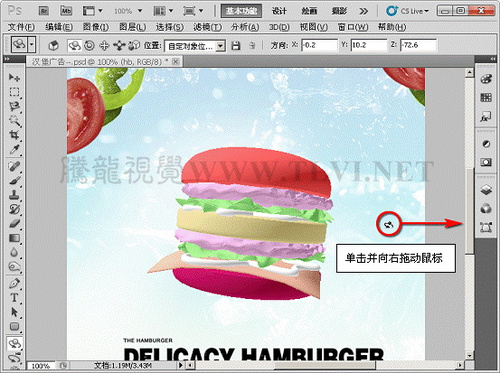
图03
(4)在其选项栏中精确设置旋转数值。
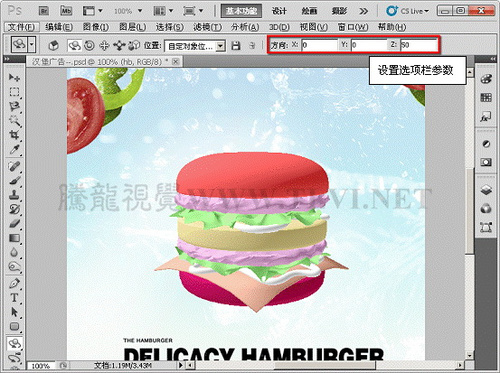
图04
(5)在工具选项栏中选择“3D对象比例”工具,将3D对象缩小。
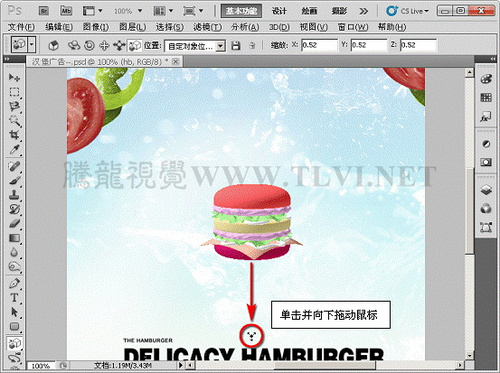
图05
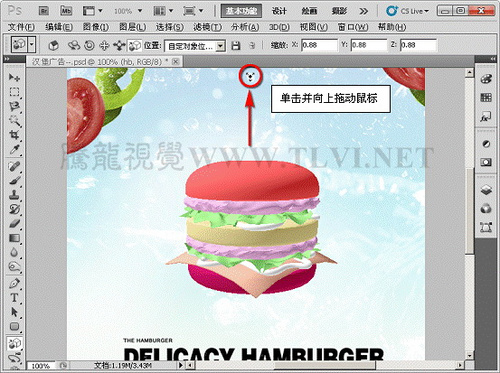
图06
(6)选择“3D对象比例”工具,单击并向上拖动,将放大3D对象。
图07