Photoshop给黑白图片加上完美的透射光束
发布时间:2015-05-12 来源:查字典编辑
摘要:制作透射光束的方法有很多,用滤镜是比较常见的。这里介绍一种纯手工制作方法。大致过程:先设定好光源位置,用曲线等调亮。然后选取高光区域,拉成光...
制作透射光束的方法有很多,用滤镜是比较常见的。这里介绍一种纯手工制作方法。大致过程:先设定好光源位置,用曲线等调亮。然后选取高光区域,拉成光束效果,用蒙版控制好区域。后期再给光束底部增亮即可。
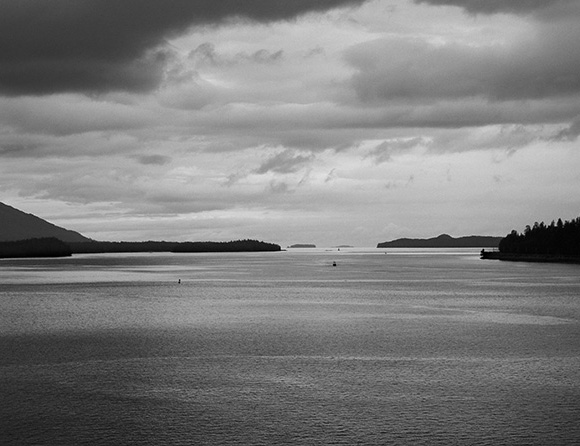
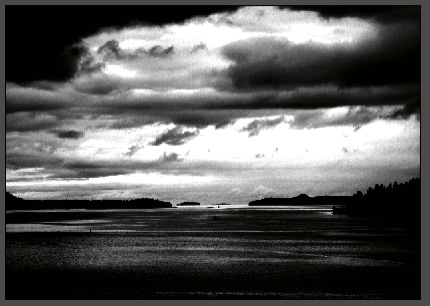
photoshop教程原图
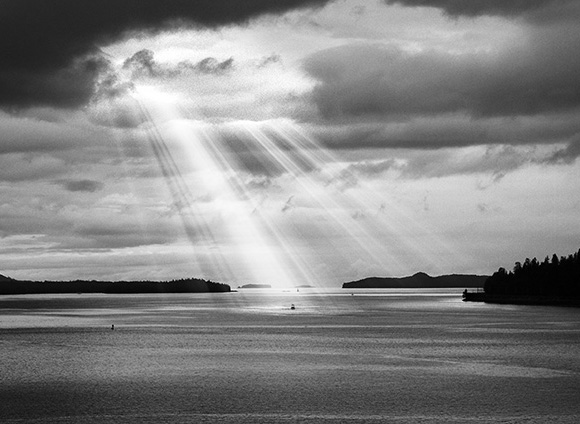
最终效果
1、通过将图片拖拽至图层面板底部的新建图层图标上来将背景图层复制一层。将其命名为“基础光线”。
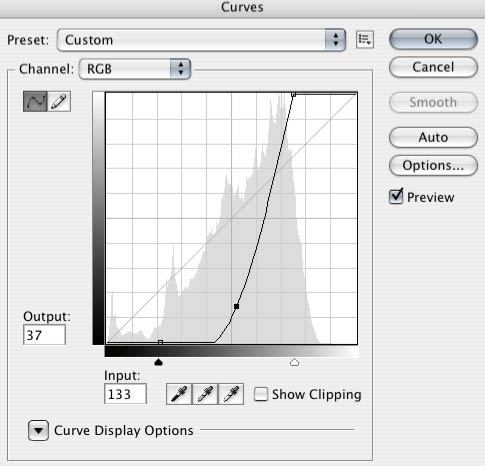
在图层面板中选择此图层,按下Ctrl + M键(CMD + M)应用曲线。调整至一个非常强烈的曲线,让云彩的对比度拉到最大,使其中的一小片区域完全变成白色。我把注意力集中在靠左边顶部第三个小范围内,这里将是光线从云层中穿透出来地方。
2、现在给图层应用2个像素的高斯模糊。(滤镜>模糊>高斯模糊)
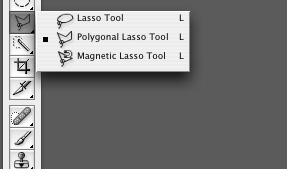
3、暂时关闭基础光线图层,选择背景图层。选择多边形套索工具(L),将位于屏幕顶部的工具属性栏栏中的羽化值设置为50。