

PhotoShop制作照片边角45度折边效果的教程
发布时间:2015-05-12 来源:查字典编辑
摘要:老式相册里面有一种插入照片的方式是在相册底板上刻出45度角的切口,然后将照片的2-4个角插入固定。今天我们来用Photoshop模拟这种怀旧...
老式相册里面有一种插入照片的方式是在相册底板上刻出45度角的切口,然后将照片的2-4个角插入固定。
今天我们来用Photoshop模拟这种怀旧的视觉效果。
完成效果图:
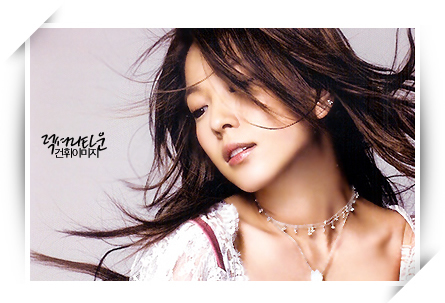
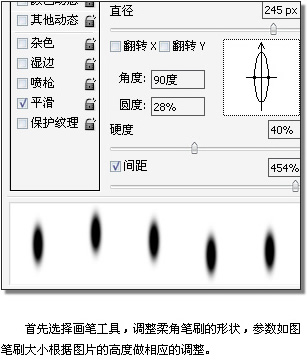
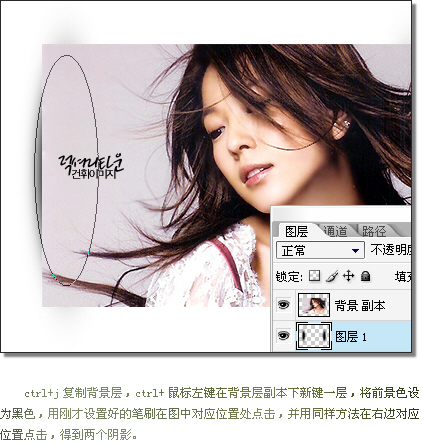
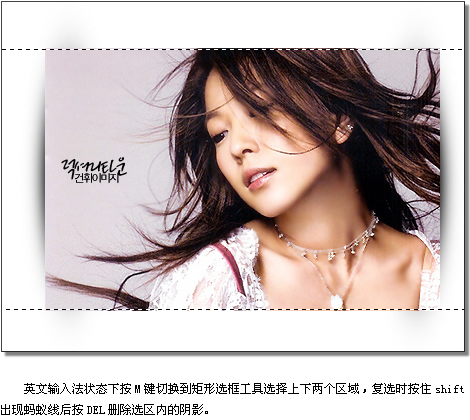
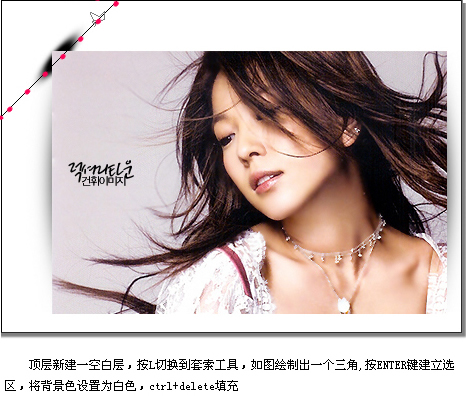
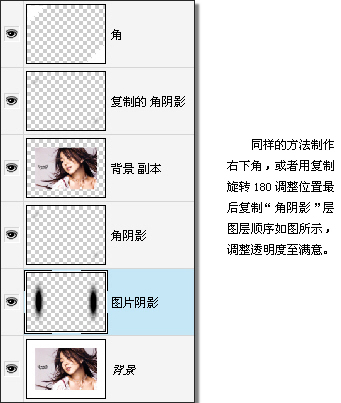
PS教程绘制步骤:

最终效果
