photoshop进阶教程:打造超酷的3D网页
发布时间:2015-05-12 来源:查字典编辑
摘要:Hi~在这辑StepbyStep中,我将教大家使用几个简单的渐变和图层样式制作超酷的3D网页,如果你想让你的网页脱颖而出,那你绝对不能错过这...
Hi~在这辑Step by Step中,我将教大家使用几个简单的渐变和图层样式制作超酷的3D网页,如果你想让你的网页脱颖而出,那你绝对不能错过这辑,开始吧
素材图片:

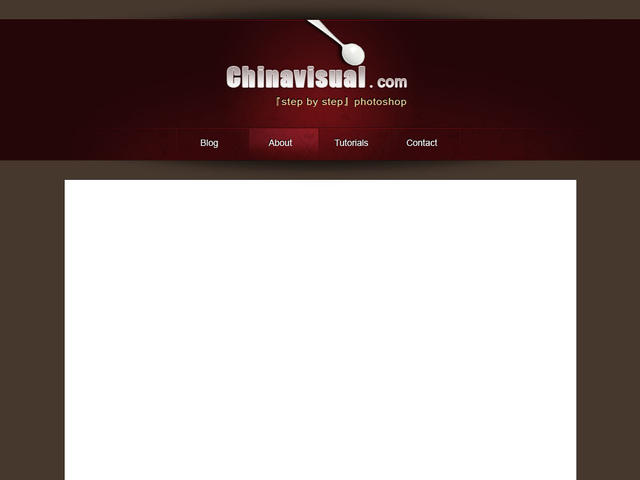
最终效果:
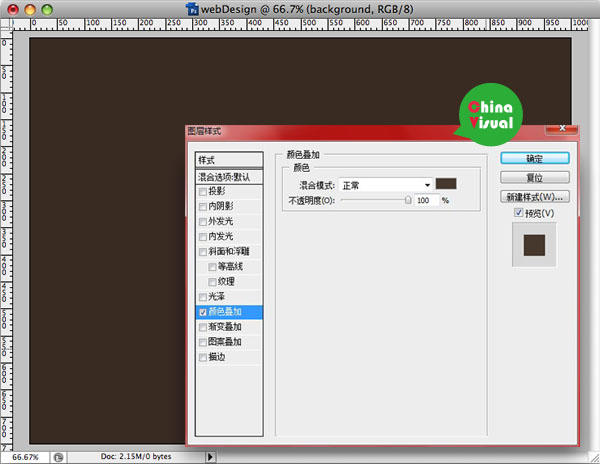
Step 1
创建一个 1000x750像素大小的文件,双击背景图层将其变为可编辑的图层,并打开图层样式>颜色叠加,用#47382e叠加。
Step 2
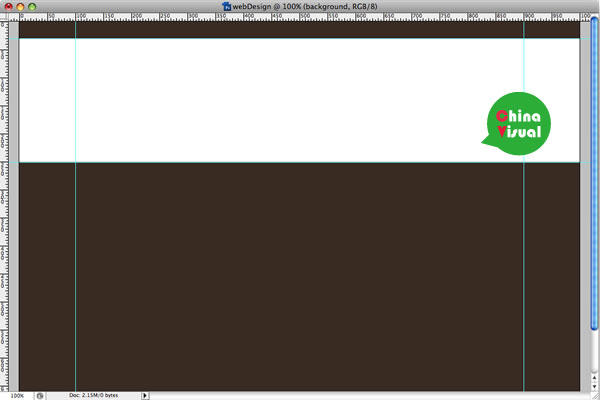
打开标尺(视图>标尺),按下图添加一些参考线
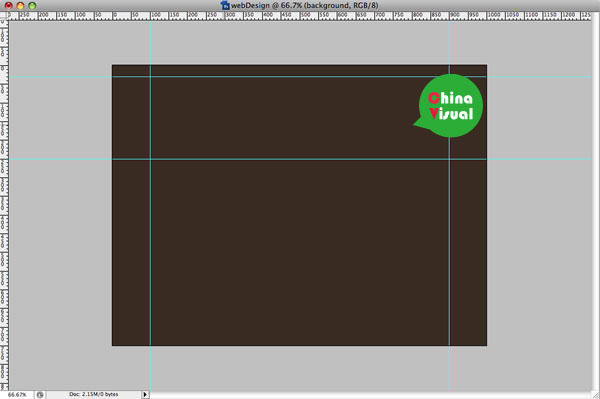
Step 3
用矩形工具创建一个矩形,将该图层命名为header.