

Photoshop打造末日凄凉景象:生存
发布时间:2015-05-12 来源:查字典编辑
摘要:最终效果1.这一步我们需要两张图片来制作背景,我选择了一张“沙漠”图片和一张“城市”图片。2...
最终效果

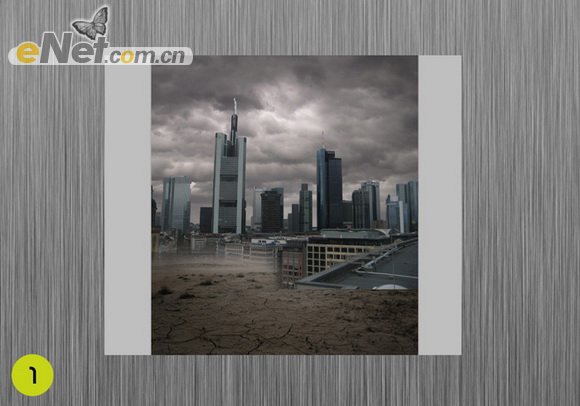
1.这一步我们需要两张图片来制作背景,我选择了一张“沙漠”图片和一张“城市”图片。
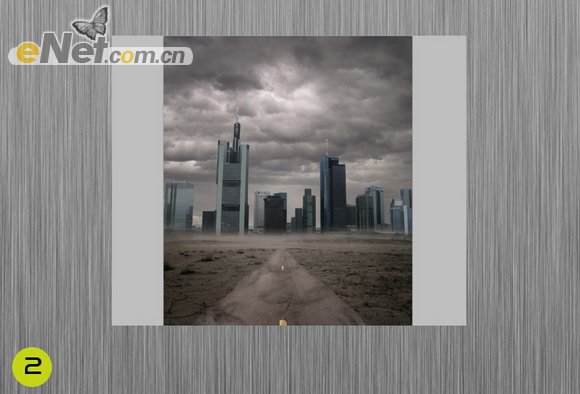
2.使用“橡皮擦”工具,将两张图像连接的地方涂抹一下,让他们相连的边缘自然。同时涂抹出一条简单的龟裂路面,用黄色画几条竖道。
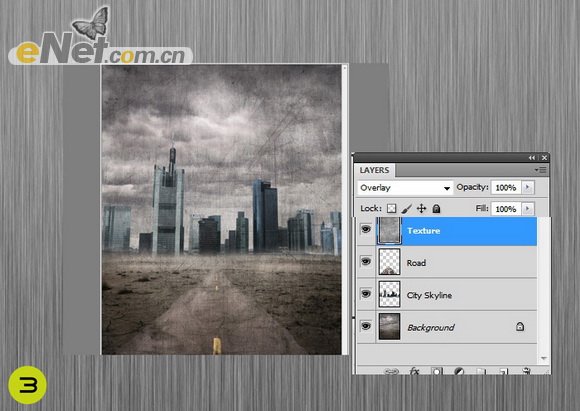
3.从网上下载一张“旧照片纹理”,并拖入我们的画布上覆盖,将“纹理”的混合模式设置为“叠加”
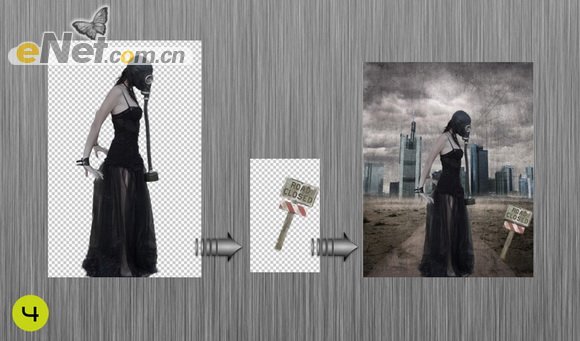
4.打开“人物”和“路标”,将它们放置在下图所示的位置
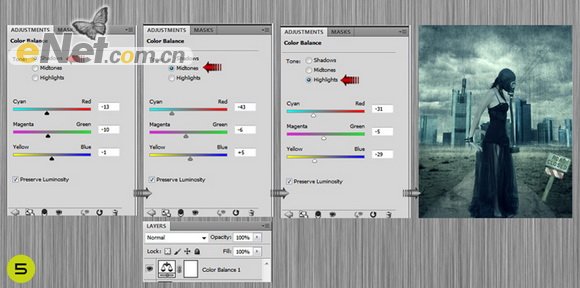
5.点击图层面板下方的“创建新的填充或调整图层”,“选择色彩平衡”,并如下图调整
6.新建一个图层,选择“编辑>填充”,在填充对话框的使用里选择“50% 灰色”确定后,将图层的混合模式设置为“叠加”

7.选择“滤镜>镜头校正”,在“自定义”里将“晕影”的数量调整为-85
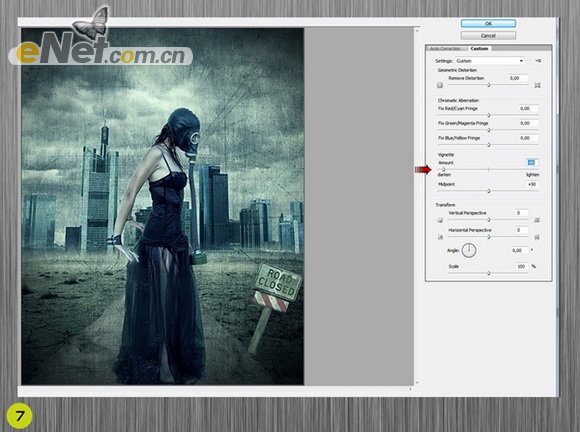
这样你得到了一张压抑的末世图片