ps通道蒙版制作情侣水晶
发布时间:2015-05-12 来源:查字典编辑
摘要:蒙版(用于图像的合成)如果图像中有选区,添加图层蒙版,选区外的图像被删除黑色:表示完全的不透明(颜色会完全被擦掉)白色:表示完全的透明(图像...
蒙版(用于图像的合成) 如果图像中有选区,添加图层蒙版,选区外的图像被删除
黑色:表示完全的不透明(颜色会完全被擦掉)
白色:表示完全的透明(图像会恢复)
灰色:表示半透明
教你制作情侣水晶的具体操作步骤:
这里需要两个素材;情侣素材:

桃心水晶素材

步骤一、首先将这两个素材用photoshop打开, 选择“素材1”图片,用磁性套索工具把桃心抠下来。并移动到“情侣”图片中。

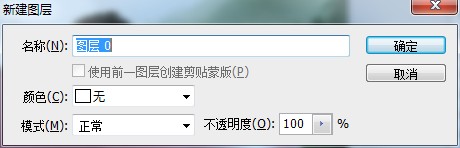
步骤二、 选择“情侣”图片的背景层,双击背景层转换为普通图层。
步骤三、 选中图层1,按住CTRL键载入选区。

步骤四、再选中图层,按下CTRL+SHIFT+I反选,然后删除,CTRL+D取消选择。

步骤五、 选中图层1,切换到通道调板,选择蓝通道并复制一份。
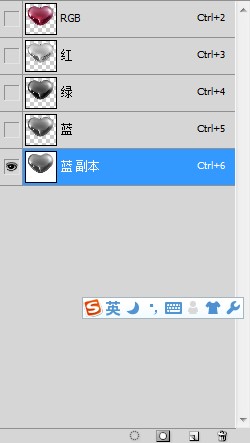
步骤六、 按住CTRL键把蓝副本载入选区。
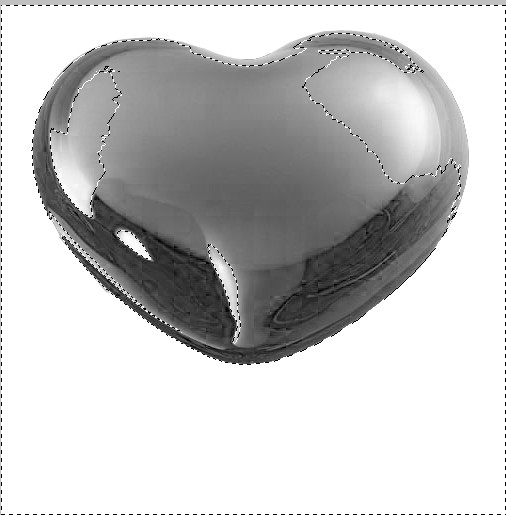
步骤七、 回到图层面板,选中图层1,单击“添加图层蒙版”。最终效果图如下图所示: