

ps制作渐变闪图教程
发布时间:2015-05-12 来源:查字典编辑
摘要:效果:1.打开背景。2.新建图层之后选择渐变工具。3.双击下面两个图标。把颜色都改为白色。4.再分别点击上面两个图标。左边的不透明度为100...
效果:

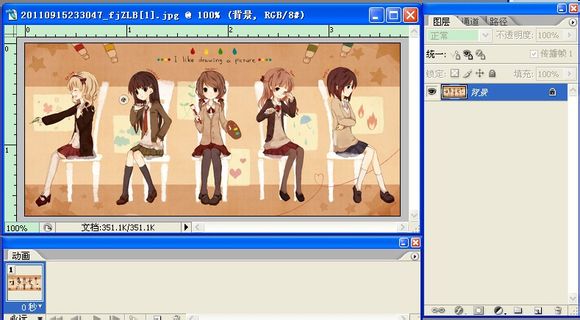
1.打开背景。
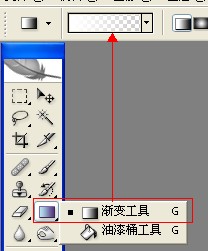
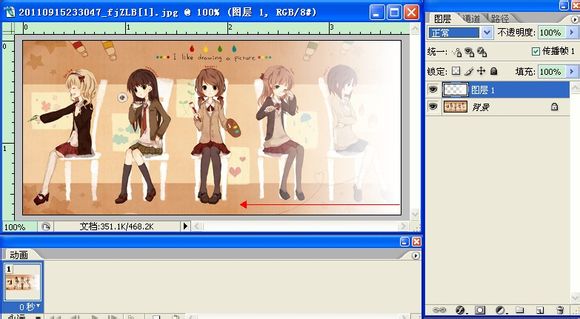
2.新建图层之后选择渐变工具。
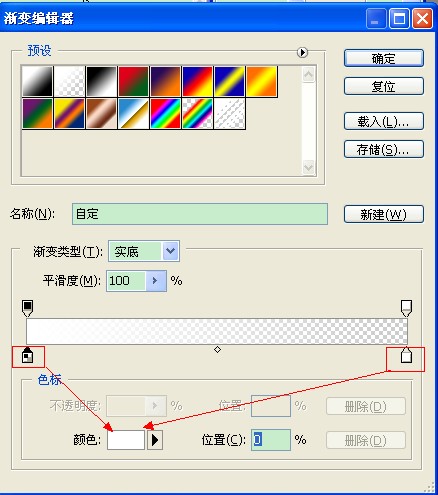
3.双击下面两个图标。把颜色都改为白色。
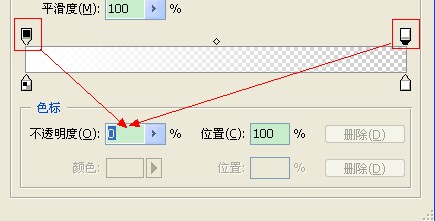
4.再分别点击上面两个图标。左边的不透明度为100%。右边的不透明度为0%。
注意:选择第一种渐变→

5.选中图层1.在画布按住shift键从右往左拉一个白色渐变。↓、大概下面箭头所示那么长。(这个看个人喜欢。)
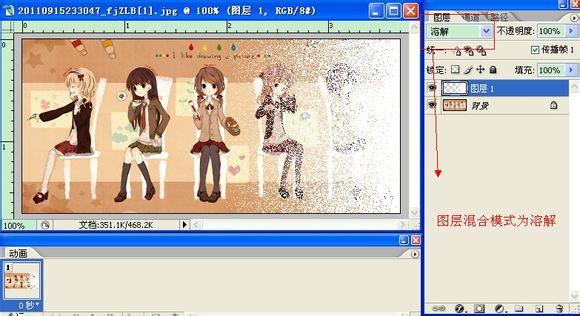
6.图层混合模式选择为:溶解。
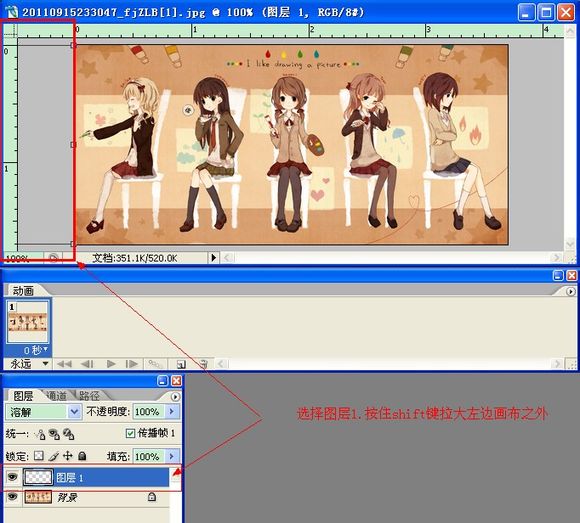
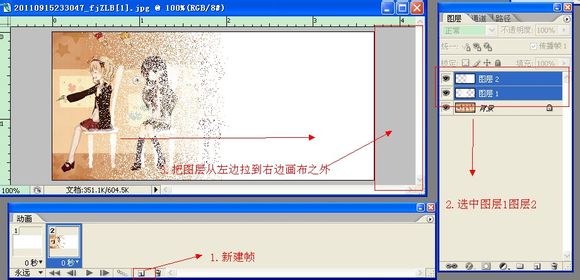
7.把图层1先移到左边画布之外。(注意:要刚刚好到边缘的位置哦~).
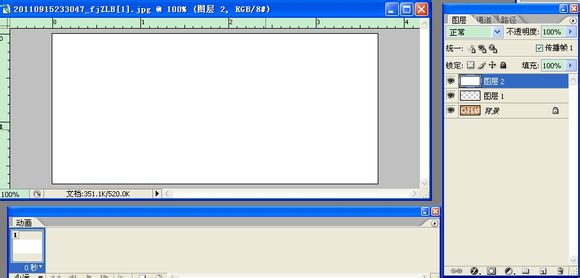
8.再新建图层。填充为白色(这一步我不知道其它人是不是这样做的。)
9.打开动画面板。(窗口-动画/时间轴)
新建帧、然后选中图层1和图层2.拉到右边画布之外。
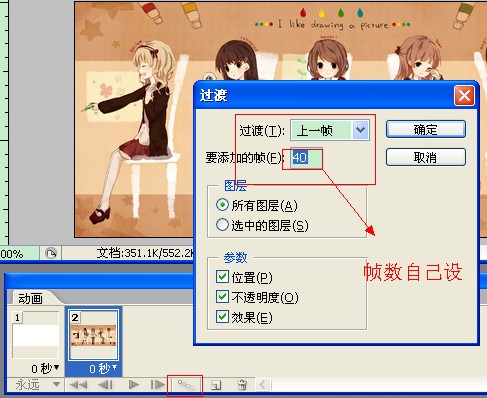
10.添加过渡帧。
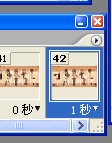
←、在最后一帧设置延迟为1秒。
注:更多精彩教程请关注三联photoshop教程栏目,三联PS群:182958314欢迎你的加入