

本教程适合初学者,我包括创建新画笔预设和钢笔工具的使用方法。你将有更多的机会实践图层混合模式,滤镜和自由变换工具。试试看!

Step 1
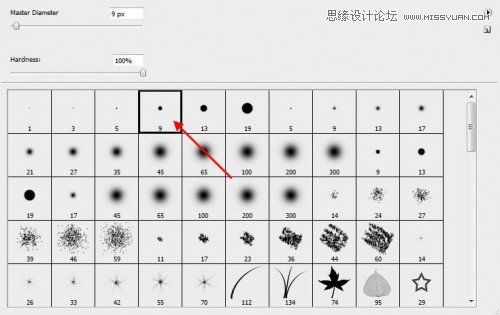
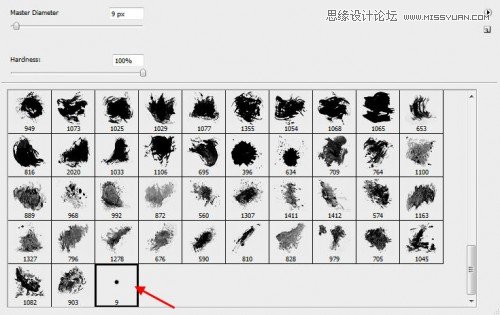
创建一个新的文档,填充黑色背景,宽高,设置为980*400px,然后你可以更改这一设置,使用72 pixel/inch 因为创建的图像是网页所用的。现在,我创建一个笔刷预设,这样做,第一步选择笔刷工具,从下面的一些笔刷中,
然后给这个画笔,添加如下图的设置。
形状动态
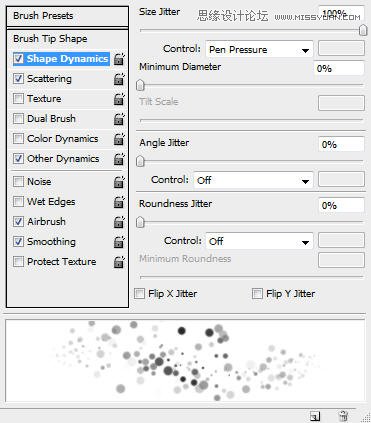
散步

传递
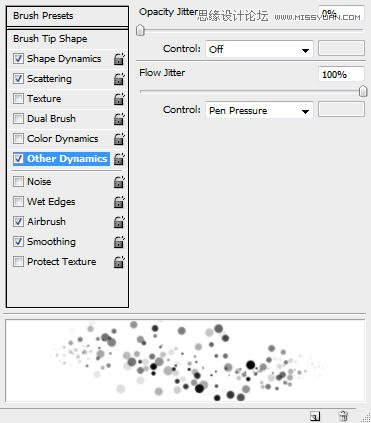
确保你选择喷枪还有平滑的选项。
在完成这个画笔的设置之后,我们保存它,让它作为新的画笔,这样以后我们还可以使用它,点击左下角的三右上方点击“新建画笔预设”。
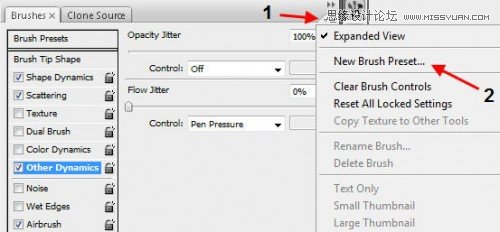
并输入内容以下的弹出式窗口:

这是你就可以看到预设的画笔出现在下面的画笔选择窗口。
Step 2 创建一个新图层命名为lines,Create a new layer call lines, 用钢笔工具绘制如下的形状路径。 提示:按住Shift键并拖动鼠标向上大约45度的两个锚点。 然后右键单击描边路径 然后选择 笔刷,另外那个 模拟画
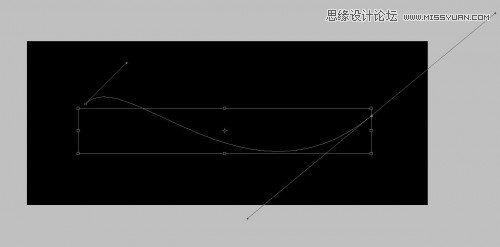
提示:按住Shift键并拖动鼠标向上大约45度的两个锚点。
然后右键单击“描边路径”
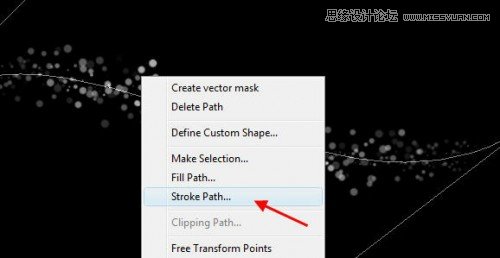
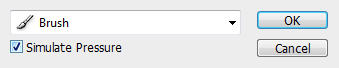
然后选择 “笔刷”,另外那个 “模拟画笔压力”也要打勾。
你会有以下的效果

Step 3
仍然在这个层“lines”,选择“滤镜“-”模糊“-”动态模糊“命令,然后设置如下的的参数。
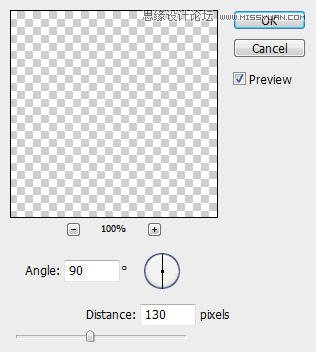
然后再设置一次动态模糊,用快捷键(ctrl+F),你会看到如下效果。

添加“渐变叠加模式”选择这些参数。色谱-色谱渐变。
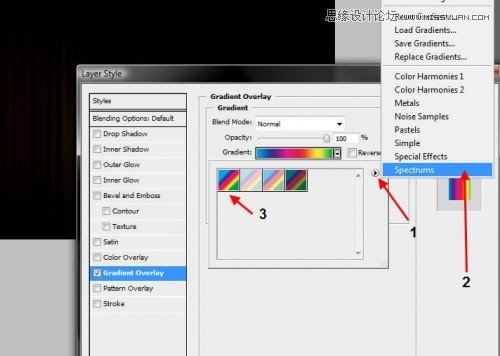
复制这个图层四次,使这些图层相互融合,让他们看的更清楚一些:

Step 4
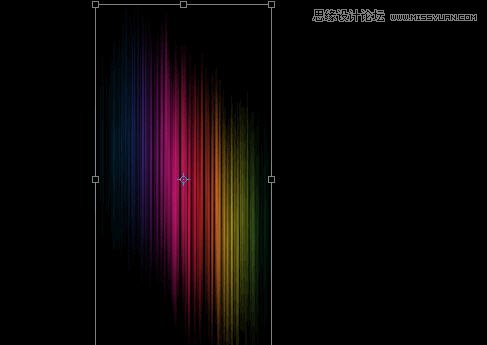
我们又一次重复的“lines”层的3倍,你将看到的频谱变得更清晰的颜色:

然后我们把复制的层,使用自由变换工具调整为以下:
我们可以使用变形工具 (Ctrl + T 然后右击选择 “变形”), 把它变成下面的图形:
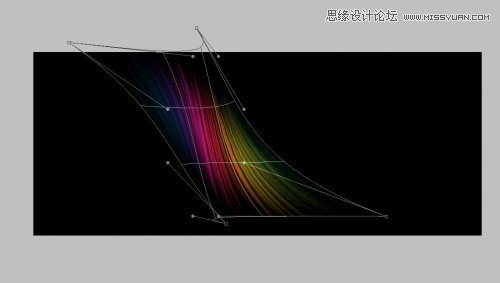
这是变形后的效果

Step 5 现在我们真的可以用我们的想象力和简单地重复这一lines层几次,旋转和调整大小的每个重复层,直到结果是可取的: 这是我到目前为止效果: 合并复制层在一起。 我们还可以加一点的谱线的环境影响色。要做到这

合并复制层在一起。
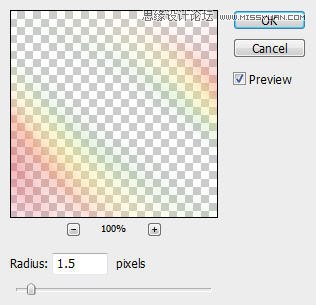
我们还可以加一点的谱线的环境影响色。要做到这一点,简单重复的合并层和应用如下设置高斯模糊(滤镜>模糊>:高斯模糊)
改变复制层 混合模式为“线性光”,你将有以下效果:

添加一些最后的点缀,记住,我们创建了一个新的刷在步骤1中设定的?我们可以使用它添加一些漂亮的点在抽象的线上。

改变图层的混合模式为“叠加”。

复制 “dots” 层然后改变该层的混合模式到“正常”,然后将它的透明度降到“15%”,然后去除一些不需要的部分。

这个教程就到此结束!你当然可以进一步强化这种图像添加一些效果,纹理和滤镜。
这里是这个教程的最后版本(加了点云的影响和锐化图像):
注:更多精彩教程请关注三联photoshop教程栏目,三联PS群:311270890欢迎你的加入