

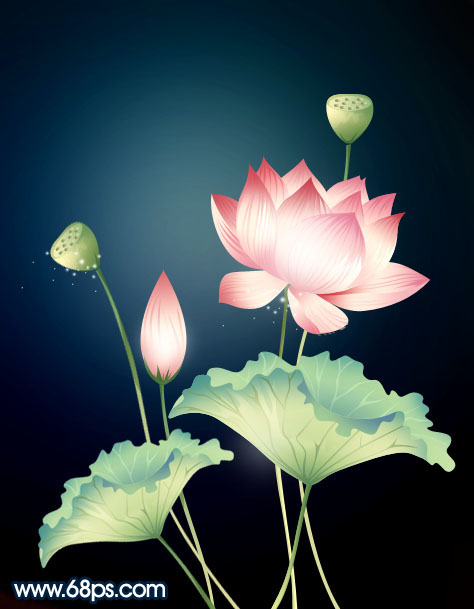
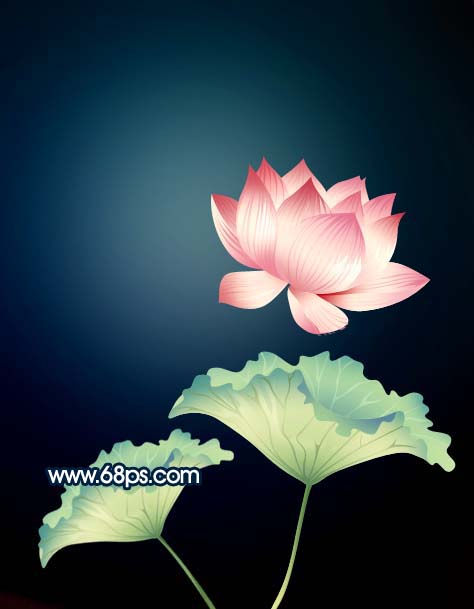
最终效果
1、新建一个500 * 600像素的文件,然后选择渐变工具,颜色设置如图1,由左上部拉出图2所示的径向渐变。
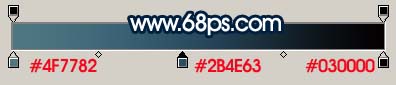
<图1>

<图2>
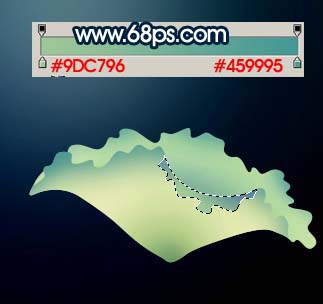
2、新建一个图层,用钢笔工具勾出半张荷叶的路径,转为选区后如图3,然后选择渐变工具颜色设置如图4,拉出图5所示的径向渐变。拉好渐变后不要取消选区。

<图3>
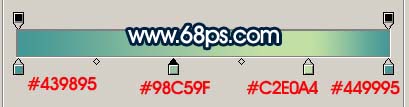
<图4>

<图5>
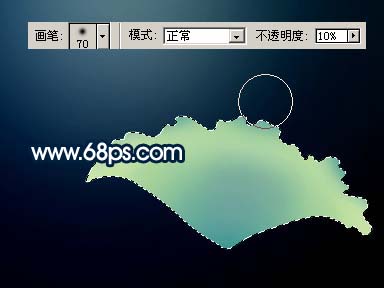
3、把前景颜色设置为:#6E9C9A,选择画笔工具,不透明度为:10%左右,把叶子上部边缘部分涂点深色,效果如图7。
<图6>
<图7>
4、新建一个图层,用钢笔工具勾出图8所示的另半张荷叶路径,再转为选区。

<图8>
5、选择渐变工具,颜色设置如图9,拉出图10所示径向渐变。
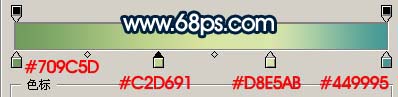
<图9>

<图10>
6、新建一个图层,用钢笔工具勾出叶子反过来的部分,然后拉上渐变色,颜色设置及选区如图11,效果如图12。
<图11>

<图12>
7、新建一个图层,用钢笔工具勾出叶脉的路径,然后填充颜色:#658D5C,再用减淡/加深工具处理一下明暗度,效果如图13。叶脉部分比较细小扣路径的时候需要比较细心。

<图13>
8、新建一个图层,用钢笔工具勾出茎的路径,然后拉上渐变色,效果如图14。一片完整的叶子制作完成。把这些图层合并,然后复制一份,做出另一张荷叶,如图15。
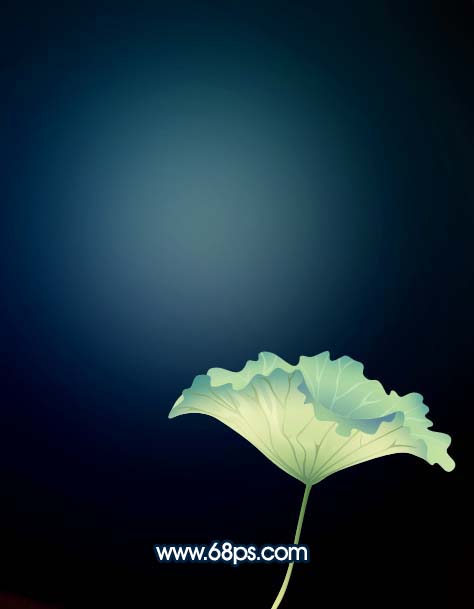
<图14>
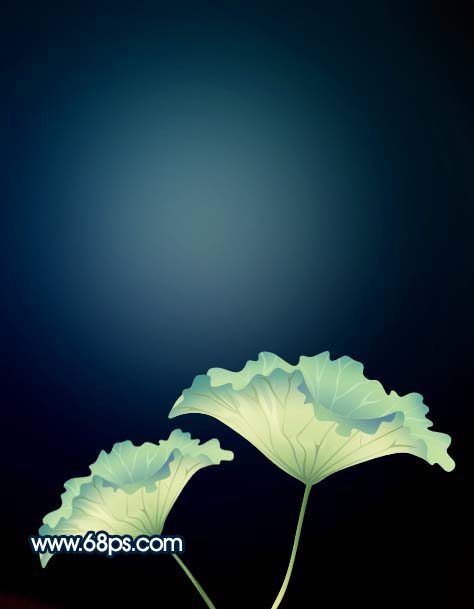
<图15>
9、荷花部分的制作,新建一个图层,用钢笔工具先抠出一张花瓣的路径,转为选区效果如图16。
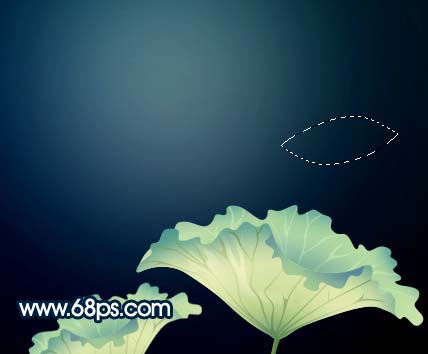
<图16>
10、选择渐变工具,颜色设置如图17,拉出图18所示线性渐变。
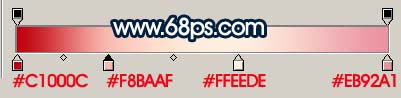
<图17>

<图18>
11、用钢笔工具抠出花瓣反过来的部分,如图19,再锁定图层,然后拉上图20所示的线性渐变。

<图19>
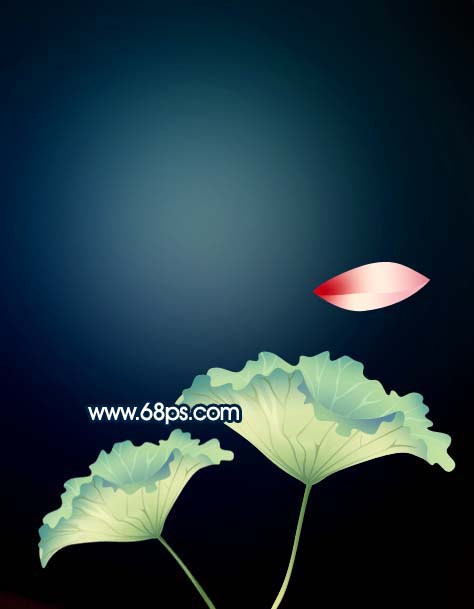
<图20>
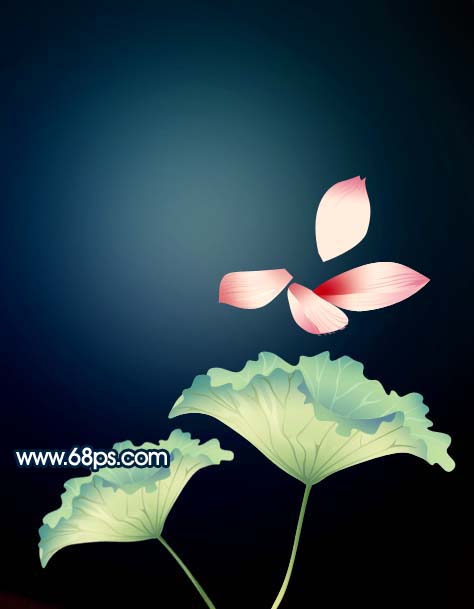
12、再加上花瓣上的经脉,如图21。

<图21>
13、其它花瓣的制作,方法一样,需要注意好花瓣的顺序。不同的位置渐变色稍微有点变化,效果如图22,23。
<图22>
<图23>
14、再加上茎部,效果如图24。
<图24>
15、莲子及花苞的制作,方法就不再详述了。如图25,26。
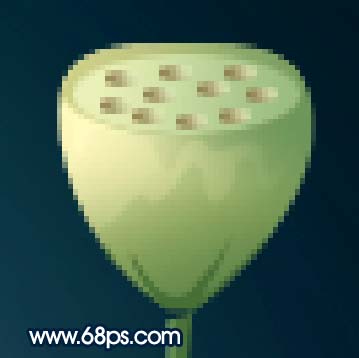
<图25>
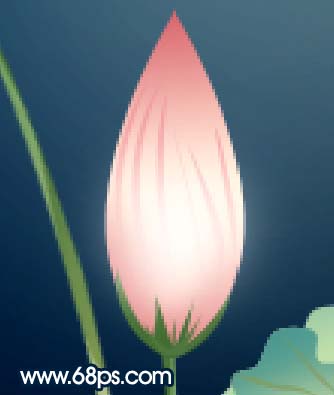
<图26>
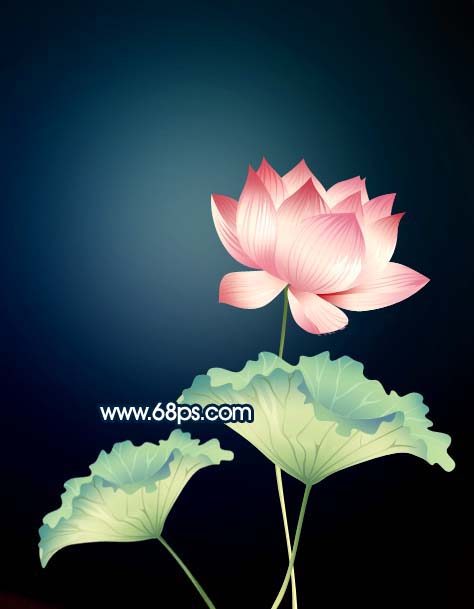
16、最后整体修饰下细节,适当调整下光感,加点小点装饰,完成最终效果。
注:更多精彩教程请关注三联photoshop教程栏目,三联PS群:311270890欢迎你的加入