

photoshop吸管工具属性栏的设置技巧(详细图解)
发布时间:2015-05-12 来源:查字典编辑
摘要:photoshop吸管工具属性栏的设置技巧方法/步骤1、在photoshop中打开一幅带有彩虹的图像文件点击工具栏的吸管工具2、在彩虹的紫色...
photoshop吸管工具属性栏的设置技巧
方法/步骤
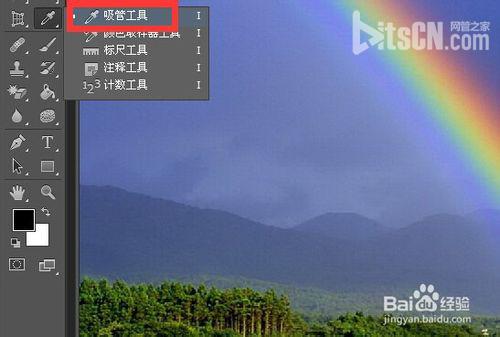
1、在photoshop中打开一幅带有彩虹的图像文件 点击工具栏的吸管工具
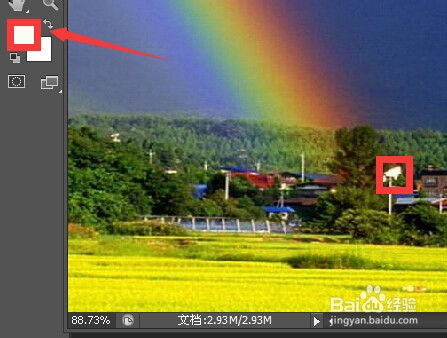
2、在彩虹的紫色部分点击一下鼠标的左键 再点击之前前景色(红色框内的颜色)是黑色的
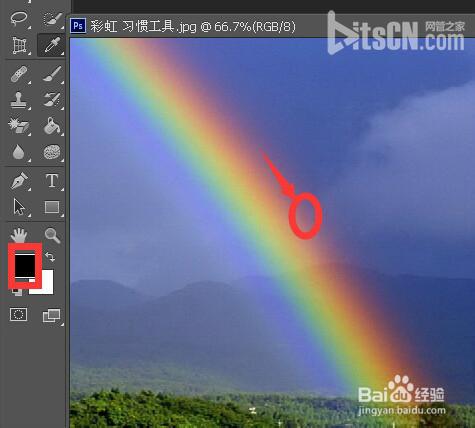
3、点击完之后 前景色变成了紫色
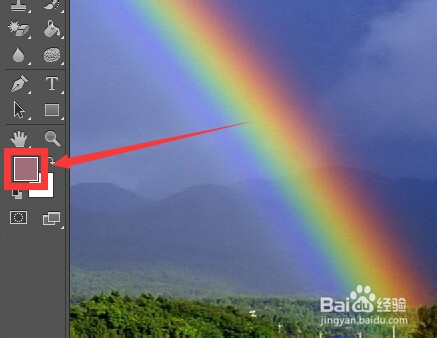
4、点击一下箭头所指向的白色房子上的白色区域
5、点击完成后观察工具栏的前景色已经变成了吸管吸取的白色
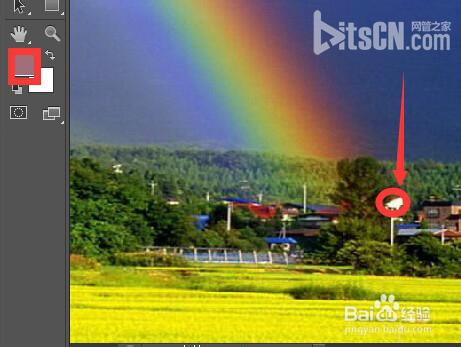
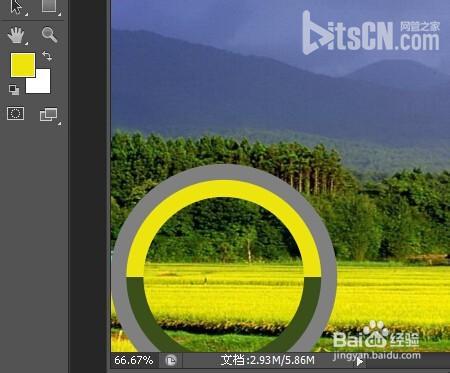
6、鼠标点击一个颜色区域 点的时候会出现一个颜色环 上边的半环是当前吸取的颜色 下面的半环是原来的前景色

7、可以按住鼠标并拖动鼠标 到不同的位置 可以观察取样环的颜色也在变化 以利于帮我我们找到合适的颜色同时可以对比原来的前景色
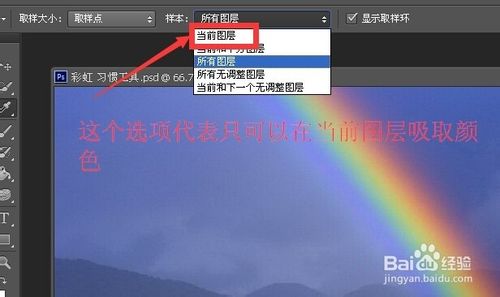
8、这个选项代表只可以在当前图层吸取颜色 其他的选项根据需要设置
以上就是photoshop吸管工具属性栏的设置技巧介绍,希望能对大家有所帮助!