photoshop另类抠图方法:线条抠图法
发布时间:2015-05-12 来源:查字典编辑
摘要:教程由PS联盟的灵儿原创,转载时请保留此信息!!原图最终效果图教程由PS联盟的灵儿原创,转载时请保留此信息!!原图最终效果图3.画钢线时,细...
教程由PS联盟的灵儿原创,转载时请保留此信息!!
原图
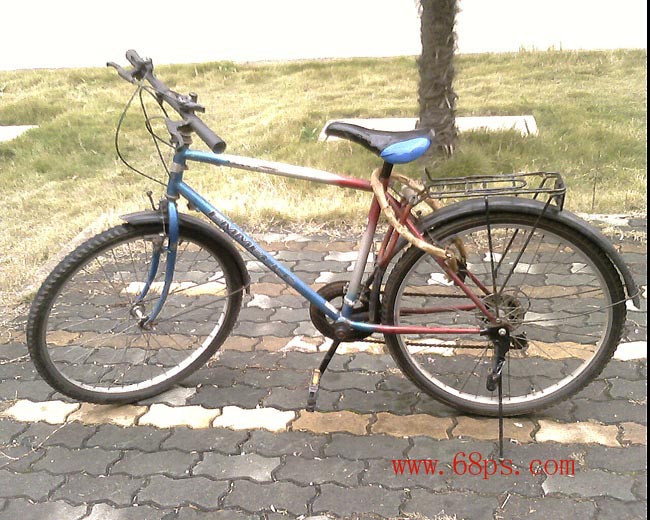
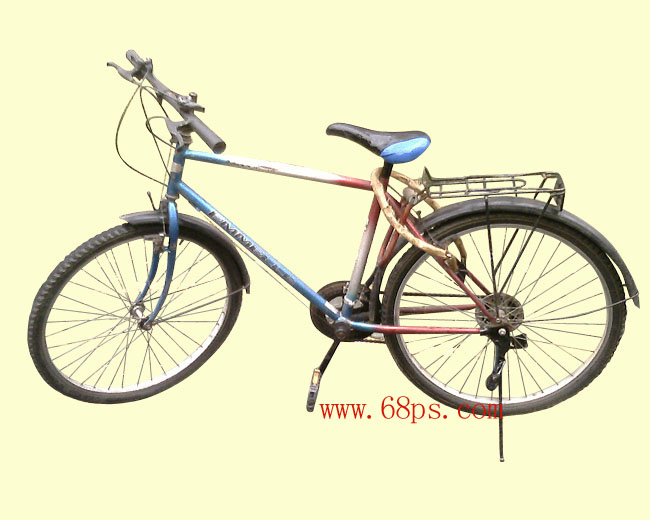
最终效果图
教程由PS联盟的灵儿原创,转载时请保留此信息!!
原图

最终效果图

3.画钢线时,细心,加上用自己对单车的了解,感觉出大概,反正我们的目的只是让它抠出来后很逼真就形了.(这里为了突出,线条的颜色我用了比较鲜艳的颜色),描的直线如图4所示。完成的效果如图5
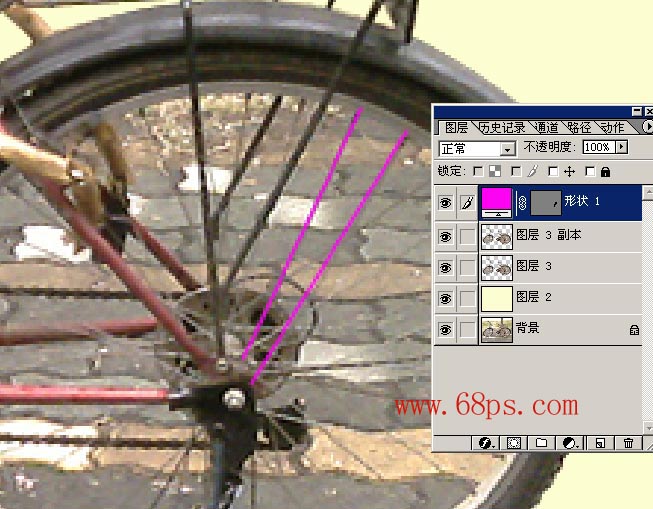
图<4>
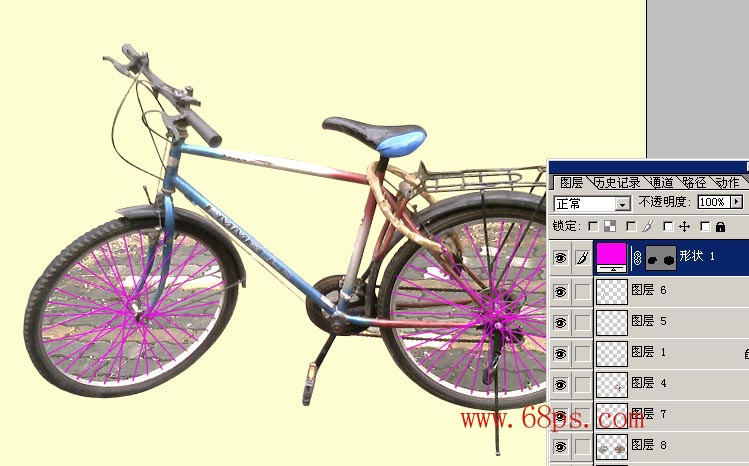
图<5>
4.调出线条的选区,然后回到车轮的图层 按 Ctral + C 复制 然后直接按 Ctral + V 粘贴 钢丝的线条就出来了,如图6所示。
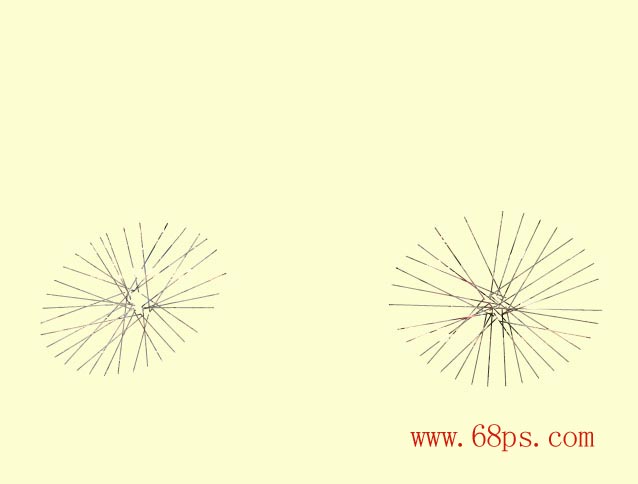
图<6>
7.钢丝勾出来了,后面的我们就用钢笔工具把其他不要的部分删除 得到最后效果!


