

photoshop通道给繁密的树枝抠图教程
发布时间:2015-05-12 来源:查字典编辑
摘要:教程用应通道结合蒙版的运用,扣出繁密的树放背景,几步就能轻松的扣完成,来看看下的制作过程吧。原图最终效果图1、打开原图,进入通道面板,查看通...
教程用应通道结合蒙版的运用,扣出繁密的树放背景,几步就能轻松的扣完成,来看看下的制作过程吧。
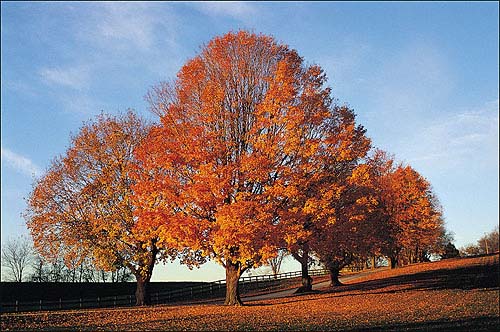
原图
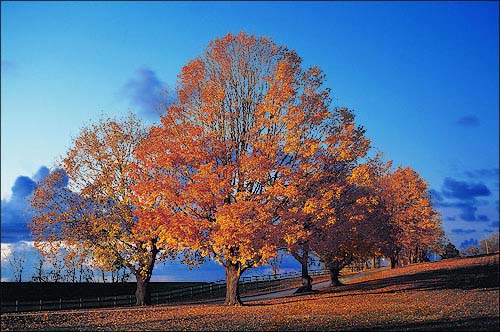
最终效果图
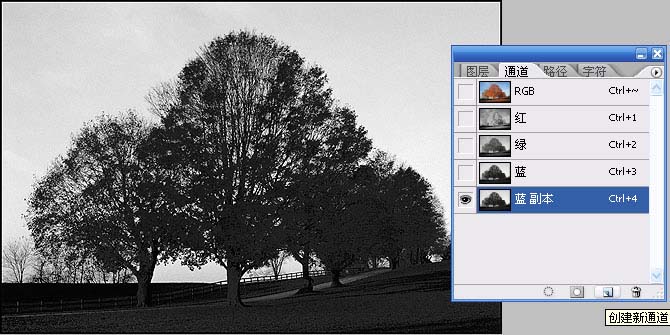
1、打开原图,进入通道面板,查看通道窗口。
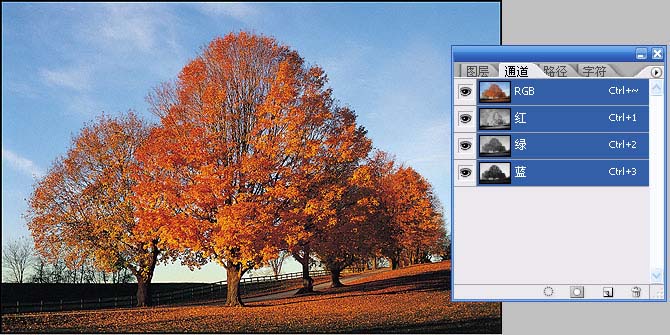
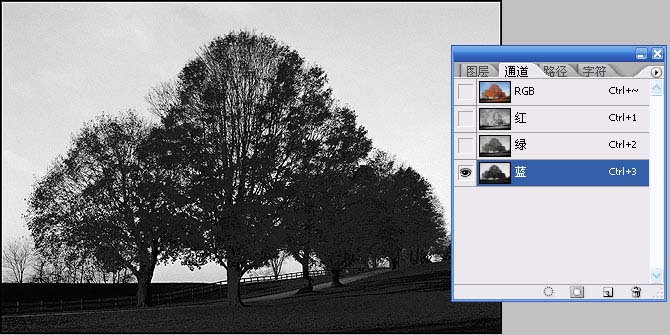
2、找到天空与其他反差最大的一个通道,发现是蓝色通道;
3、把蓝色通道拖拉到创建新通道的按钮,复制蓝色通道;
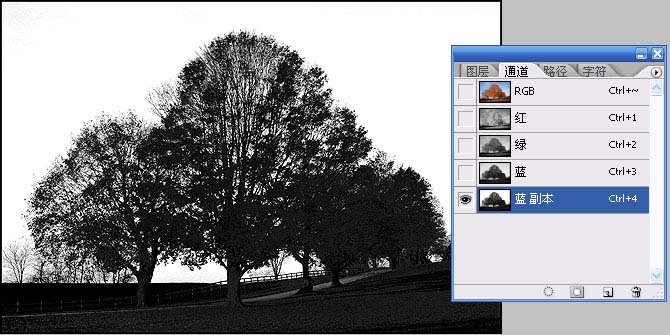
4、可以利用“亮度/对比度”把反差加大,点击图像-调整-亮度/对比度,想要的部分越黑越好,不要的地方越白越好;
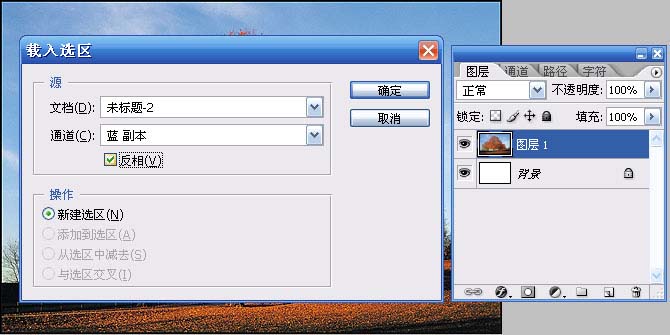
5、然后回到图层,点击“选择”菜单下面的“载入选区”,注意通道选项那里,选择蓝色副本,勾选反相。
6、出现了选择区域,我直接点击增加图层蒙板,扣图效果如下:
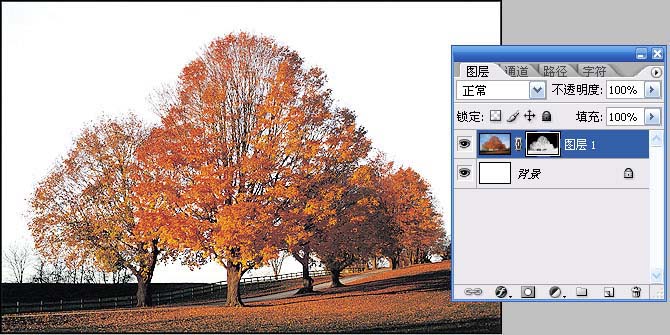
最后,我们加一张背景,基本工作结束。