

利用photoshop通道选区抠出火焰素材
发布时间:2015-05-12 来源:查字典编辑
摘要:教程的抠图方法非常独特,抠图的时候只需要把各通道的选区调出来,然后分别新建不同的图层,填充不同的颜色,再改图层的混合模式即可。原图最终效果1...
教程的抠图方法非常独特,抠图的时候只需要把各通道的选区调出来,然后分别新建不同的图层,填充不同的颜色,再改图层的混合模式即可。
原图

<点小图查看大图>
最终效果

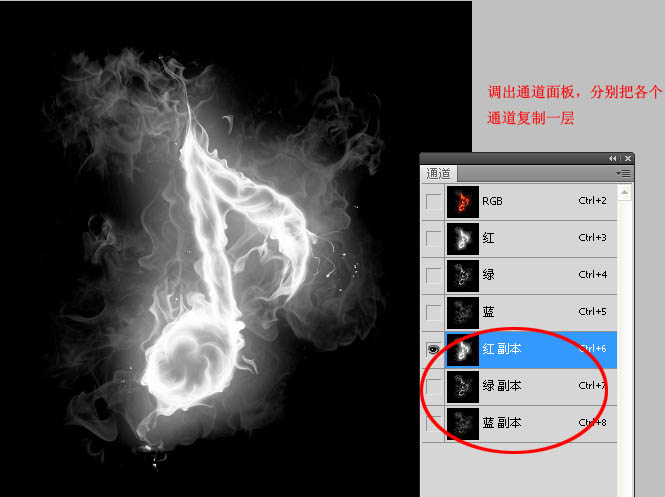
1、打开原图素材,进入通道面板,分别把各个通道复制一层。
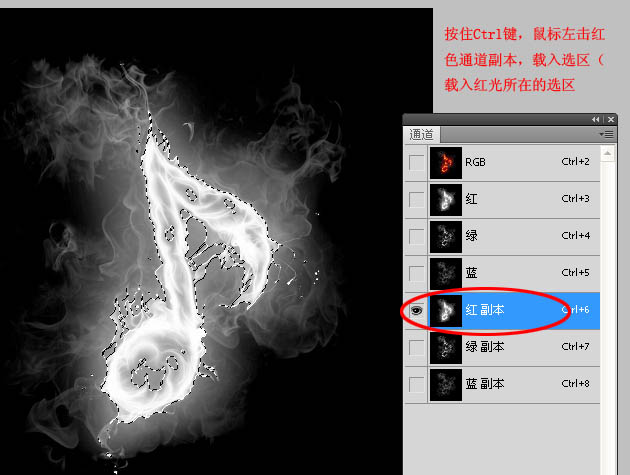
2、按住Ctrl键,鼠标右击红色通道副本,载入选区。
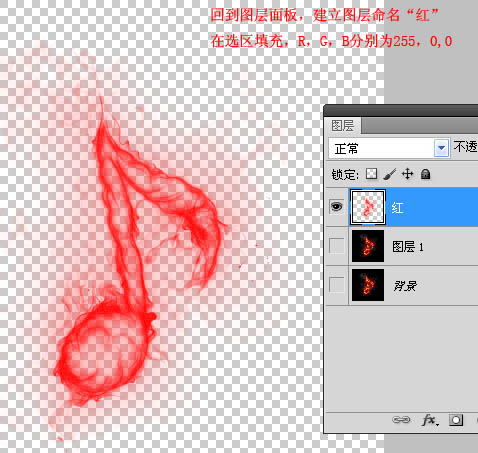
3、回到图层面板,新建一个图层命名为“红”,在选区填充颜色:R:255,G:0,B:0。
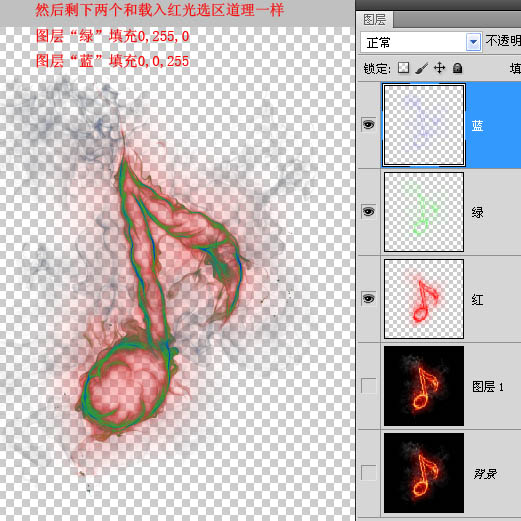
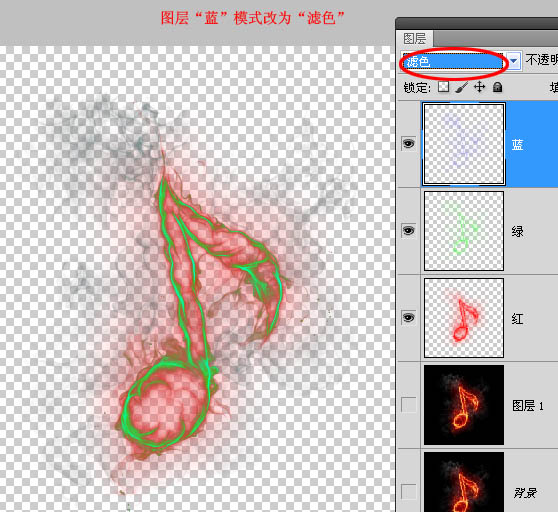
4、然后剩下两个和载入红光选区道理一样,图层“绿”填充颜色:R:0,G:255,B:0;图层“蓝”添加颜色:R:0,G:0,B:255。
5、图层“蓝”,混合模式改为“滤色”,效果如下图。
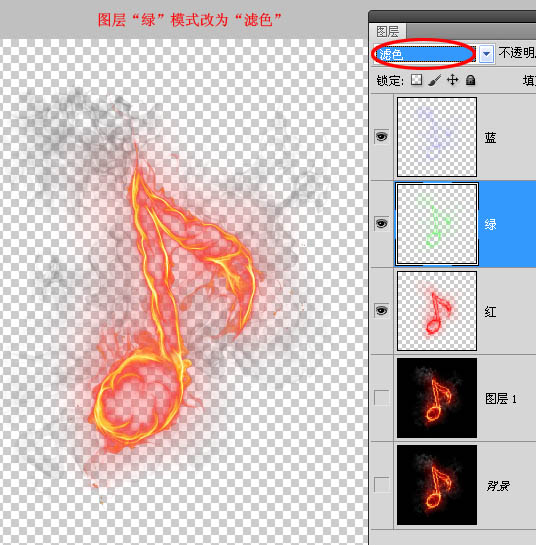
6、图层“绿”混合模式改为“滤色”。
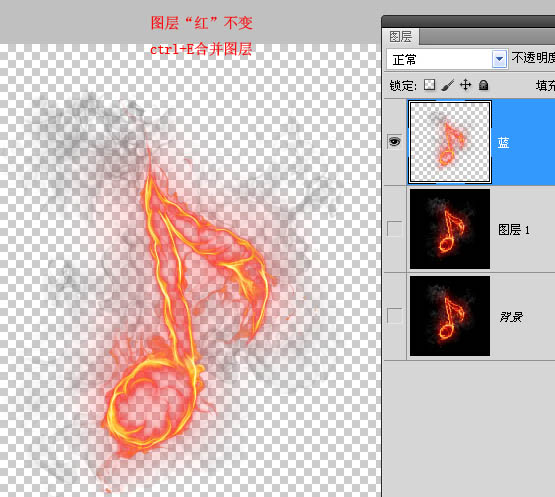
7、图层“红”混合模式改为“正常”,然后按Ctrl + E 合并这几个图层。
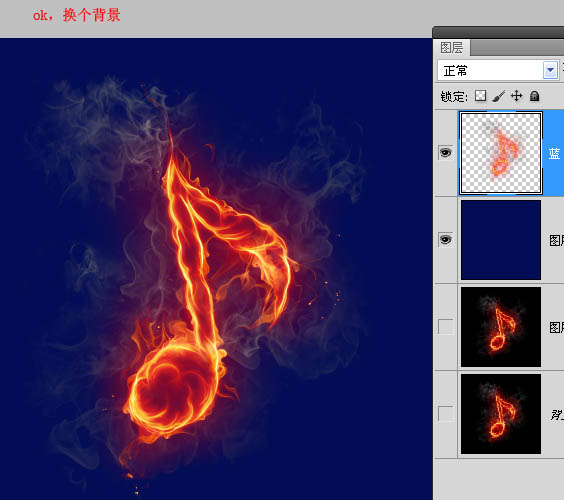
最后加上自己喜欢的背景,完成最终效果。
最终效果: