ps滤镜抽出抠图
发布时间:2015-05-12 来源:查字典编辑
摘要:如果你对抽出滤镜不是很了解可以浏览下面的视频教程:抽出滤镜详解。原图最终效果1、打开图片,ctrl+j得到图层1,图像--调整--自动色阶-...
如果你对抽出滤镜不是很了解可以浏览下面的视频教程:抽出滤镜详解。
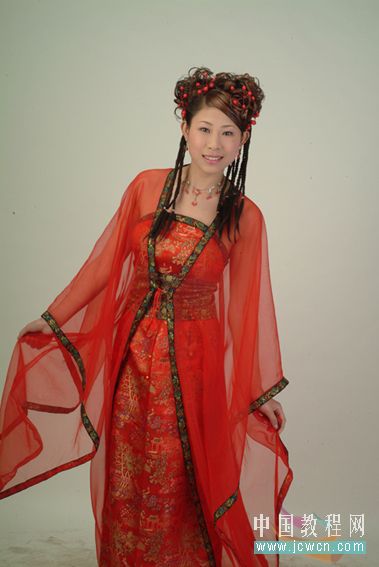
原图
最终效果

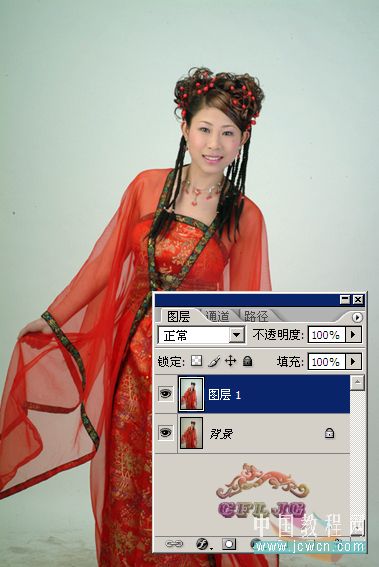
1、打开图片,ctrl+j得到图层1,图像--调整--自动色阶--编辑--渐隐自动色阶--60%。
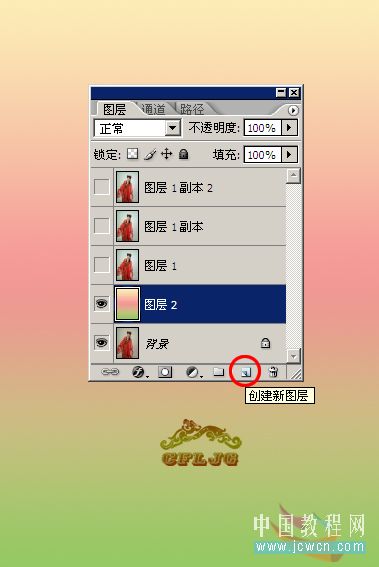
2、Ctrl + J两次,分别得到图层1副本和图层1副本2,点击红圈处新建图层2,放于图层1与背景层之间,填充颜色作为检查效果的新的背景层。
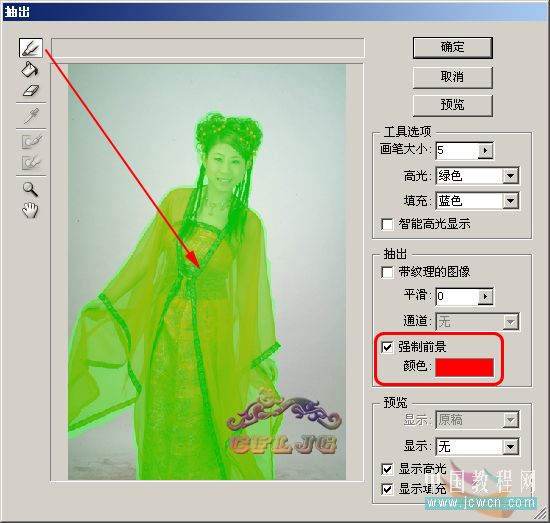
3、在图层1执行滤镜--抽出,强制前景处打钩,颜色设置为红色(#ff0000), 用边缘高光器工具按图示涂抹绿色。目的是要获取透明的红色婚纱。