

PS更换照片背景教程
发布时间:2015-05-12 来源:查字典编辑
摘要:原图教程最终效果1.打开“原图”,复制“背景”图层,生成“背景副本”...
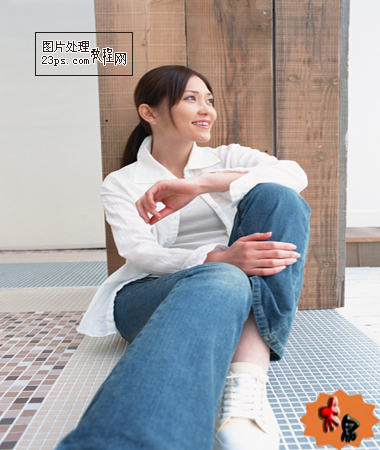
原图

教程最终效果
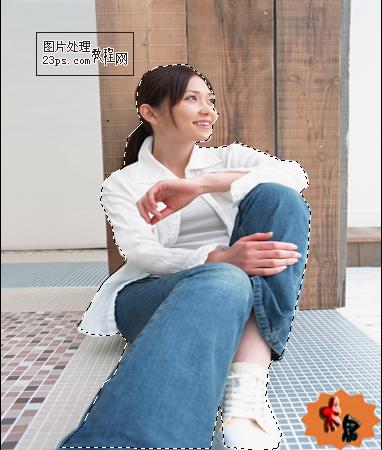
1.打开“原图”,复制“背景”图层,生成“背景副本”在工具箱中选择“钢笔工具”

,设置钢笔为“路径”沿着人物边缘绘制路径,绘制出人物的轮廓路径,按回车确认路径得到下图选取,切换到路径面板中,单击下方的“将路径作为选区载入”

,然后保留选区。
2.打开“素材1”,返回上面抠取的“人物”文件,将选区里的人物拖动到刚打开的“素材1”里,在按快捷键“Ctrl+T”将人物调整到适当的大小并放到适合的位置上,使得人物和更换的背景更好的融合在一起,这里要注意人物与要更换的背景里的物体比例合适。

素材1