

利用PS通道及抽出滤镜抠出飘逸的半透明婚纱
发布时间:2015-05-12 来源:查字典编辑
摘要:抠婚纱是比较麻烦的,用单一一种抠图工具抠出的效果不是很理想,因为透明的婚纱融入了背景,背景如果很杂乱的话,婚纱就有很多杂物。后期还需要花时间...
抠婚纱是比较麻烦的,用单一一种抠图工具抠出的效果不是很理想,因为透明的婚纱融入了背景,背景如果很杂乱的话,婚纱就有很多杂物。后期还需要花时间慢慢把婚纱处理干净。
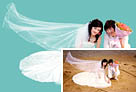
教程原图
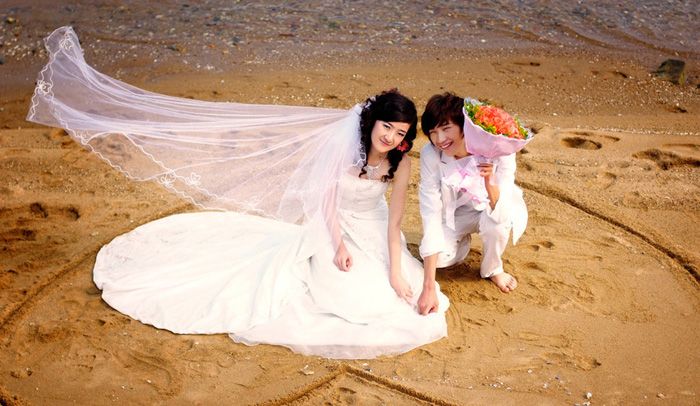
<点小图查看大图>
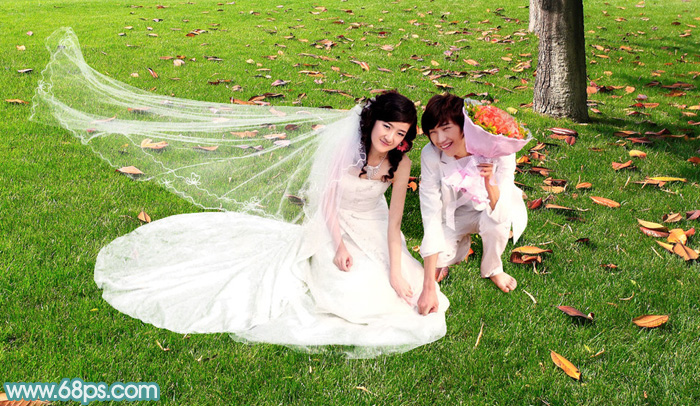
最终效果

<点小图查看大图>
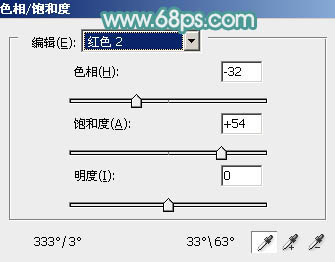
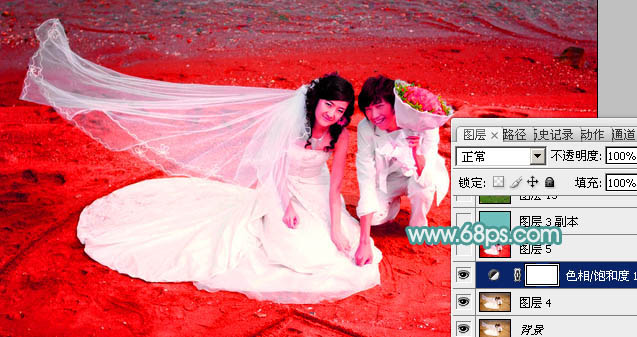
1、打开素材图片,创建色相/饱和度调整图层,选择红色,用吸管吸取沙滩颜色再调整,把背景调红一点,参数及效果如下图。这一步把背景及婚纱的颜色对比拉大,方便后面抠图。
<图1>
<图2>