

快速抠图并更换背景的PS教程
发布时间:2015-05-12 来源:查字典编辑
摘要:一、我们先使用Photoshop把准备更换背景的婚纱照片打开。二、使用工具栏上的钢笔工具,勾选人物的路径。三、当路径闭合以后,再将路径载入选...
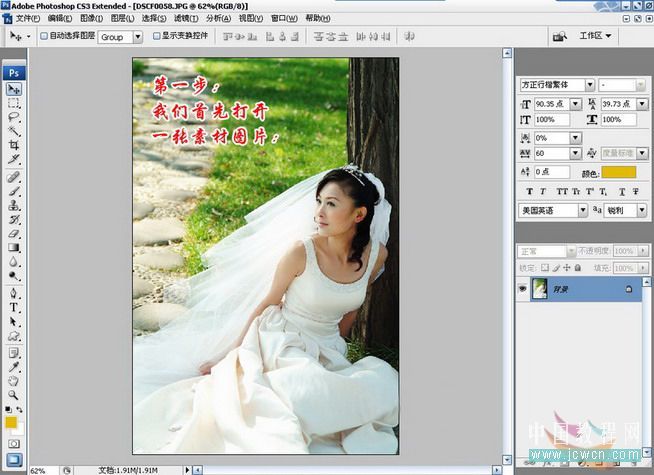
一、我们先使用Photoshop把准备更换背景的婚纱照片打开。
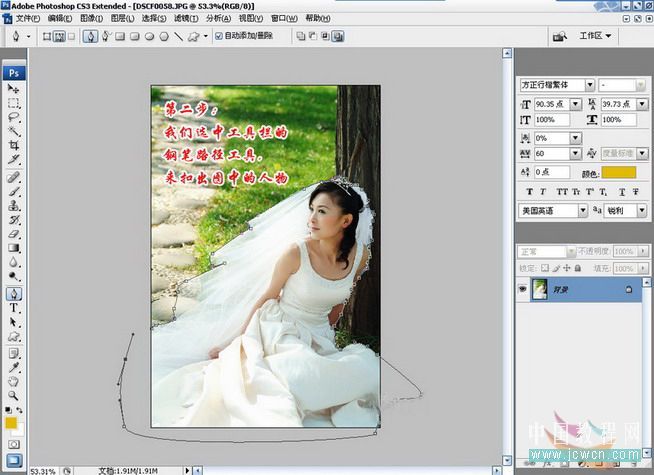
二、使用工具栏上的钢笔工具,勾选人物的路径。
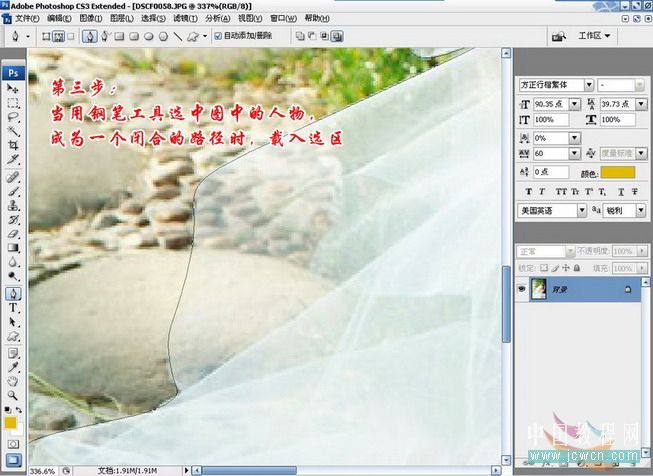
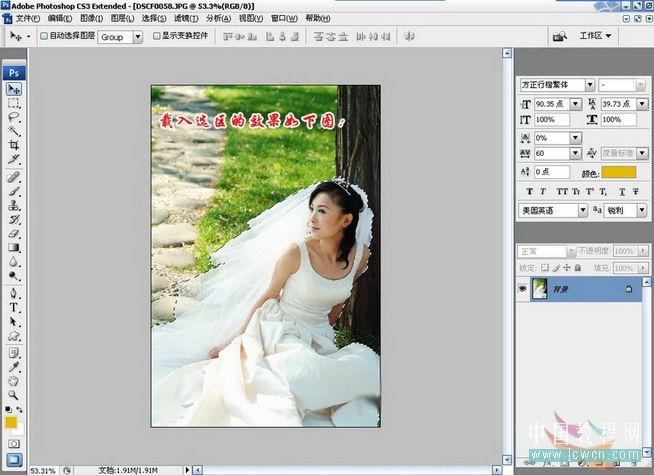
三、当路径闭合以后,再将路径载入选区(按快捷键CTRL+Enter).
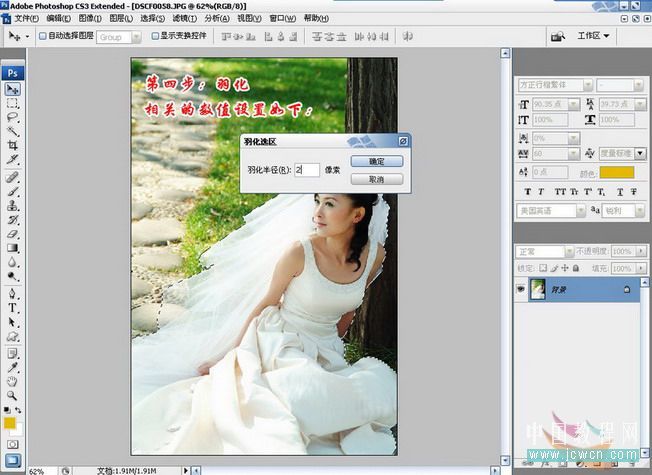
四、按快捷键CTRL+ALT+D执行半径为2像素的羽化处理。
五、执行CTRL+SHIFT+I反选命令,现在选区中的内容就是我们将要删掉的区域。

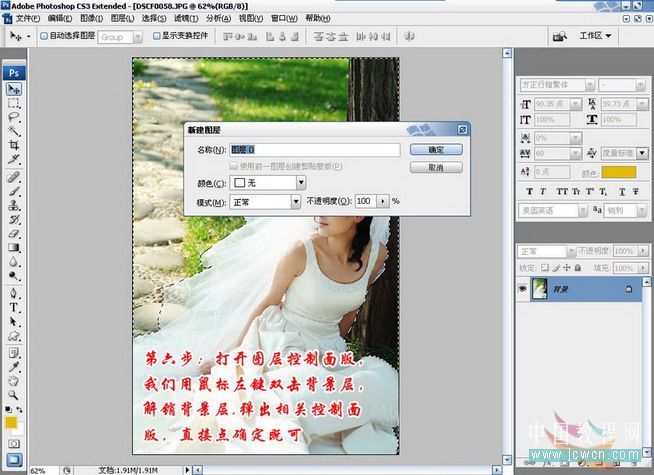
六、按F7打开图层面板,双击背景层解锁。
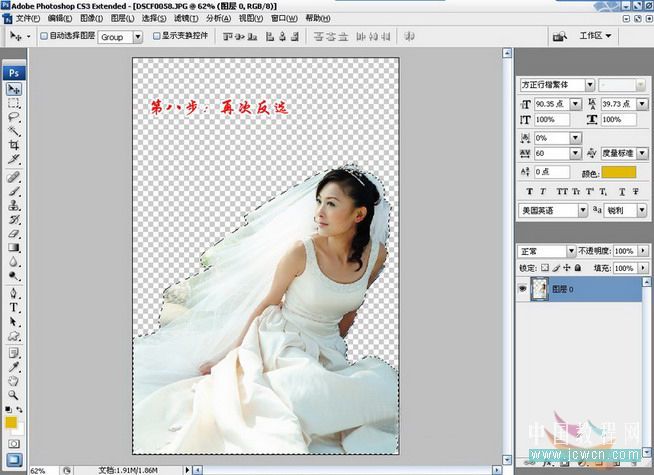
七、然后按DELETE删除选区内容。

八、再次执行CTRL+SHIFT+I反选。
九、依次按ALT-S-M-C,弹出收缩选区面板,把收缩量设为1像素。
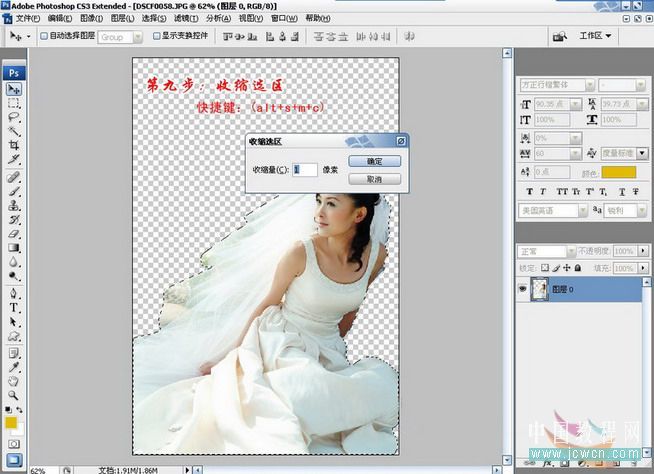
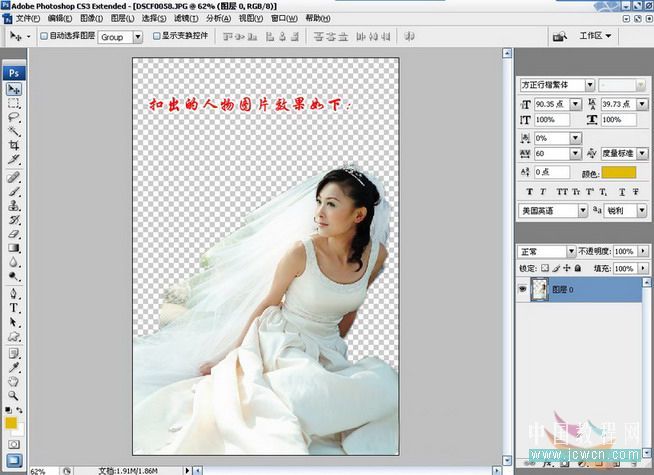
这样就把穿婚纱的美女给抠出来了。
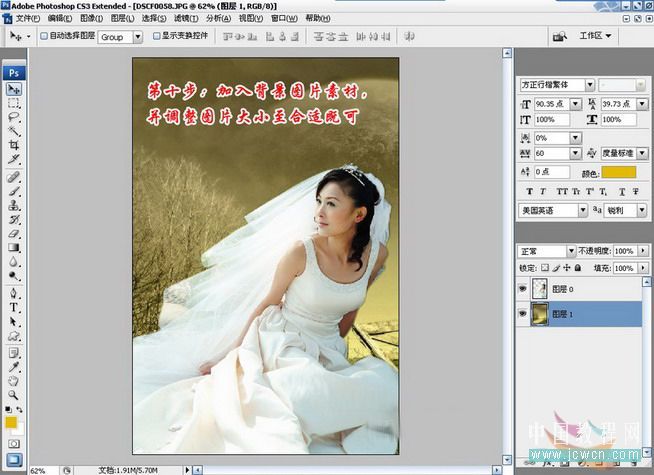
十、现在我们找到一张合适的背景素材,把它拉入当前图像中,并把人物层拉到最顶端,再高速好背景的大小。
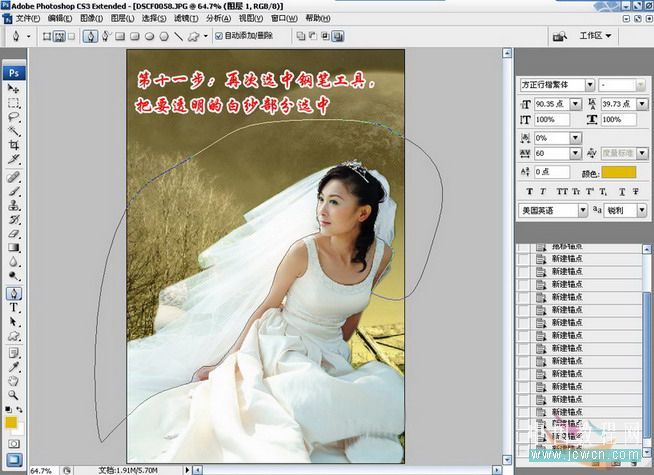
十一、再使用钢笔工具把这些要透明的婚纱选中。
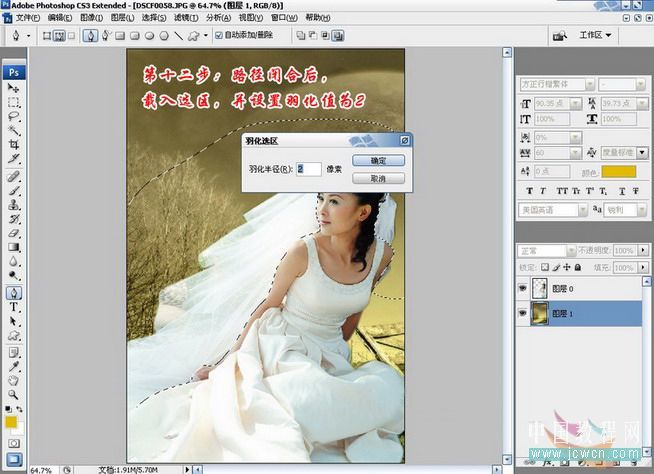
十二、将其变为选区后,按CTRL+ALT+D执行半径为2像素的羽化处理。
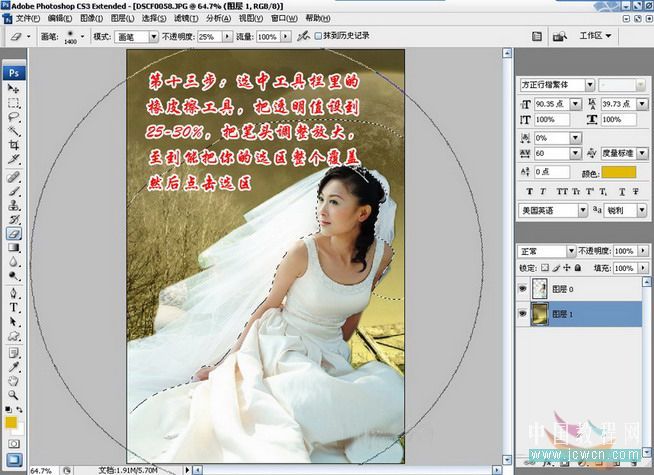
十三、选择工具栏上的橡皮工具,把透明度设硬驱25-30%左右,然后把橡皮的直径放大,然后点击一下选区。

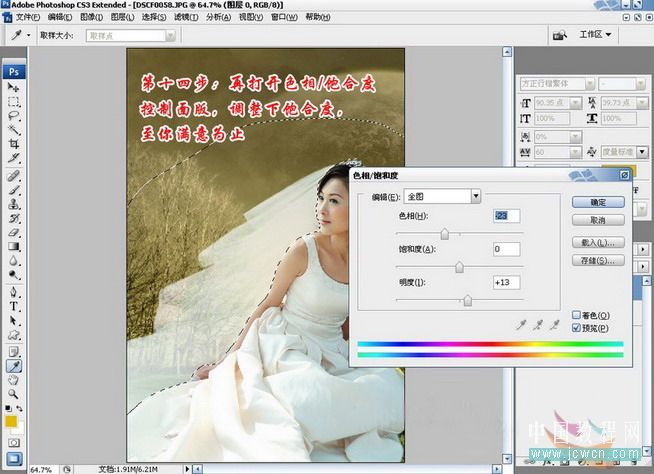
十四、然后按CTRL+U打开色相/饱和度面板,适当调节一下相关参数。
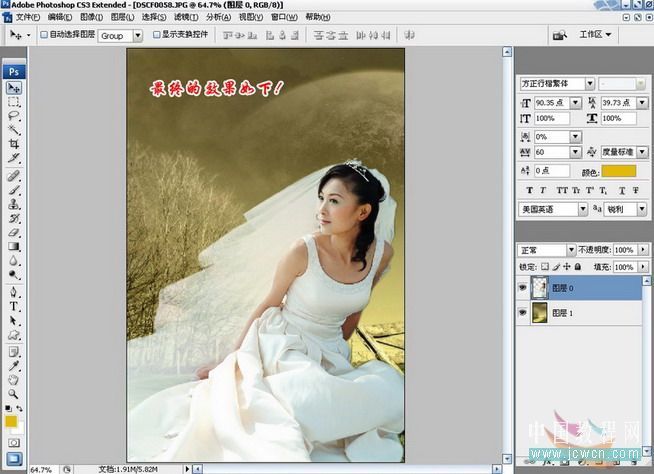
这样就得出了我们最终的效果,更换成了草原上的婚纱背景。
注:更多请关注photoshop教程栏目,三联PS教程群:181754111欢迎你的加入