ps人像抠图换背景教程详解
发布时间:2015-05-12 来源:查字典编辑
摘要:抠图技法很多,本文向大家介绍笔者常用的简单抠图方法及抠图程序,仅供博友们参考借鉴。一、制作效果图二、本文采用的素材1、人像原照2、网络风景原...
抠图技法很多,本文向大家介绍笔者常用的简单抠图方法及抠图程序,仅供博友们参考借鉴。
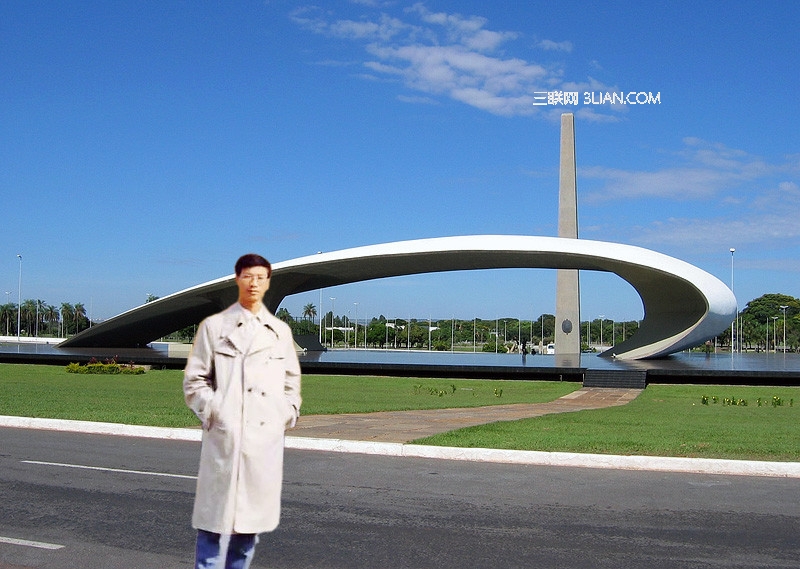
一、制作效果图
二、本文采用的素材
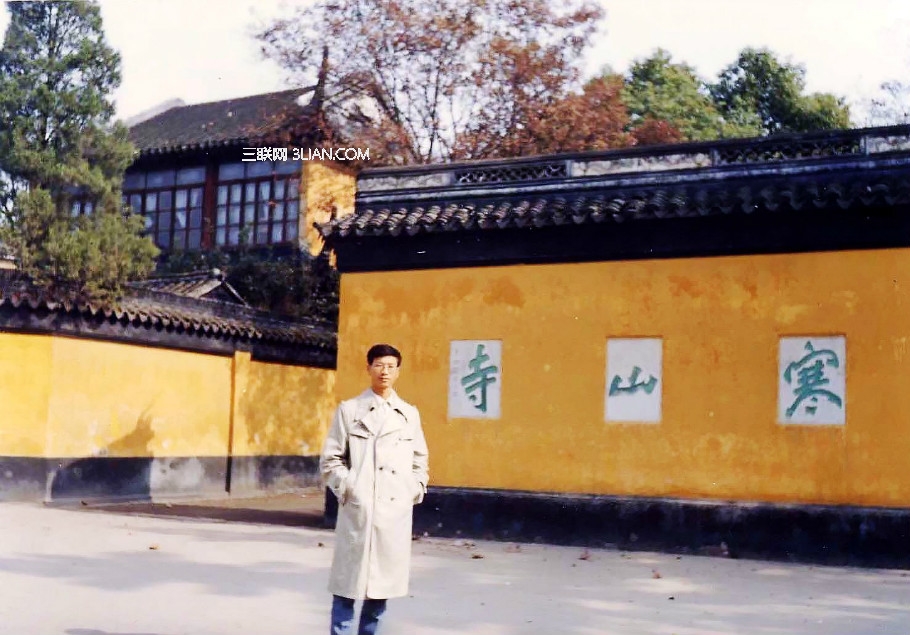
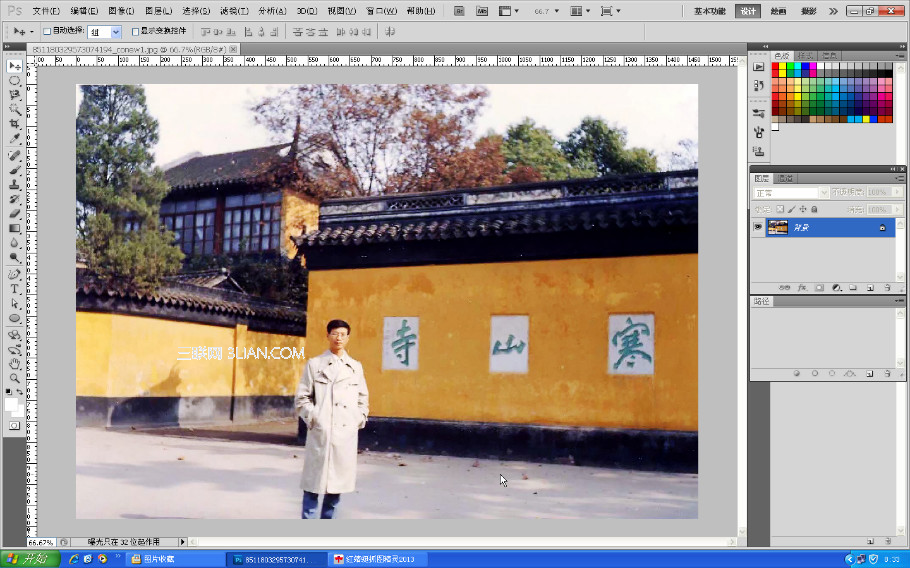
1、人像原照
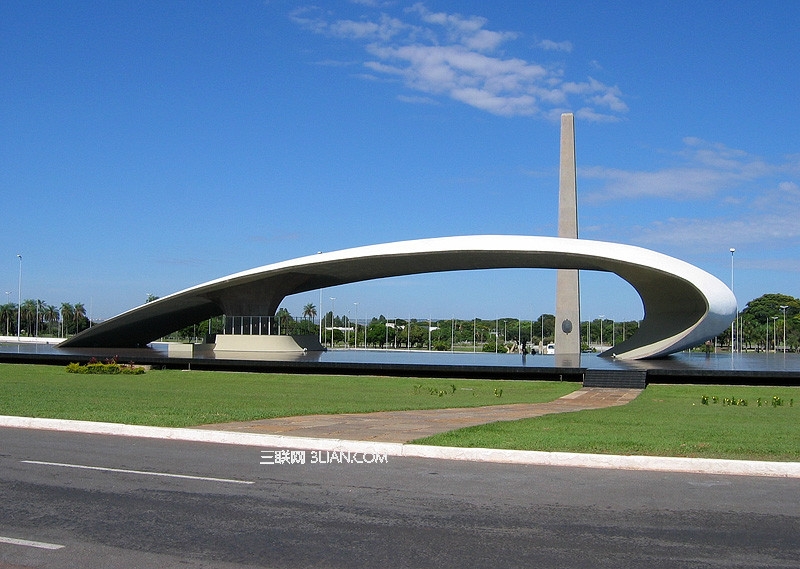
2、网络风景原照
三、制作程序
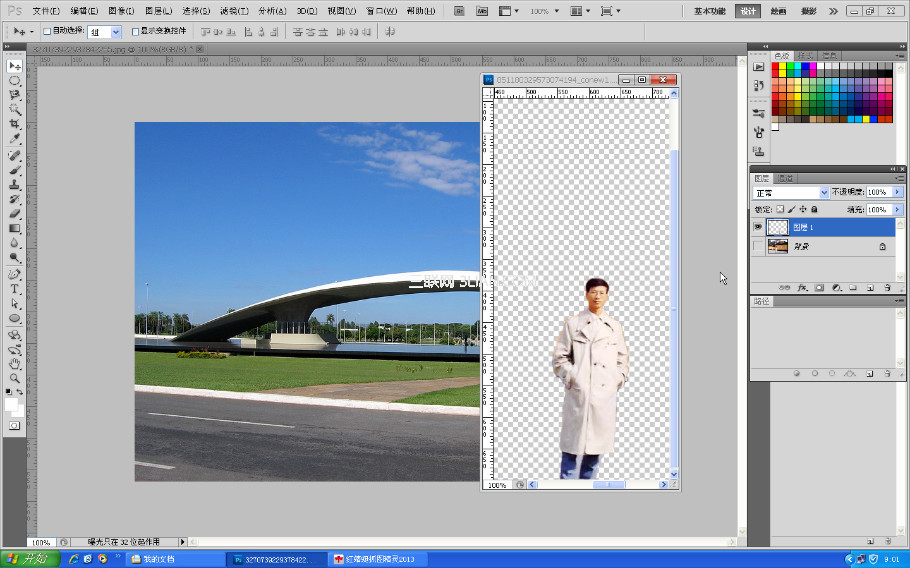
1、文件——打开——点选人物图像——打开
2、工具箱中对套索图标点右键,点选磁性套索工具:羽化:1px 宽度:5ps 对比度10% 频率:100%
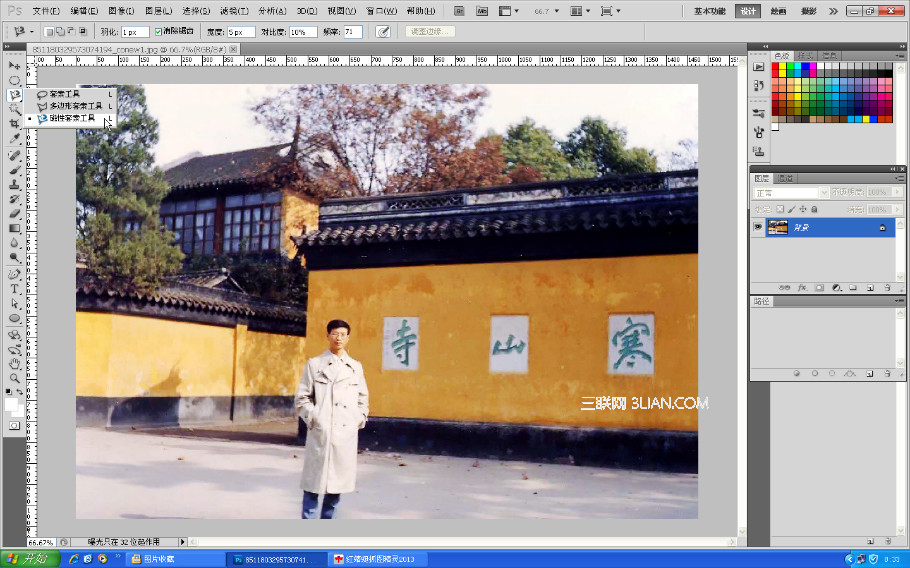
3、工具箱点选缩放工具——选带“+”号的扩大工具

4、在图片上点一下(放大图像,便于操作)——点磁性套索图标——用套索线端在人物轮廓线上某一处点上套索节点——让磁性套索端贴着身体外围行进——如果出现偏离,可点按删除键退回,接着操作
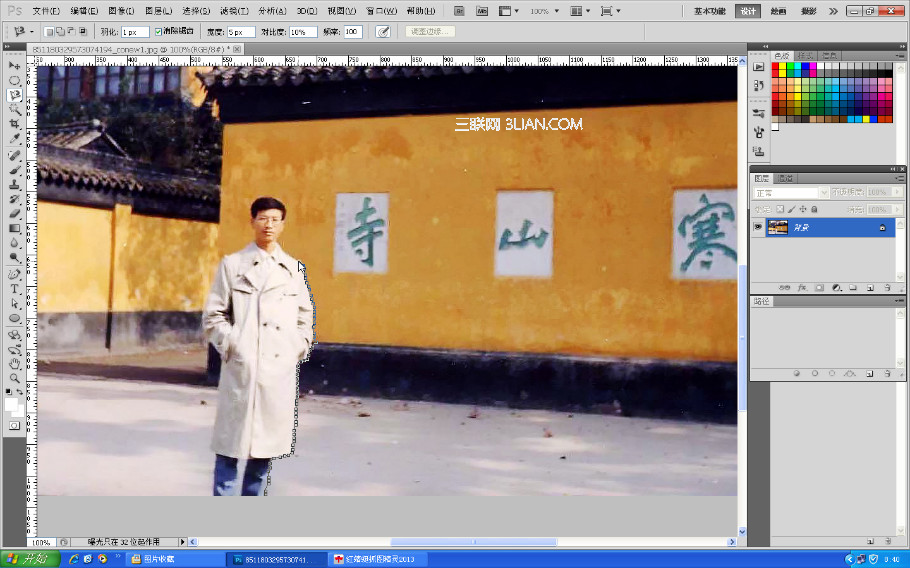
5、将人物轮廓勾勒如下图所示
6、一定要将磁性套索的首尾节点相重合,尾部节点点进首部节点中,以便形成一个封闭区

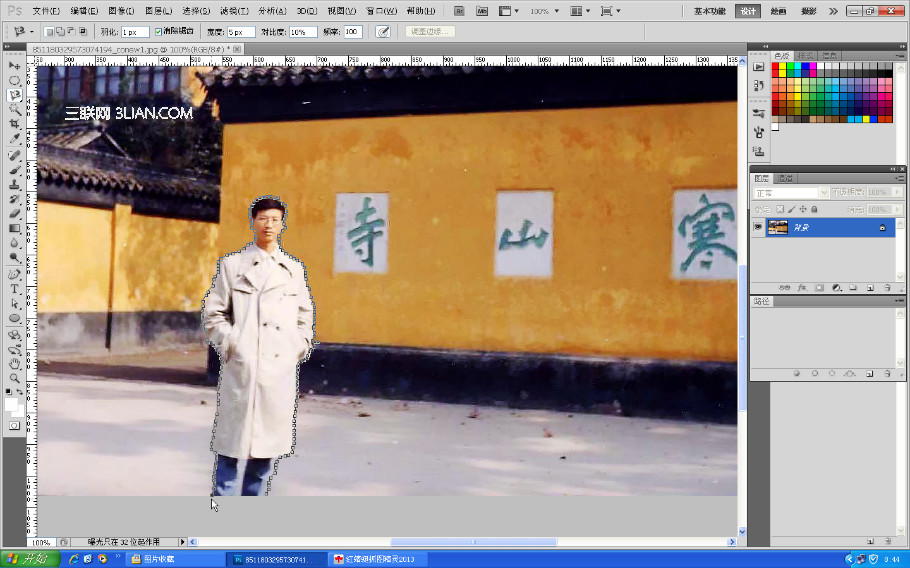
点后,形成封闭选区

7、图层——新建——通过拷贝的图层
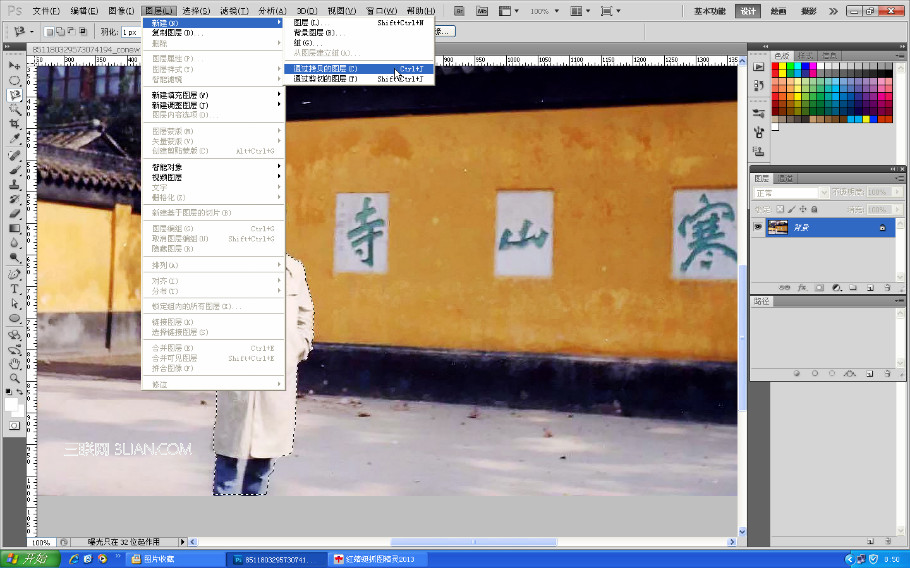
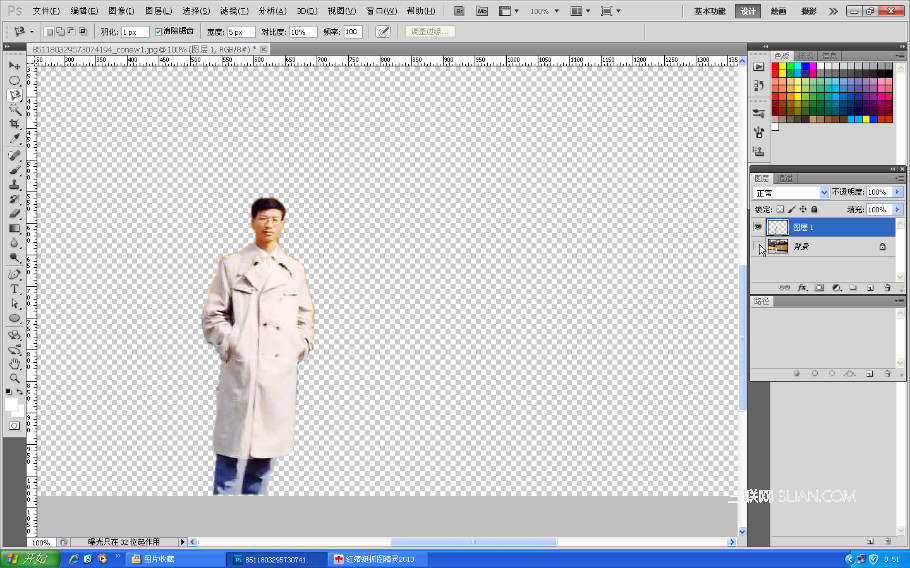
8、点击关闭图层面板上的背景图前面的“眼睛” ,这样,人像就抠出来了。——用缩放工具将抠图放大——检查抠图质量,如有多余边缘,可用橡皮工具擦修。
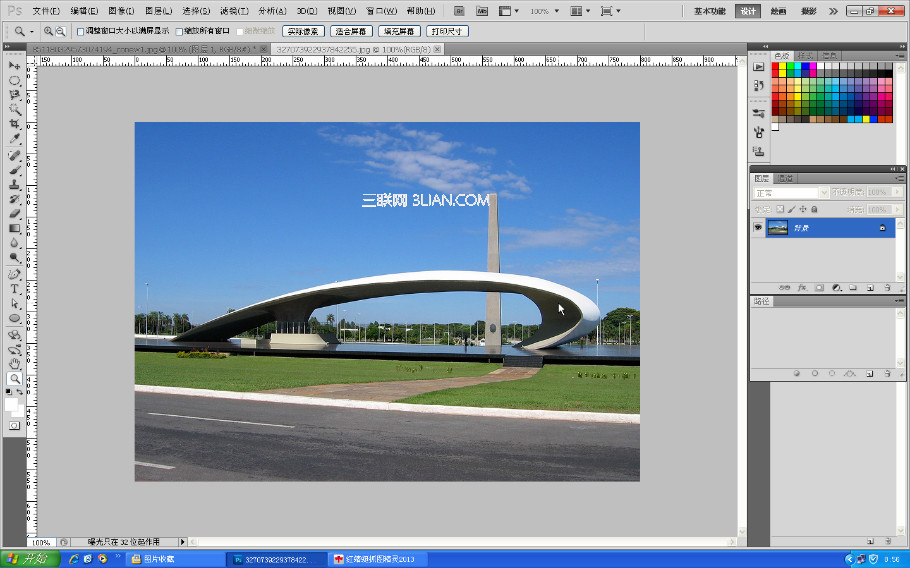
9、文件——打开——点选新的风景图片——打开

导入风景图
10、 点开抠图(人物图像)——图像——图像大小:分别勾选缩放样式和约束比例,将人像宽度改为1000像素——确定(人像与风景图像的大小,要根据相互匹配的原则,由您根据经验和视觉随意调整)

调小后的人像