PhotoShop工具综合运用完美抠图详细教程
发布时间:2015-05-12 来源:查字典编辑
摘要:一张看似简单的图,要想抠好有时也不是很容易的,若不丢失细节,不丢失颜色,需要几个工具联合运用才能达到理想的效果。本教程需用PSCS4以上的版...
一张看似简单的图,要想抠好有时也不是很容易的,若不丢失细节,不丢失颜色,需要几个工具联合运用才能达到理想的效果。
本教程需用PS CS4以上的版本。
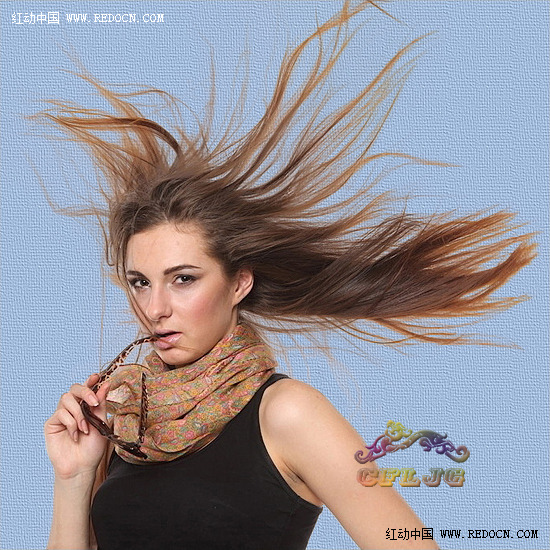
效果图:
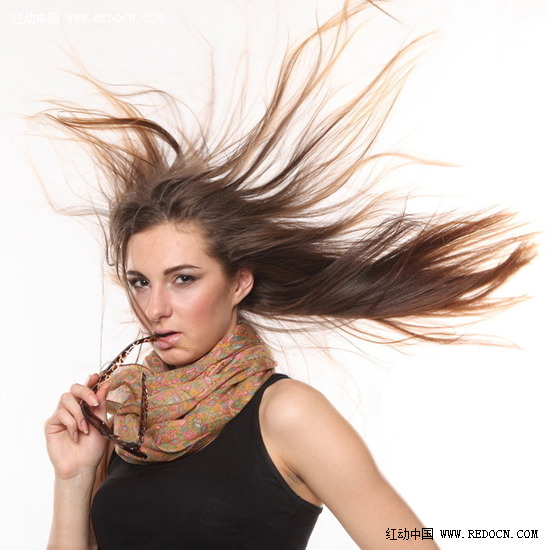
原图:
具体详细步骤如下
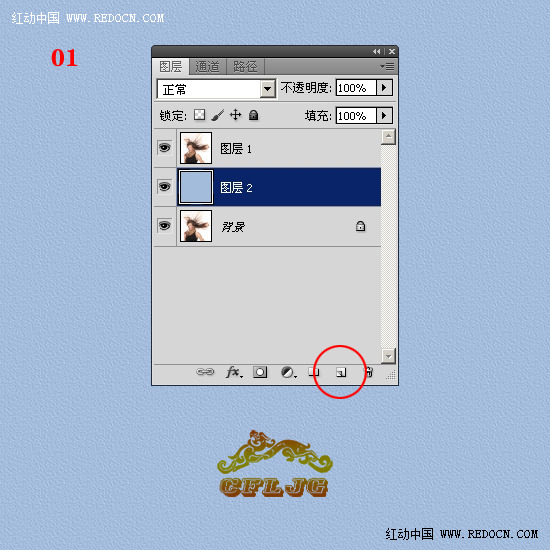
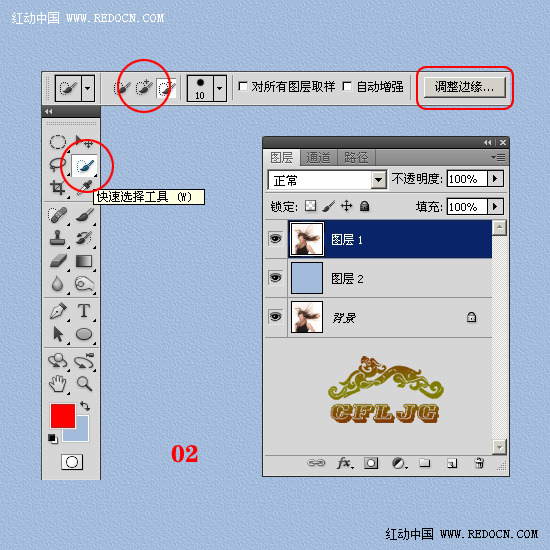
01、打开图片,ctrl+j复制一层得到图层1,点击红圈处新建图层2,放于图层1与背景层之间,填充你喜欢的颜色,作为检查效果和新的背景图层。
02、点击图层1,用“快速选择工具”大致做一下选区,选区做好后,“调整边缘”选项就激活了。
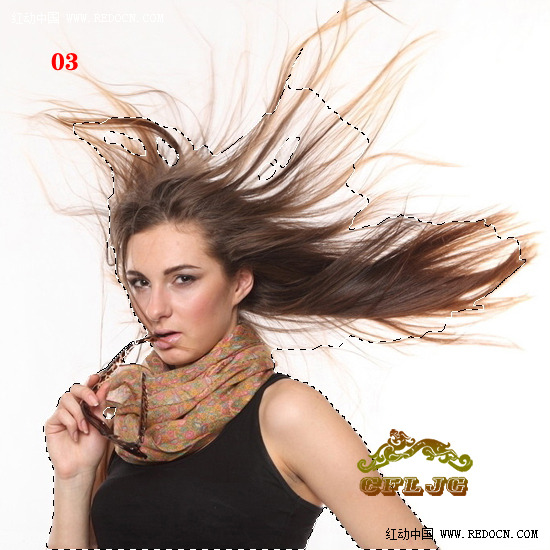
03、选区出现了蚂蚁线。
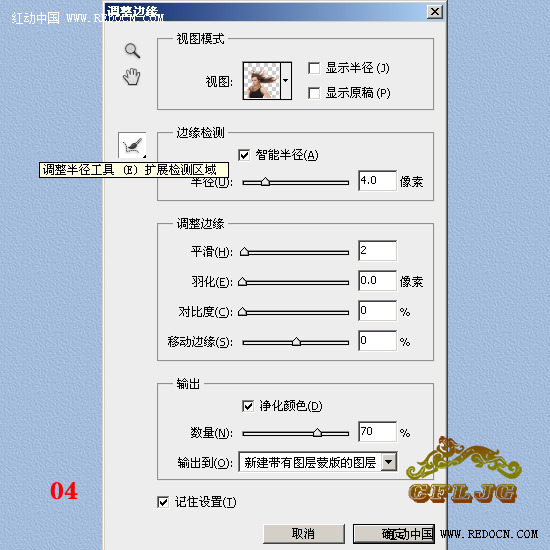
04、点击调整边缘选项,调出调整边缘对话框,各参数暂参考图示设置,用调整半径工具对人物的边缘涂抹。
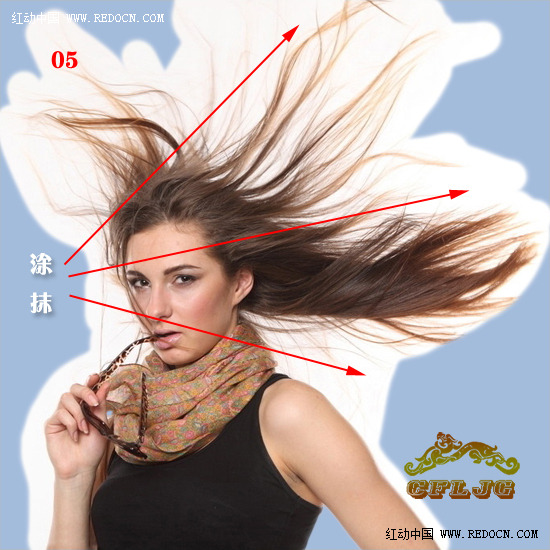
05、涂抹时尽量要把头发全部涂上,如果发现有落下没涂到的,可以把漏涂的地方再涂一次,直到全部头发都显示出来。
如果发现头发丝之间还留有原背景色,哪里有就在哪里涂一下就可解决,满意后点击确定
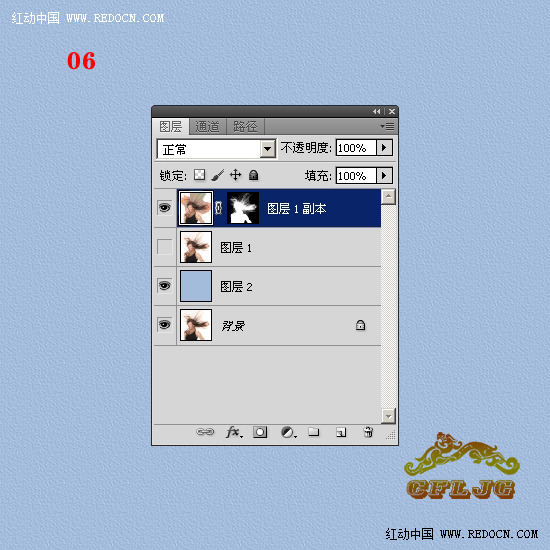
06、确定后就生成一个新的带有图层蒙版的图层1副本层。