

Photoshop通道工具给婚纱照片抠图
发布时间:2015-05-12 来源:查字典编辑
摘要:最终效果图图00原图图011、将背景复制两层,分别改为不透明体和透明体,用钢笔工具分别描出选区,适当羽化加上蒙板。图022、在背景层上加一黑...
最终效果图
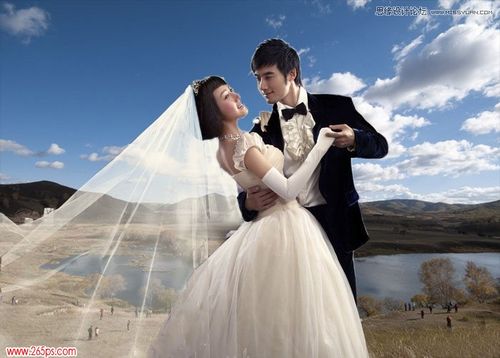
图00
原图
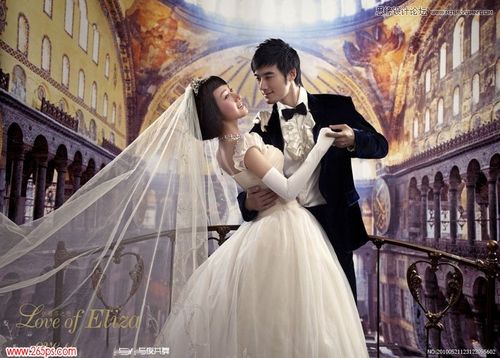
图01
1、将背景复制两层,分别改为不透明体和透明体,用钢笔工具分别描出选区,适当羽化加上蒙板。
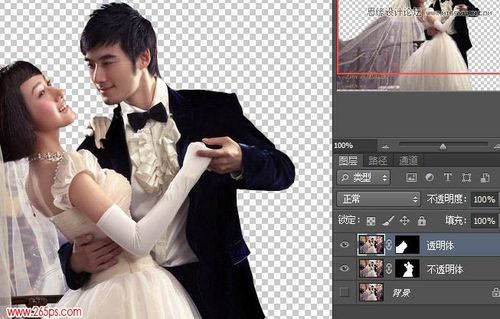
图02
2、在背景层上加一黑色层,并关闭不透明体层。
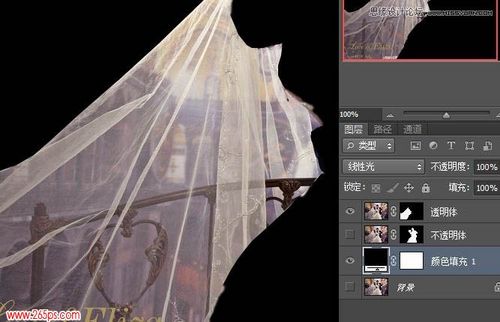
图03
3、进入通道点选区工具。
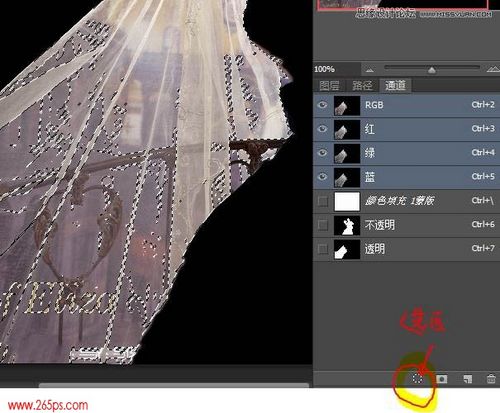
图04
4、用吸管点婚纱正常点,关闭所有层,只保留黑色层工作。然后在工具栏点图层》新建》图层,新建一图层为高光层,按Ait 和 Backspace键将婚纱色加到选区。
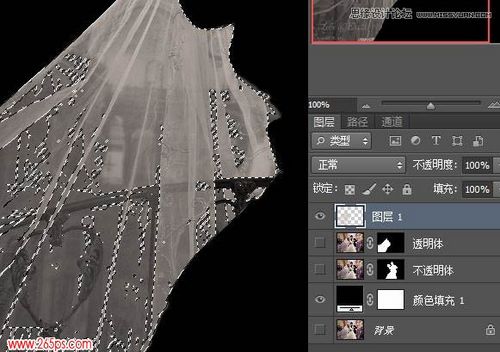
图05
5、取消原选区。选中快速蒙板,将高光部分选出。

图06
6、再按快速蒙板工具按钮得高光选区。
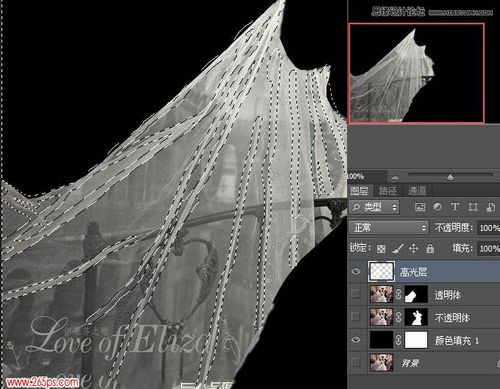
图07
7、选滤镜>模糊>高斯模糊,半径6—10。
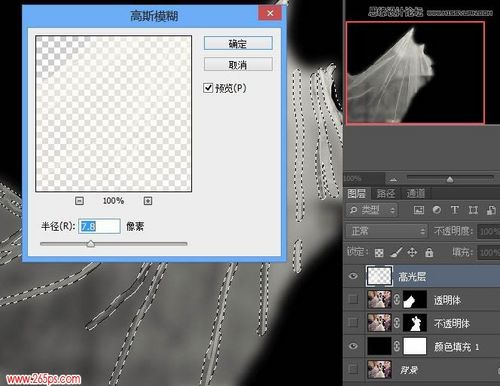
图08
8、关闭所有层,只保留黑色层和透明层,进入通道,复制红通道,调出色阶,压暗阴影,提高高区。
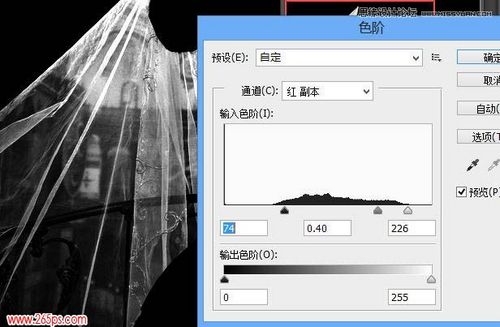
图09
9、用黑笔将留有原背景的地方涂黑。
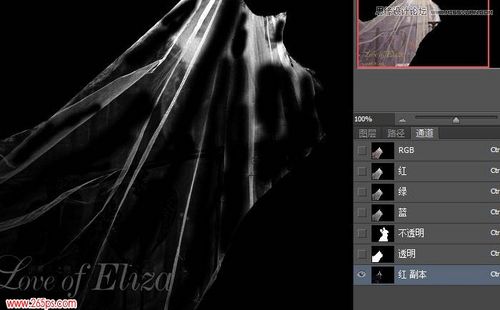
图10
10、以目前的红通道副本为选区,用吸管点婚纱正常点,关闭所有层,只保留黑色层工作。然后在工具栏点图层》新建》图层,新建一图层为质感层,按Ait 和 Backspace键将婚纱色加到选区。
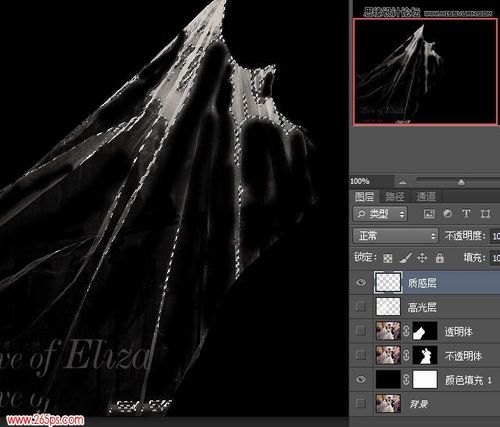
图11
11、导入背景图案,将质感层改为强光,高光层改为亮光。
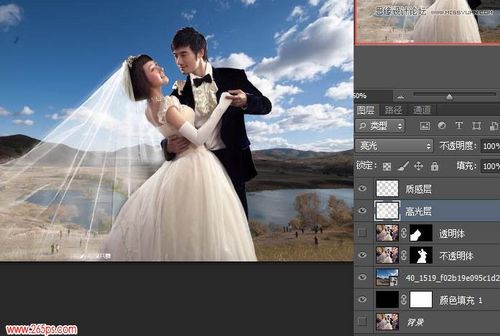
图12
最终效果图

图13