

Photoshop使用选区快速的抠出手绘线稿
发布时间:2015-05-12 来源:查字典编辑
摘要:本教程主要使用Photoshop使用去选区快速的抠出手绘线稿,对于手绘线稿的抠图主要有两种方法,一是直接把图像转换为灰度模式,然后载入选区,...
本教程主要使用Photoshop使用去选区快速的抠出手绘线稿,对于手绘线稿的抠图主要有两种方法,一是直接把图像转换为灰度模式,然后载入选区,直接删除不需要的部分;二是添加蒙版后使用应用图像中的反相功能,快速得到手绘线稿的线条图。
下面我们将对两种方法的操作过程做详细的介绍
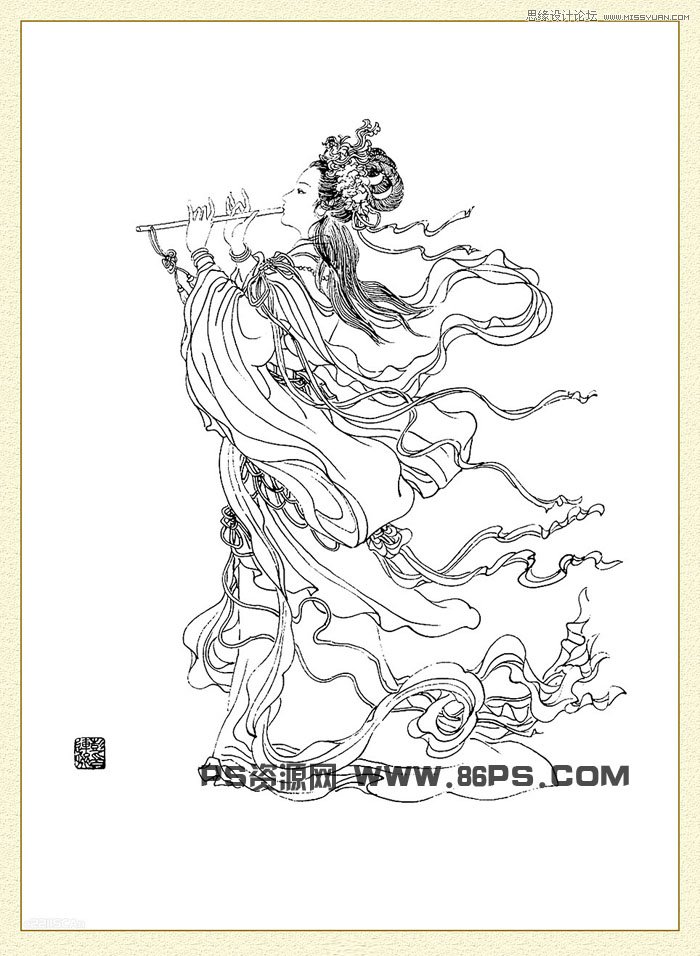
首先,我们拿到一副梨园仙子手绘图原稿。
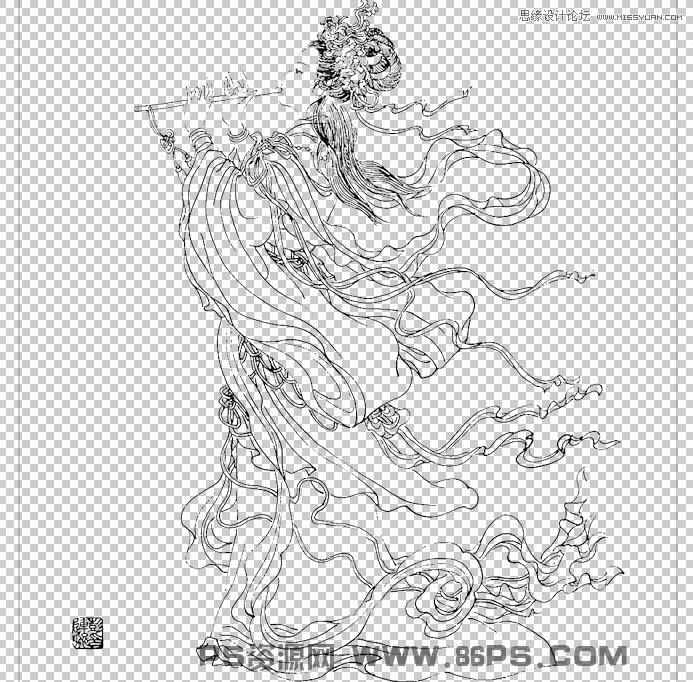
采用方法一使用选区抠图的效果
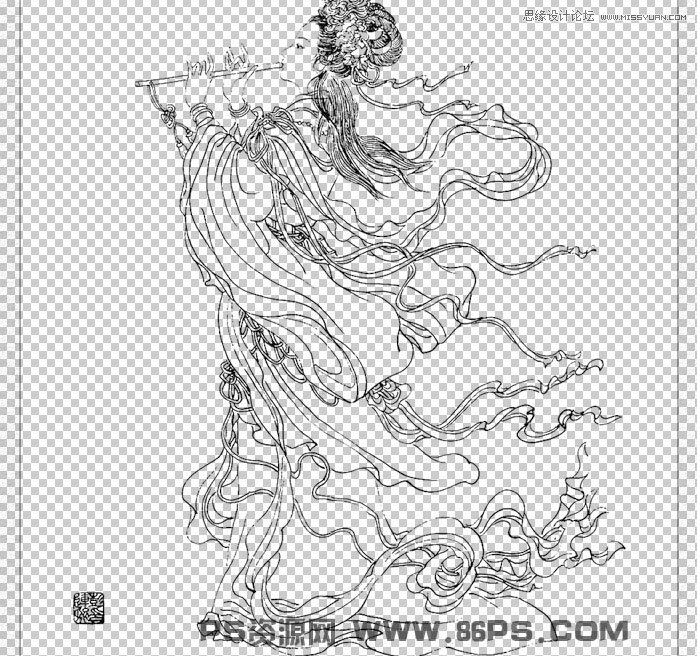
采用方法二使用应用图像抠图的效果
从两幅效果图的对比中可以看出,方法二得到的线条更加清晰,方法一会丢失部分细节。
下面开始方法一的操作介绍。
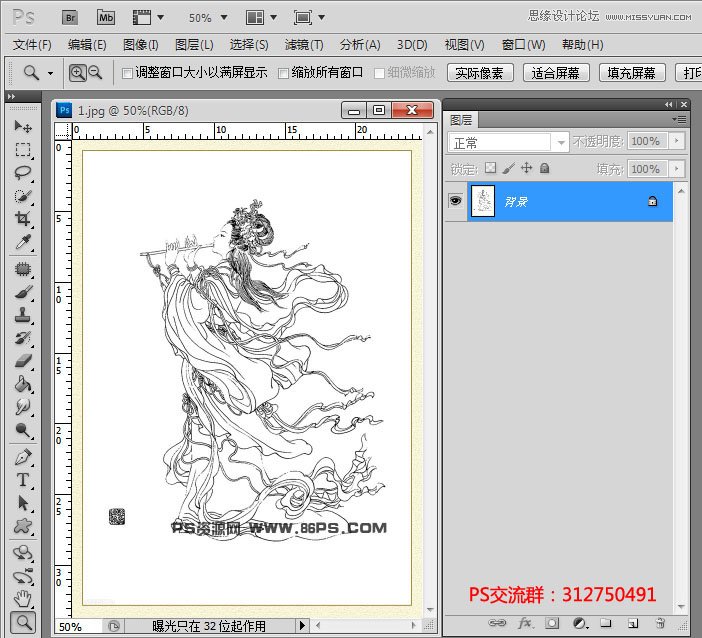
首先,打开人物线稿素材原图
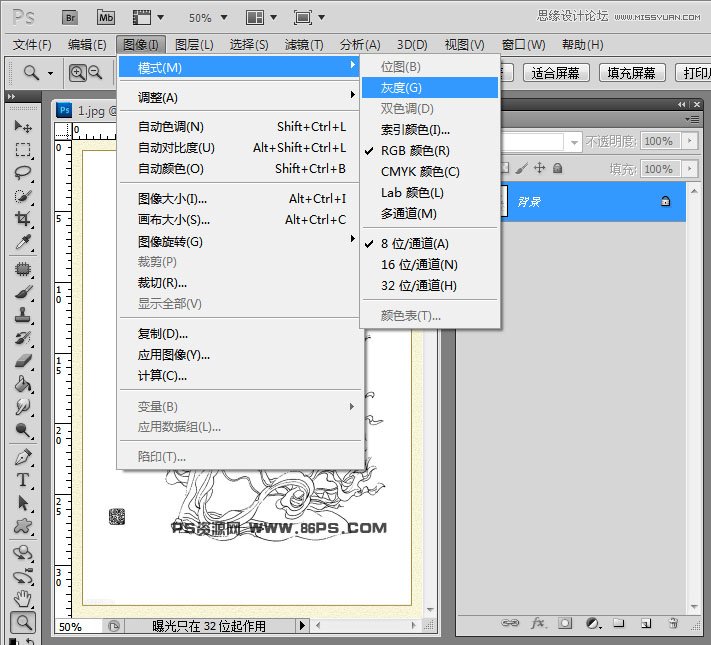
选择菜单中的,图像》模式》灰度,把图片转入灰度模式
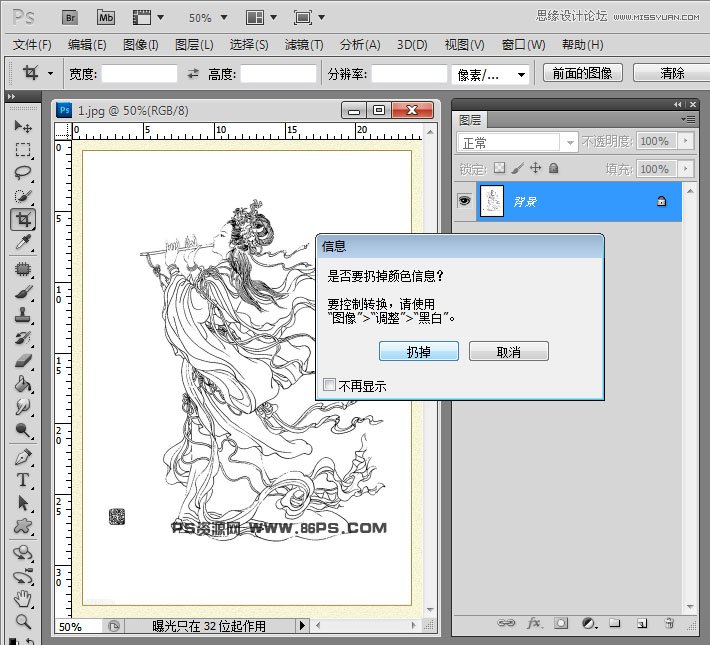
在弹出的窗口中选择,扔掉色彩信息。

双击背景图层,把当前图层转化为可编辑的活动图层
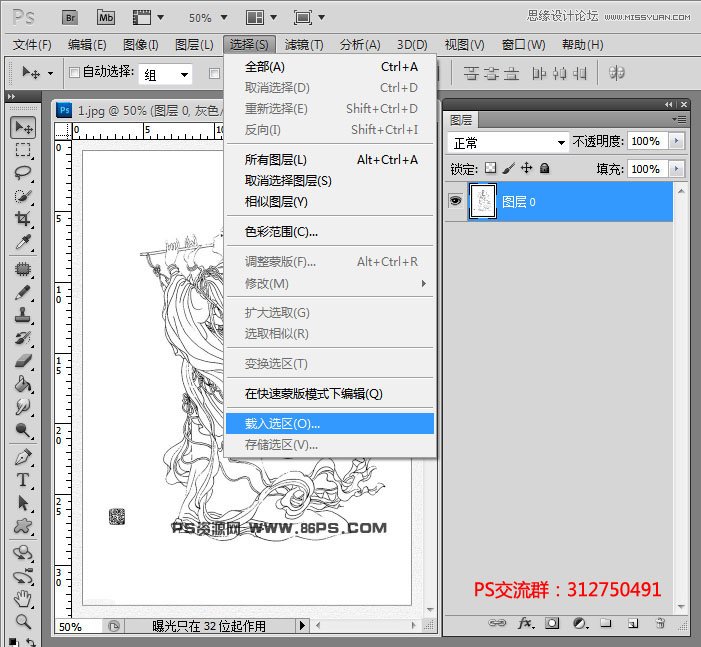
点击菜单中的,选择》载入选区
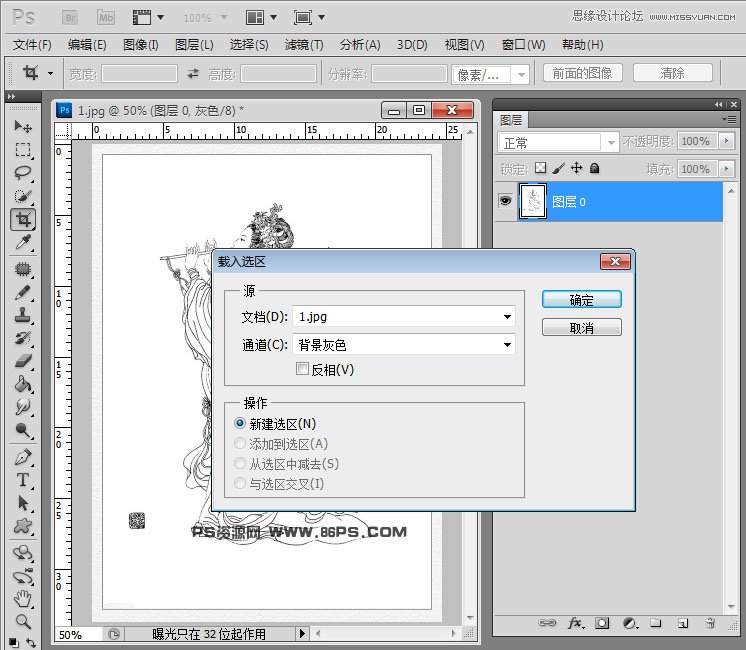
确定,得到线条的完整选区
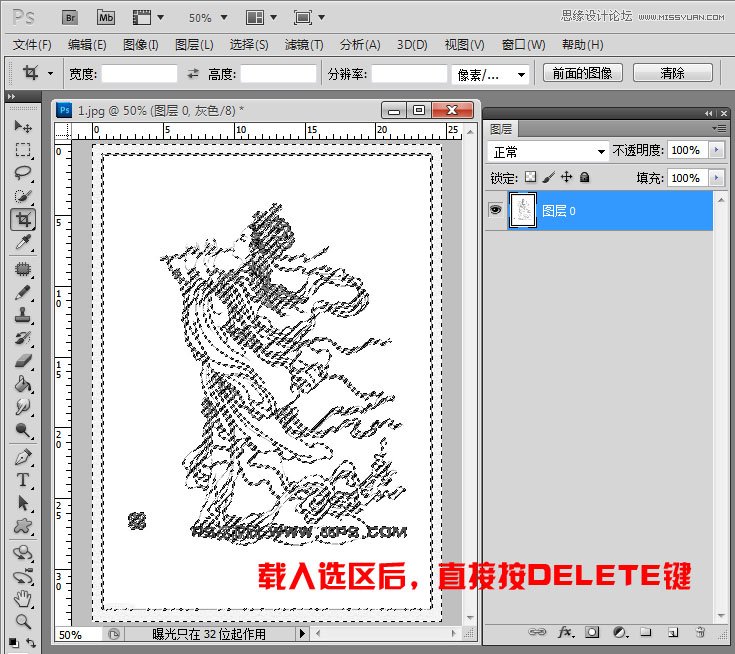
然后直接按键盘上的delete键,把白色的部分删除,即可得到线稿抠图后的效果
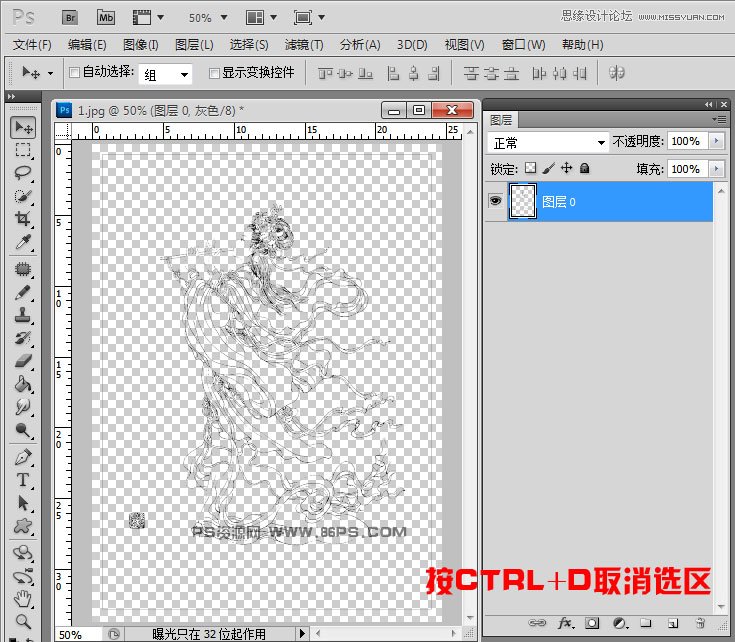
按Ctrl+D取消选区,完成方法一的整个抠图动作。我们可以看到里面的文字“PS资源网www.86ps.com”也被清晰的抠出了,
这种方法很适合批量的扣黑白色的复杂图案,简单高效。
下面我们在来介绍方法二的抠图过程
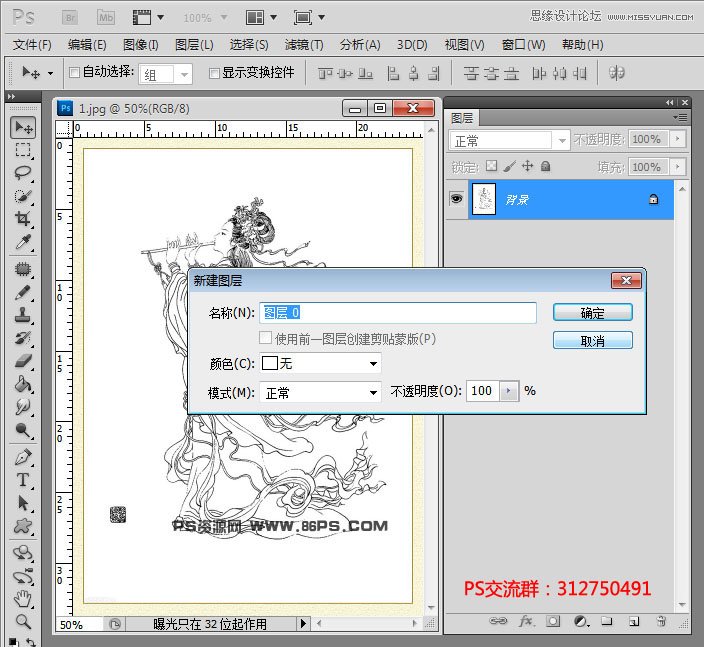
同样,打开素材图后,双击背景图层,把图片转化成可编辑的活动图层。
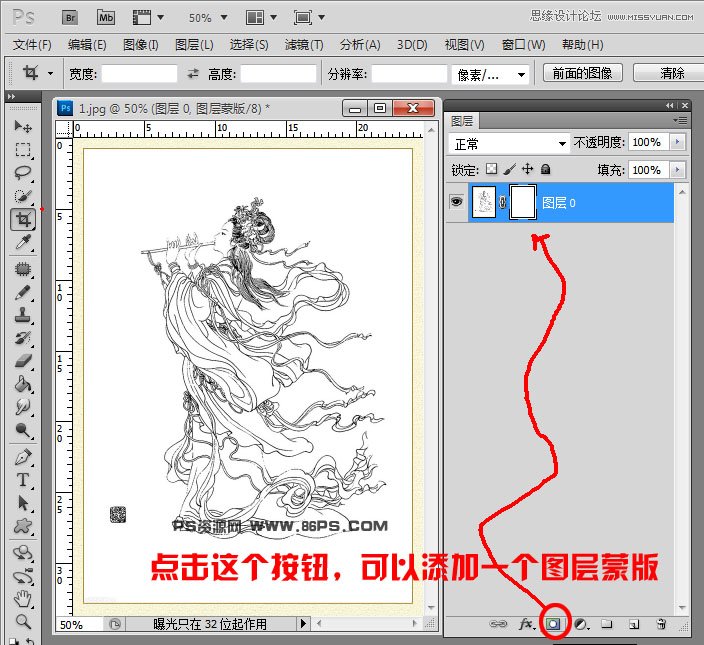
然后,添加一个图层蒙版
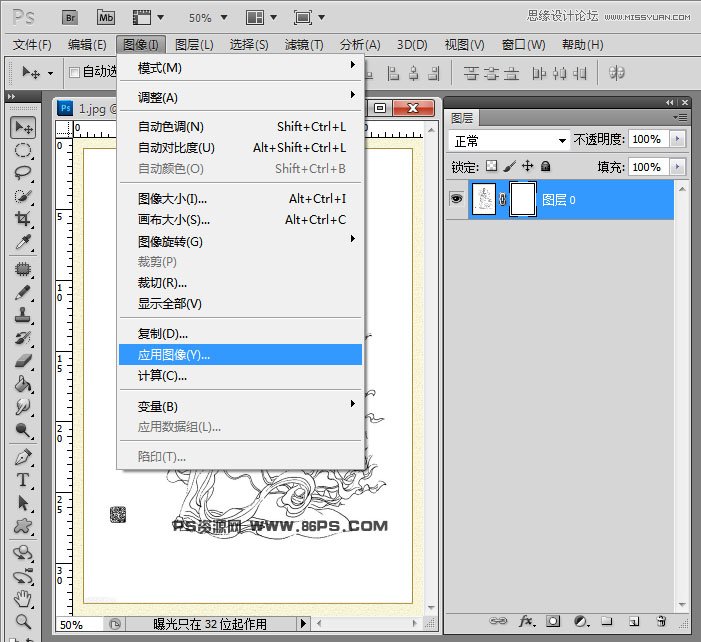
选择菜单中的,图像》应用图像
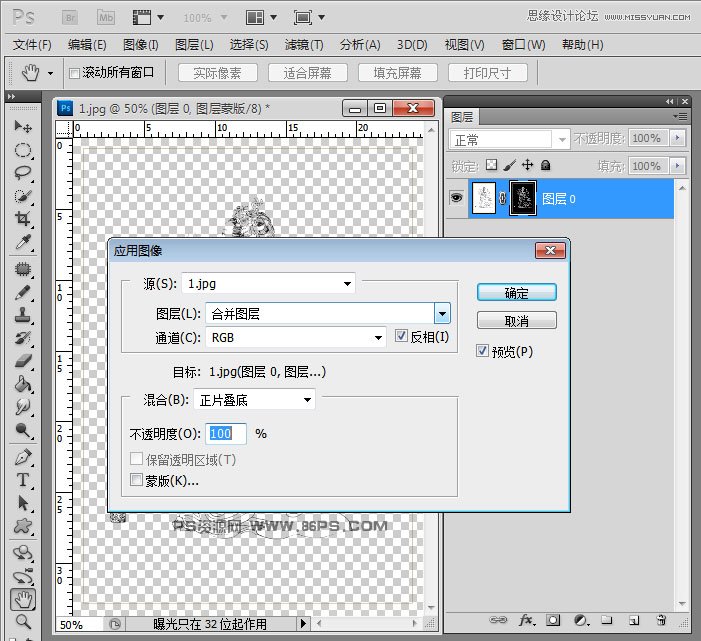
在弹出的选项窗口中,选择反相,马上就可以看到线条部分被抠出来了,为了增强线条的效果,我们需要进行后面的修补操作
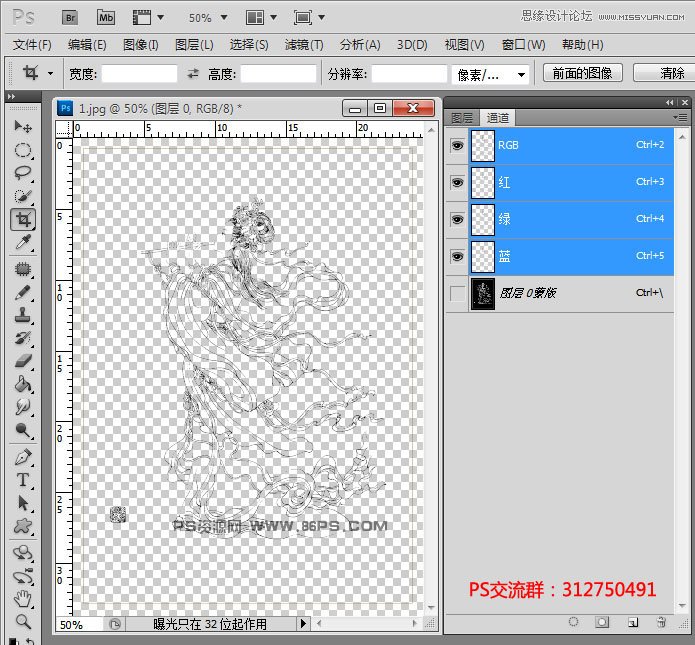
进入通道面板,选择RGB通道
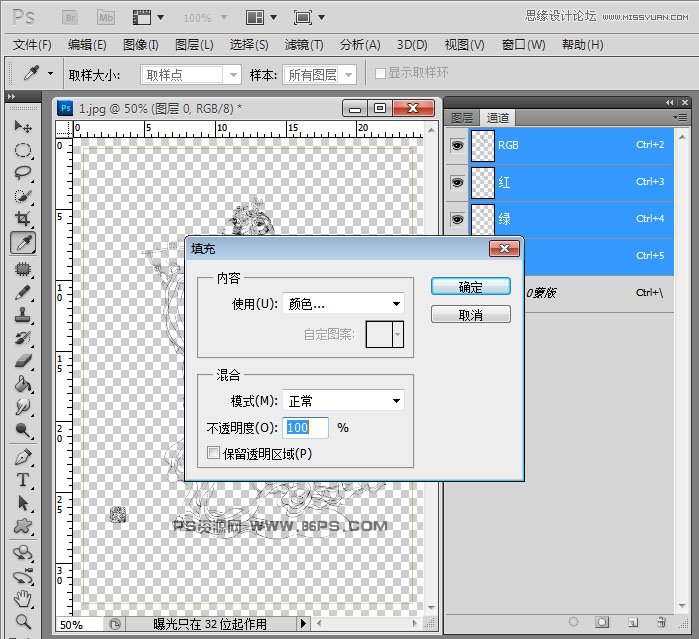
选择菜单中的,编辑》填充 ,使用黑色填充
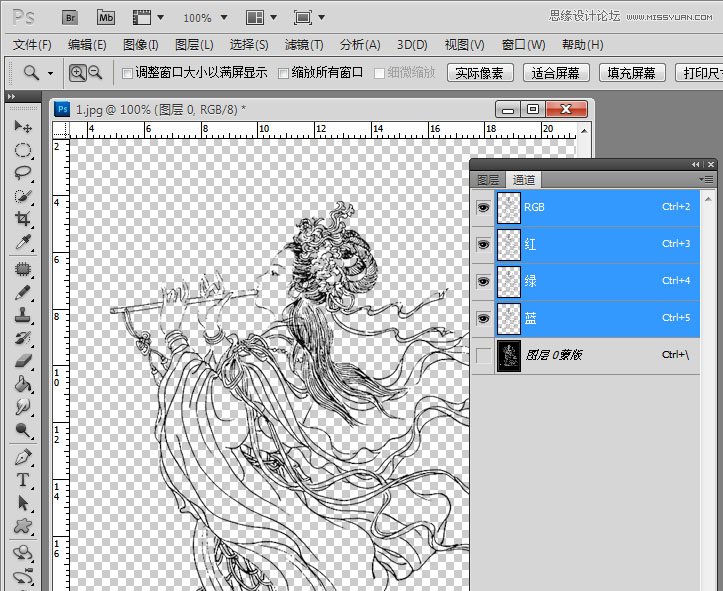
得到增强的抠出的线稿效果图如上,用这种方法抠出的线条更加清晰。我们再来看下放大后的效果图。
对于线稿的抠图,大家如果有更多更好的方法,欢迎一起交流学习。