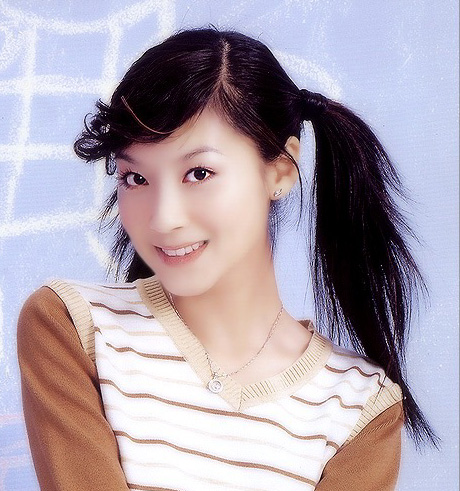
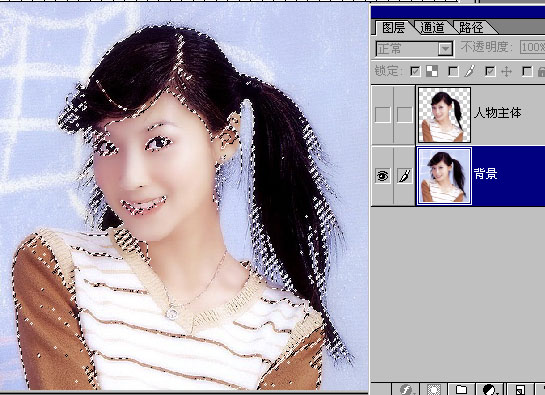
先贴原图
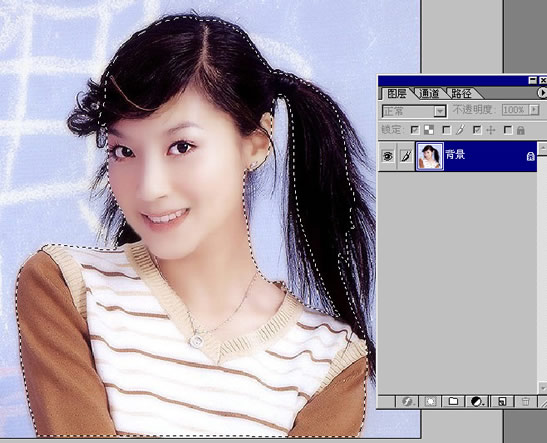
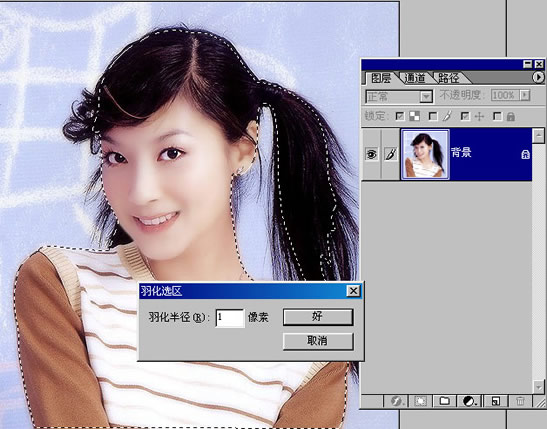
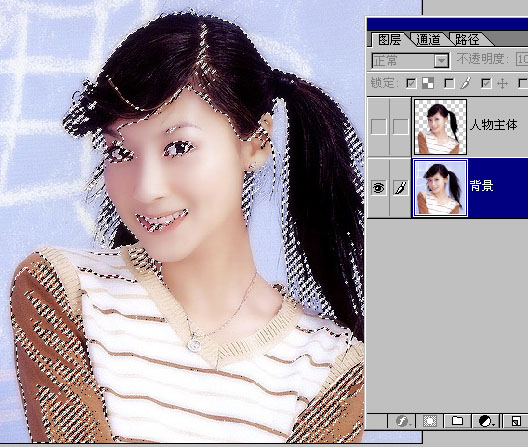
先用钢笔或套索工具勾出人物的主体部分,做的时候一定要注意,蚂蚁线不要太到边缘,更不能外出,否则扣出来的效果是不理想的。
然后进行羽化,羽化的作用是使边缘柔和,不会显得生硬。
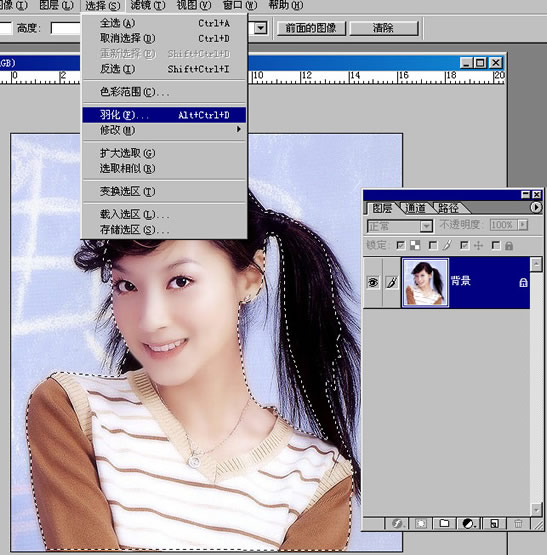
羽化值根据图像的面积的大小和所选范围的大小而设定,我这里设定为1
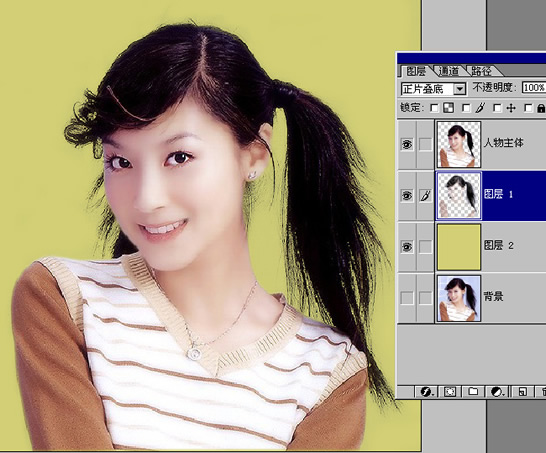
然后ctrl+j自动生成 图层1
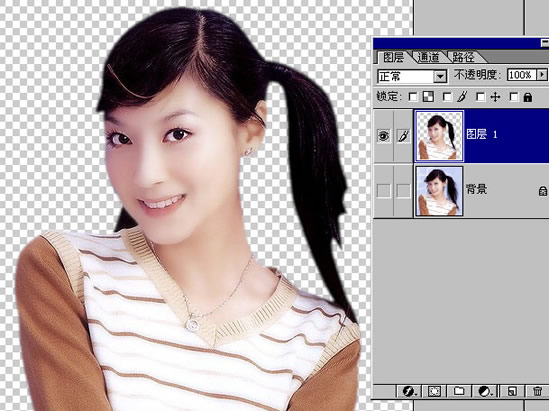
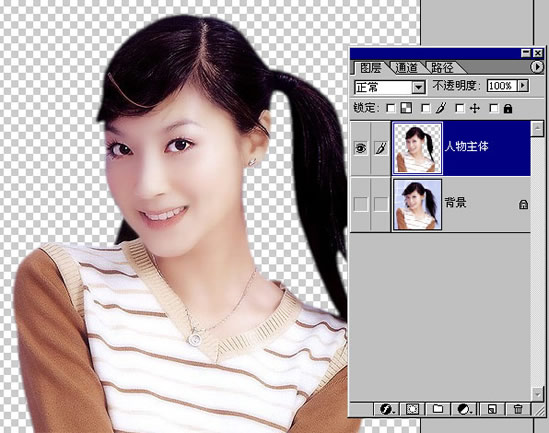
我将 图层1 改为人物主体,目的为后来的另外几种抠图备用,使大家能一目了然。
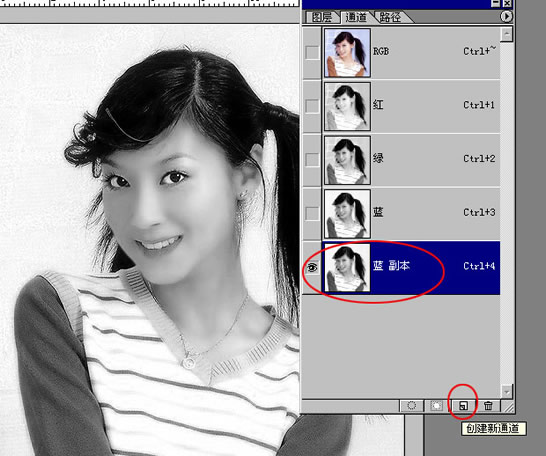
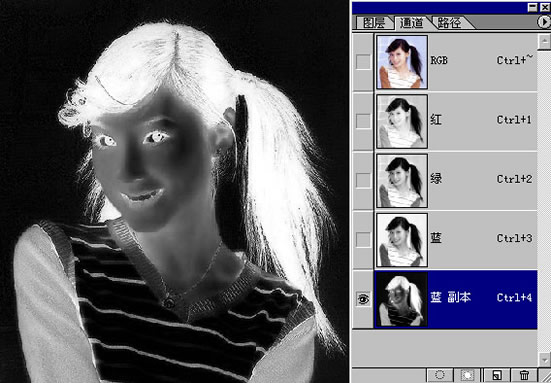
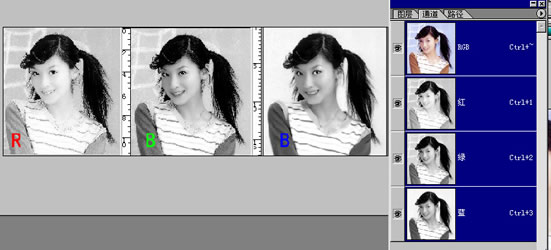
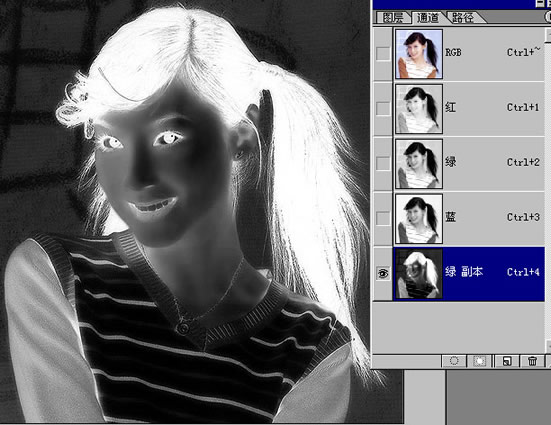
关闭人物主体前的眼睛,选中背景层,回到通道。大家注意看,蓝色通道的背景很干净,呈现单一的灰白。那么蓝通道就可以利用了。

将蓝通道拖到创建新通道图标按钮处,得到一个新的蓝 副本通道,如图所示:
ctrl+i将蓝副本通道反相,反相后,原来白的变黑,黑的变白了。但由于原来白的部分不是纯白,当然反相后就不可能是纯黑了,为了将黑度增强,就必须要进行下一步的色阶调整了。
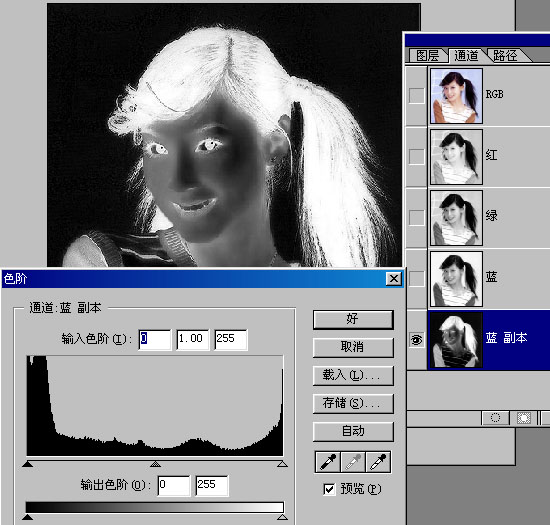
ctrl+L 色阶面版跳出来了
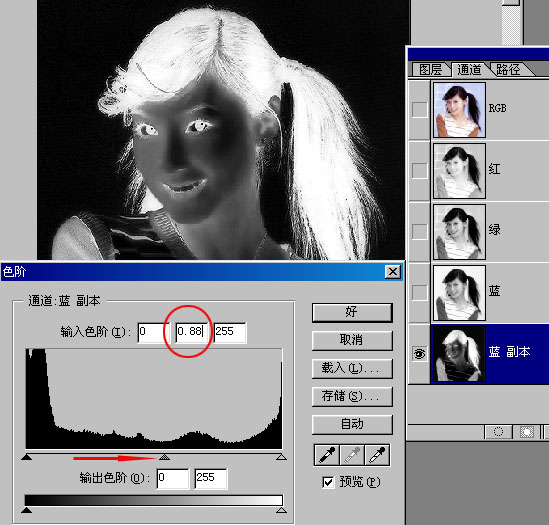
将中间的小三角往右拖,圆圈内的数值由原来的1变为0.88了,蓝通道显得更黑了。
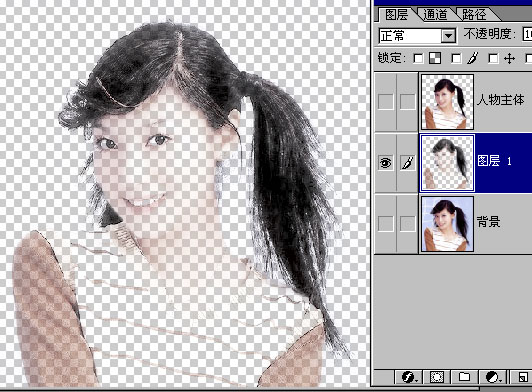
〈住ctrl 用鼠标点击蓝 副本通道,蚂蚁线出现了,现在的状态为选取了白色区域,我们要的就是这个白色选区了。
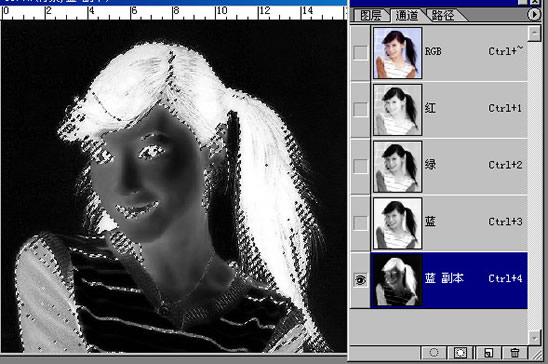
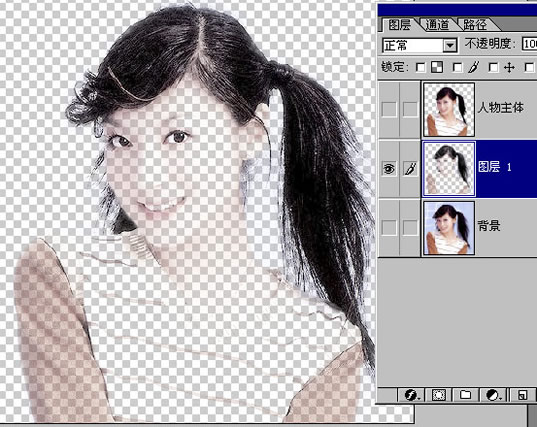
不要取消蚂蚁线,回到背景层
ctrl+j自动生成图层1,隐藏背景层前的眼睛,效果如图所示:
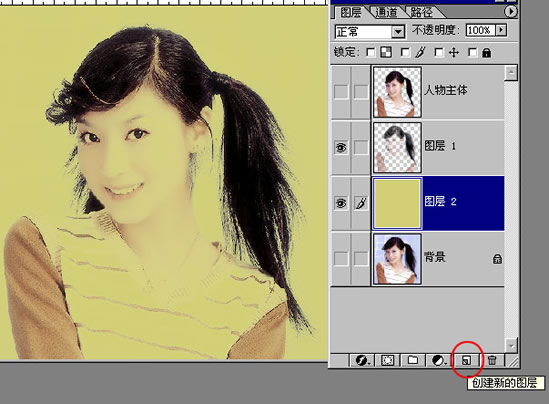
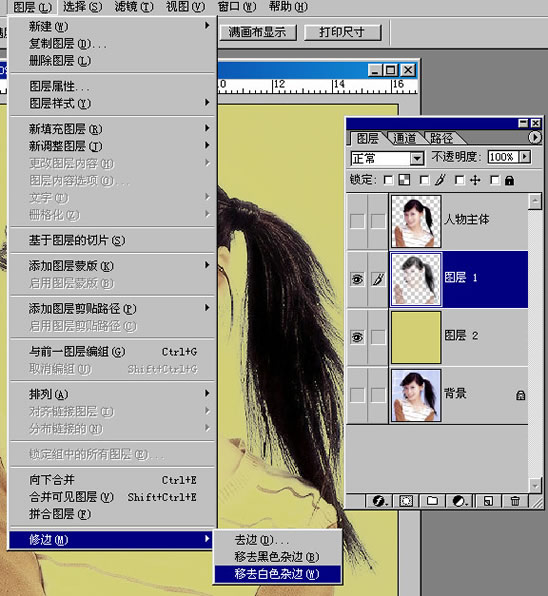
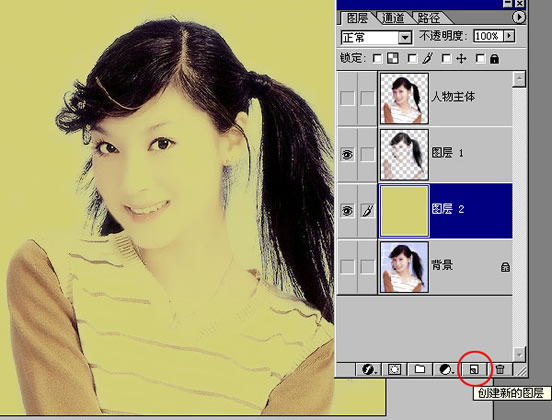
〈住ctrl,用鼠标点击红圈内的按钮,在图层1的下方出现图层2 ,随意填充一种黄色。如图所示:
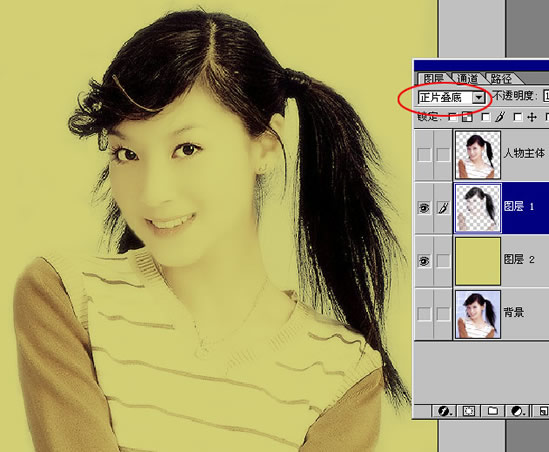
大家看,头发边缘效果不好,显得有些灰白,用图层菜单——修边——移去白色杂边命令可清除掉。 (
当然也可用正片叠底在后面的方法里我会用到的)
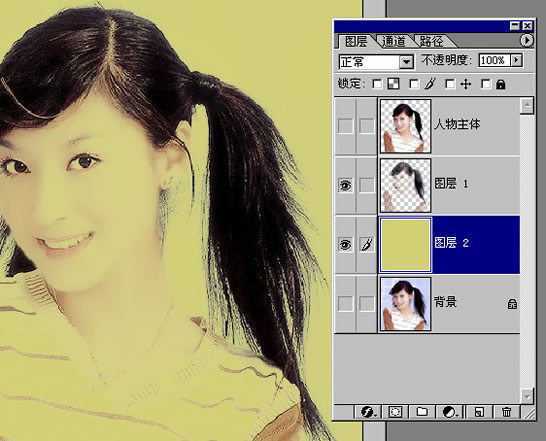
大家看,发丝边缘现在很漂亮了
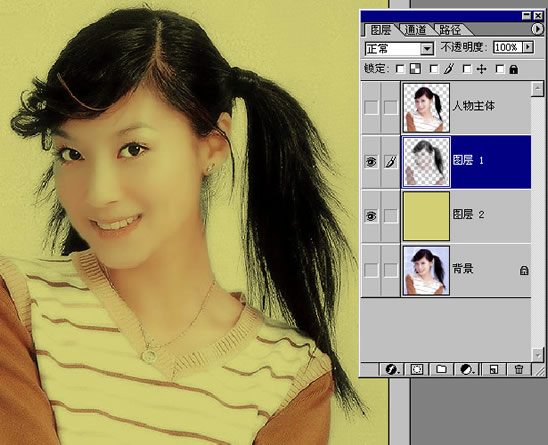
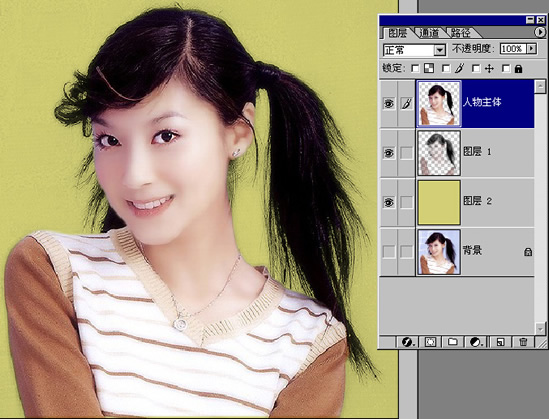
让人物主体层前的眼睛出现,该层为可见。大家看,现在总的效果是不是好看了呀!这种观察通道,选取可利用通道抠图到此完毕!
第二抠
教程名是一图五抠,第一抠完了,现在进行新的第二抠了,假如蓝通道同红、绿两通道一样,背景部分是花的,而不是单一的灰白怎么办呢?我现在以绿通道为例,来做个示范。
同样,复制绿通道为绿 副本,然后ctrl+i反相
将图放大观察,背景部分有明显的灰色块。如过用色阶来加深绿副本通道,若为了使背景够黑加深过多,会损失发丝。所以在进行色阶调整前先用画笔工具往背景上涂抹黑色。
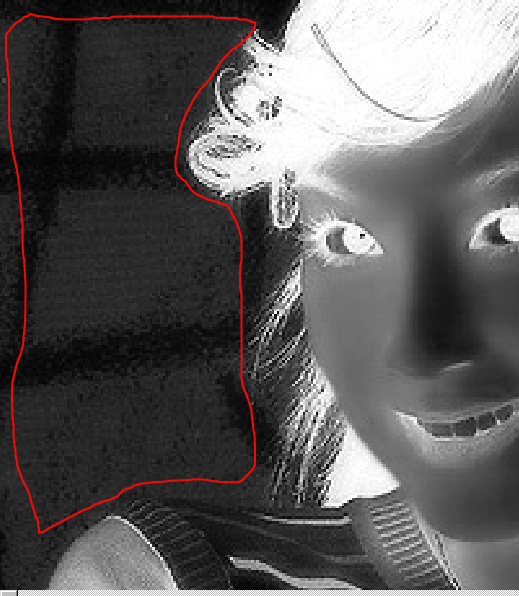
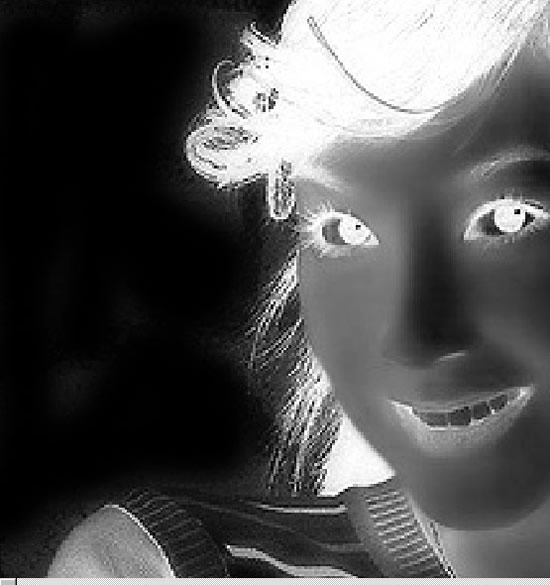
现在背景比较黑了。大家注意,要涂抹整个背景。
ctrl+L色阶调整,如图:
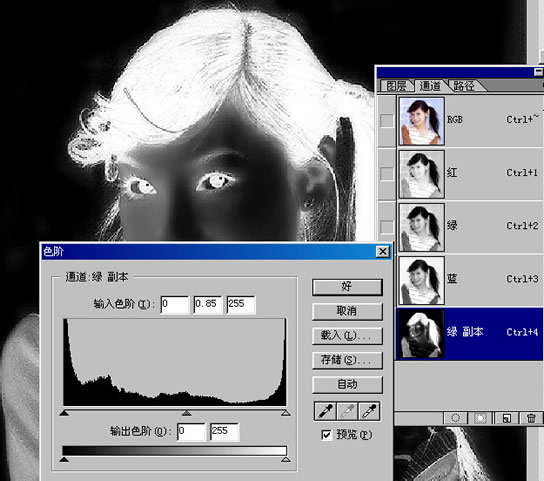
〈住ctrl,用鼠标点击绿副本通道,蚂蚁线出现了

保持蚂蚁线不取消,回到背景层
〈ctrl+j出现图层1如图所示:
〈住ctrl,用鼠标点击红圈处,在图层1的下方出现图层2,填充黄色,效果如图所示:
大家看上图,同样是发丝边缘不美观。我这次将图层1的模式设定为正片叠底,注意看红色椭圆里的内容。大家看效果立即好起来了。(当然大家也可象第一抠里那样将图层1移去白色杂边)
让人物主体层前的眼睛出现,该层为可见。大家看,效果也不错了。
第二抠到此完毕!