

photoshop使用通道快速的抠出燃烧的火苗效果图
发布时间:2015-05-12 来源:查字典编辑
摘要:本教程主要是向脚本之家的朋友介绍利用Photoshop使用通道快速的抠出燃烧的火苗效果图方法,教程很简单,很适合入门的学者学习,推荐过来,一...
本教程主要是向脚本之家的朋友介绍利用Photoshop使用通道快速的抠出燃烧的火苗效果图方法,教程很简单,很适合入门的学者学习,推荐过来,一起来学习吧!
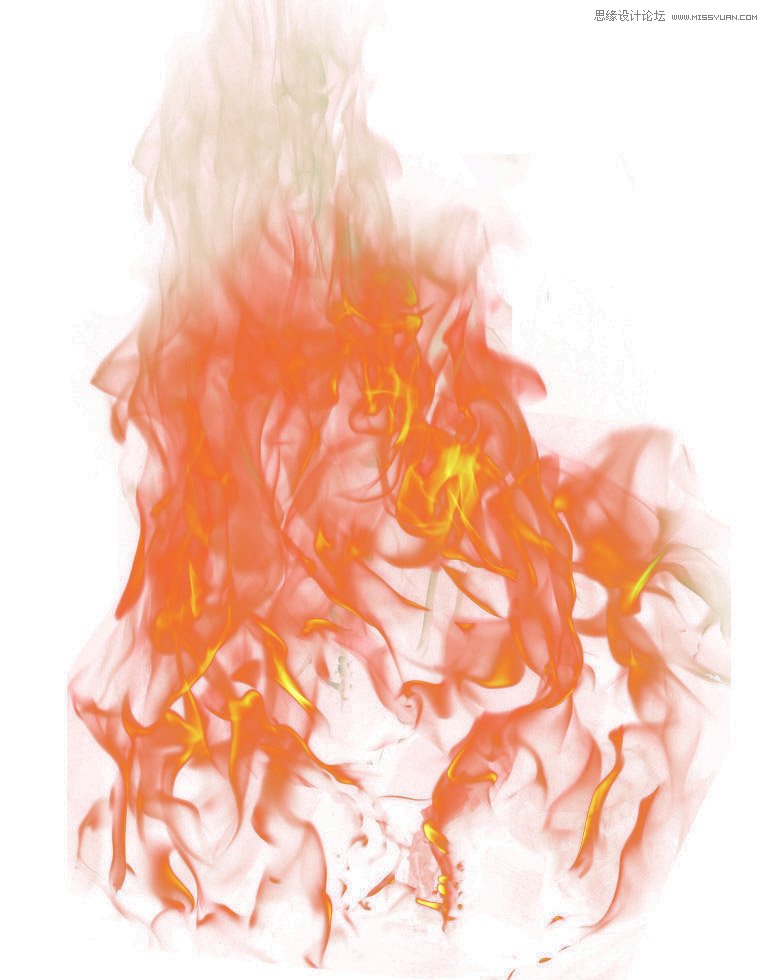
抠好的火焰素材
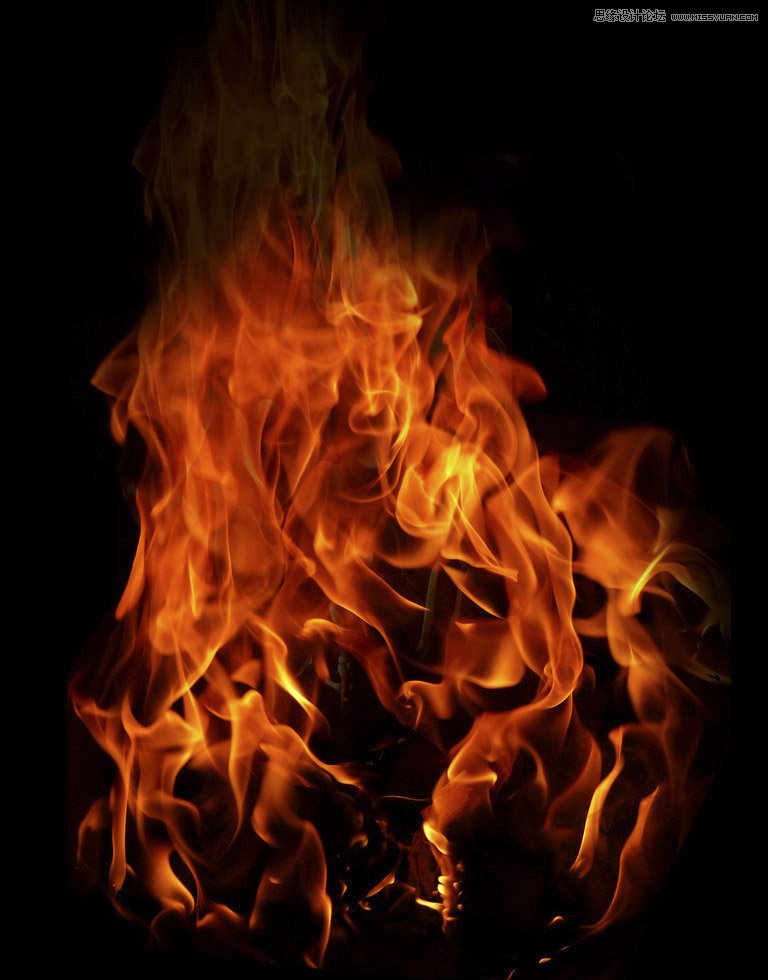
火焰素材原图
下面是详细的抠图过程:
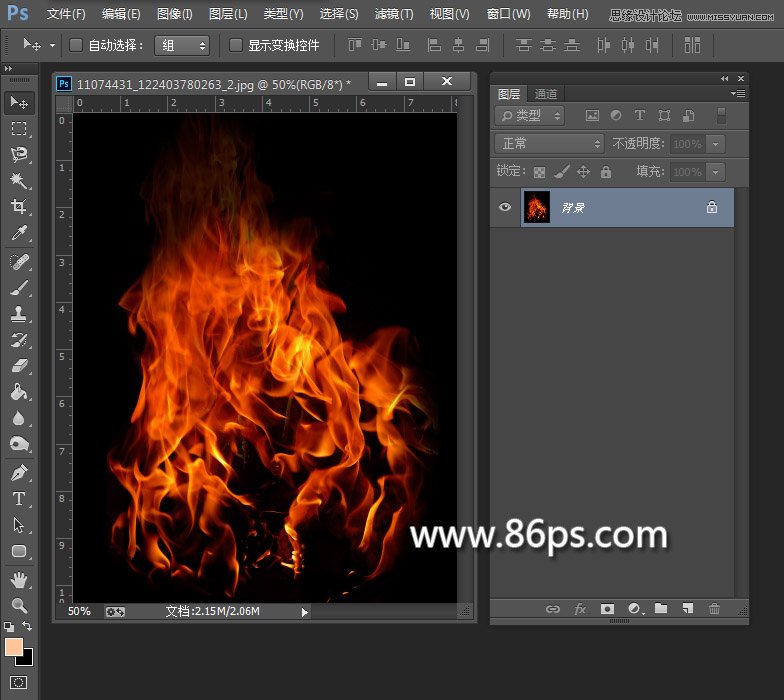
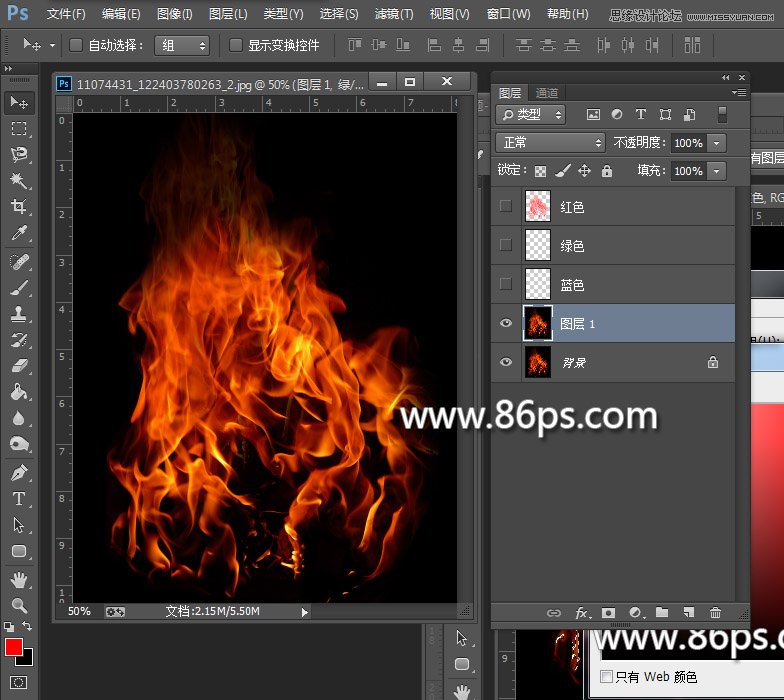
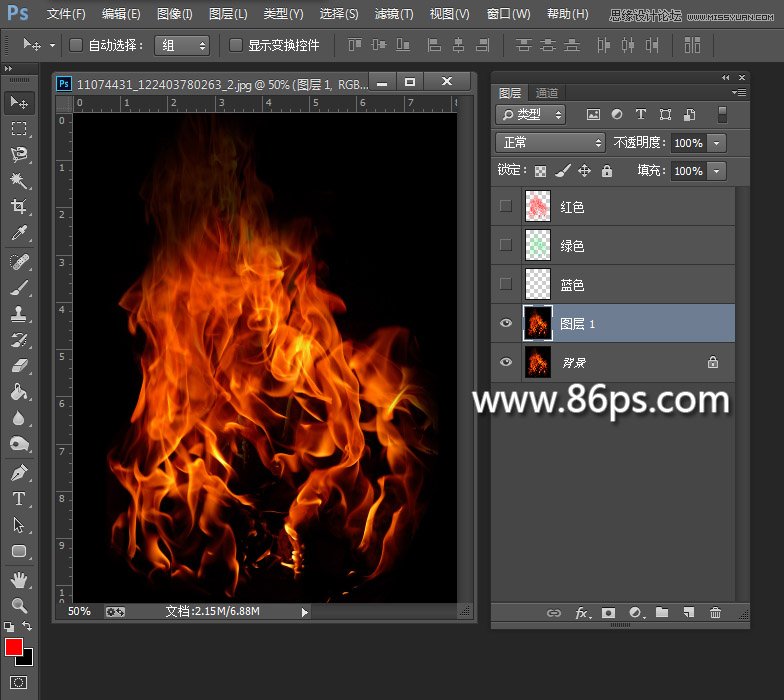
首先打开素材原图
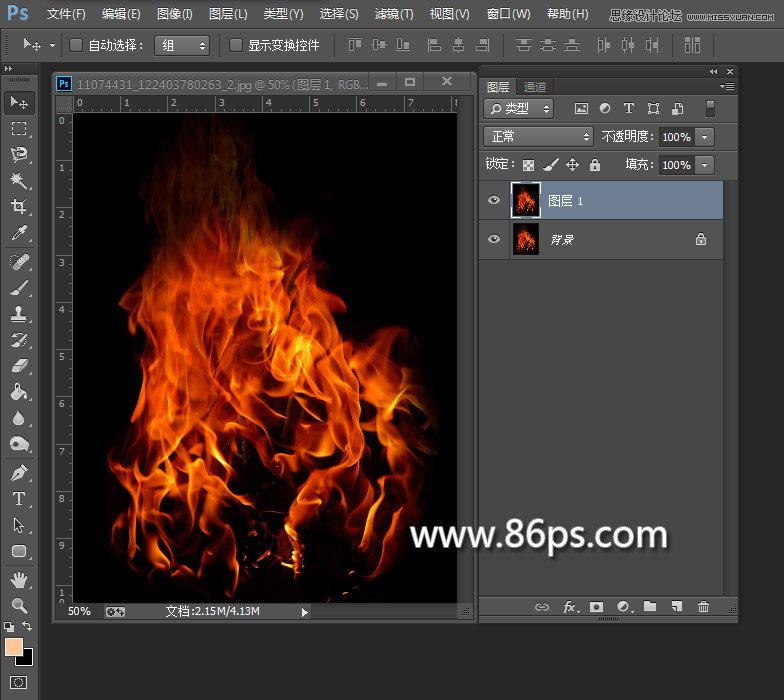
Ctrl + J 复制一层
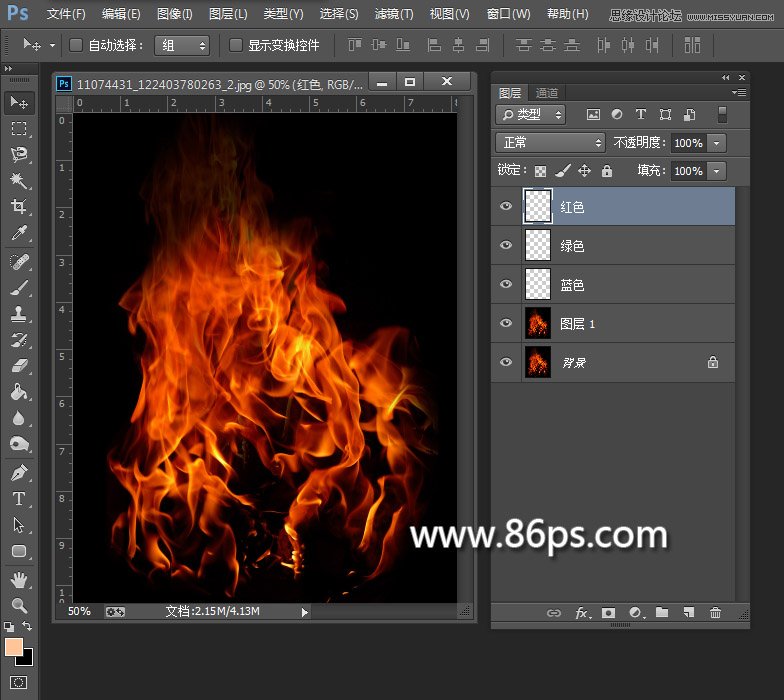
然后新建三个图层,分别命名为:红色、绿色、蓝色。
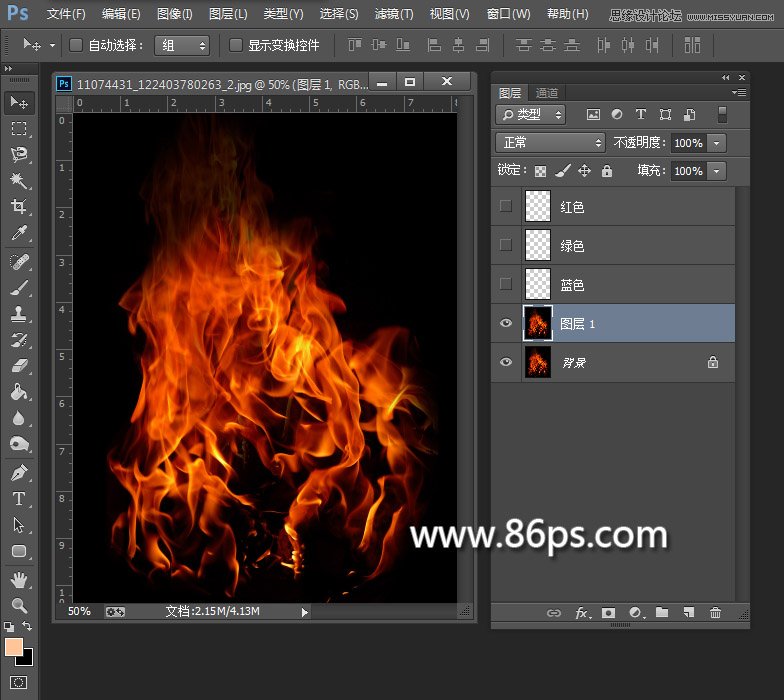
选择复制的火焰图层为当前图层

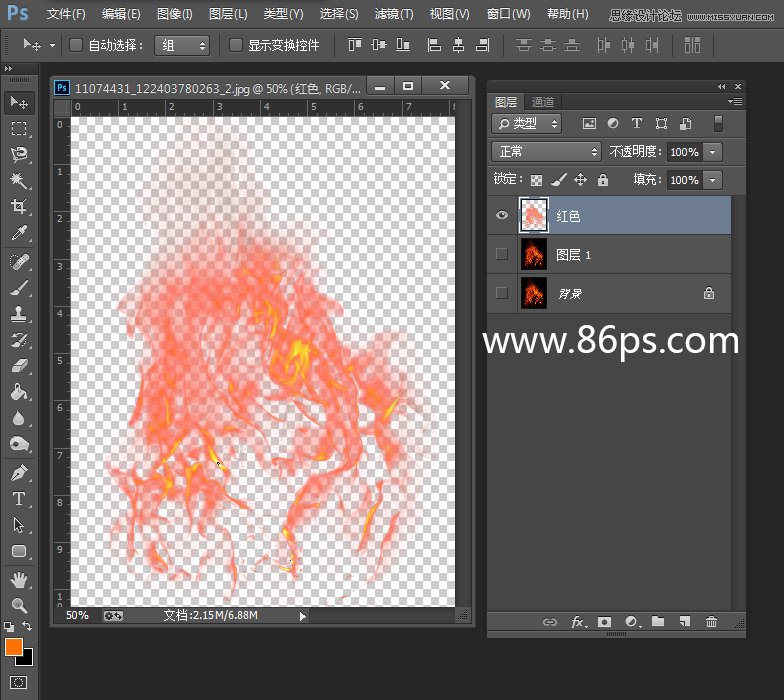
进入通道面板,选择红色通道,然后植入选区,如图

然后回到图层面板,选择 红色图层,把前面的小眼睛打开,按Shift+F5,调出填充对话框
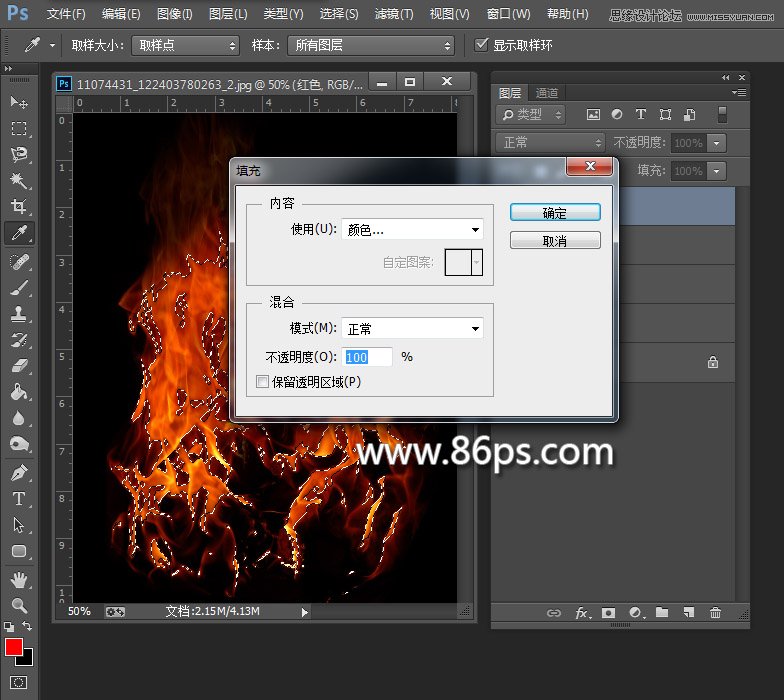
选择颜色
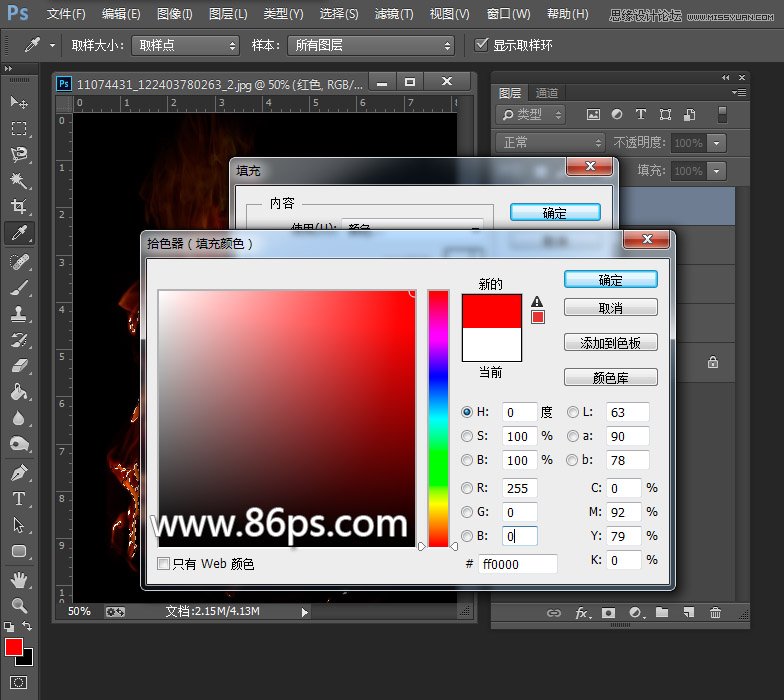
设置填充颜色为纯红,R 255 G 0 B 0
然后按 Ctrl + D 取消选区,关闭红色图层前的小眼睛隐藏图层,然后选择图层1为当前图层。
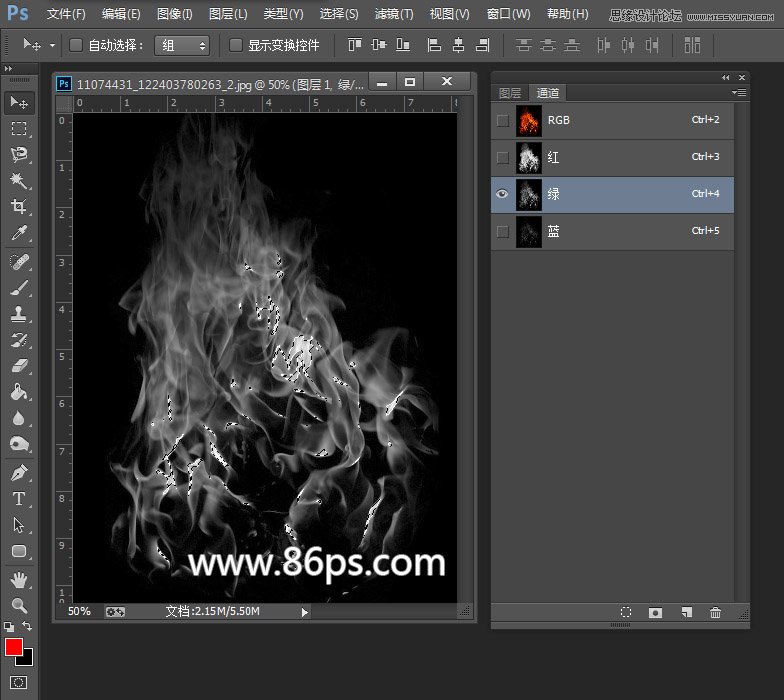
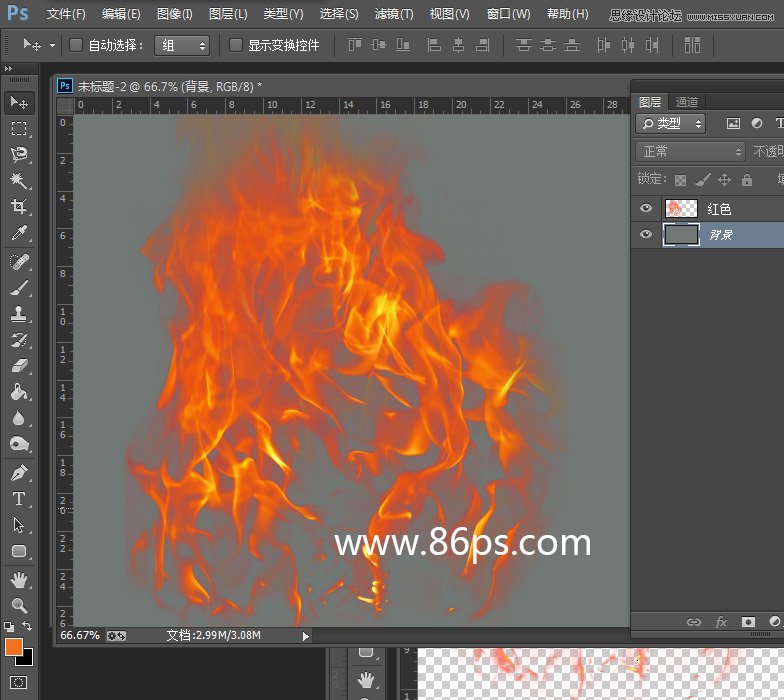
再次进入通道面板,选择绿色通道,载入选区
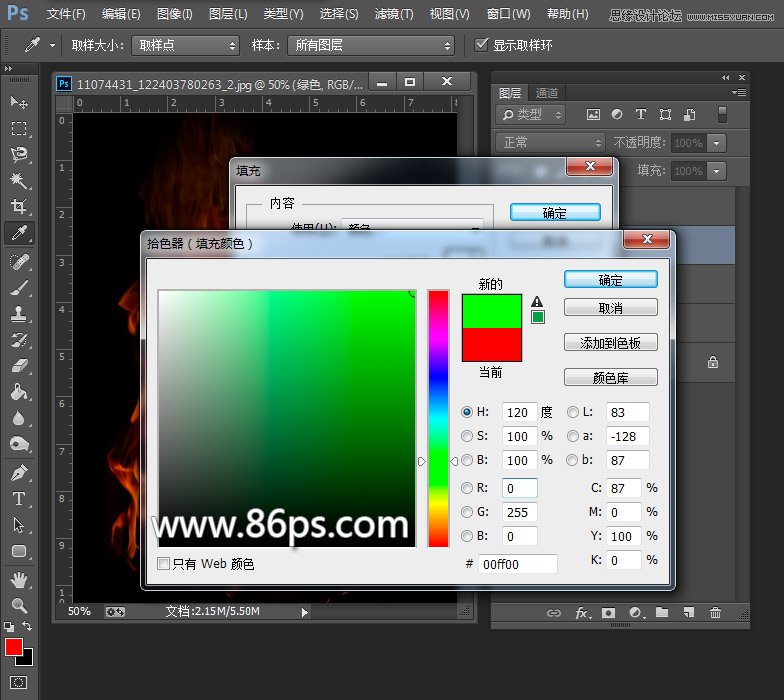
然后回到图层面板,把绿色图层打开,按Shift+F5填充,设置颜色为纯绿色 R 0 G 255 B 0,填充绿色
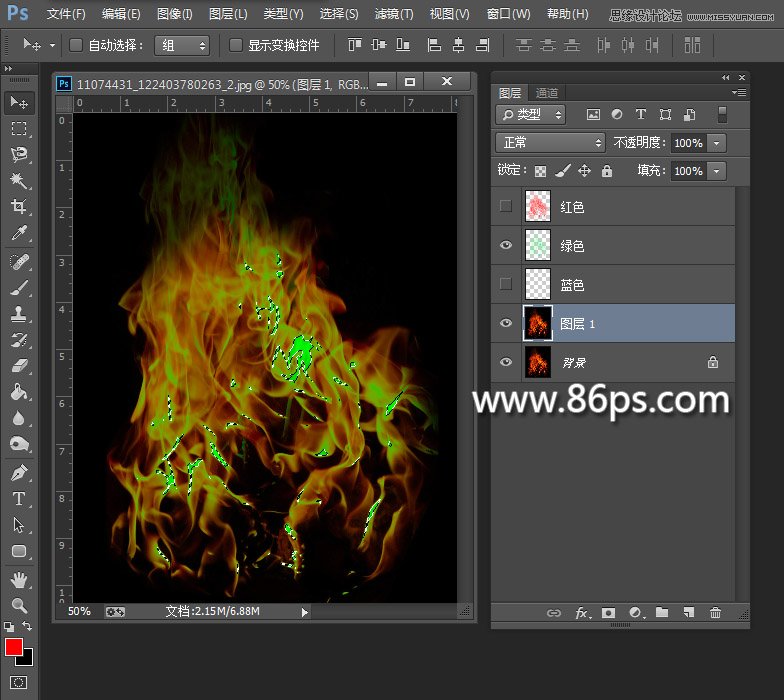
填充后效果如图,选择图层1为当前图层
关闭绿色图层前的小眼睛,隐藏绿色图层,选择图层1为当前图层。
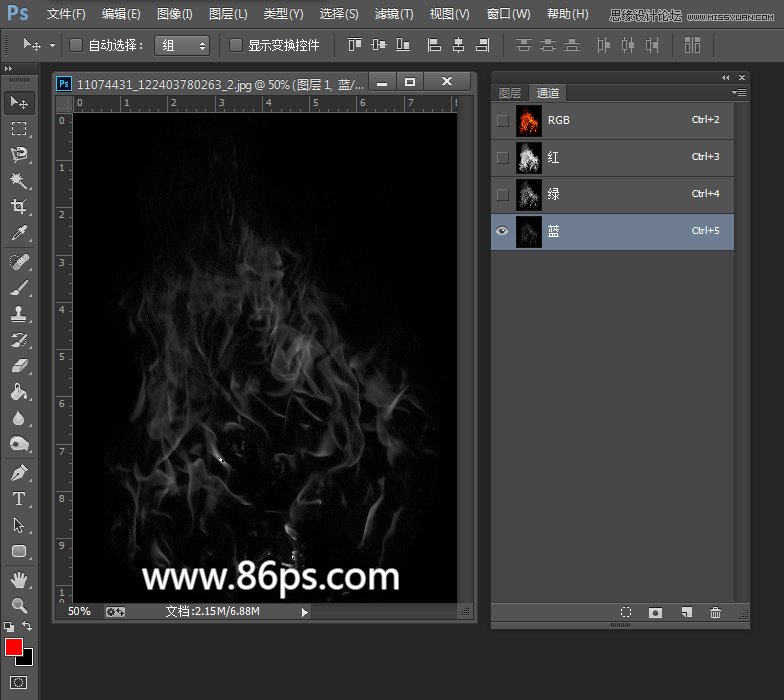
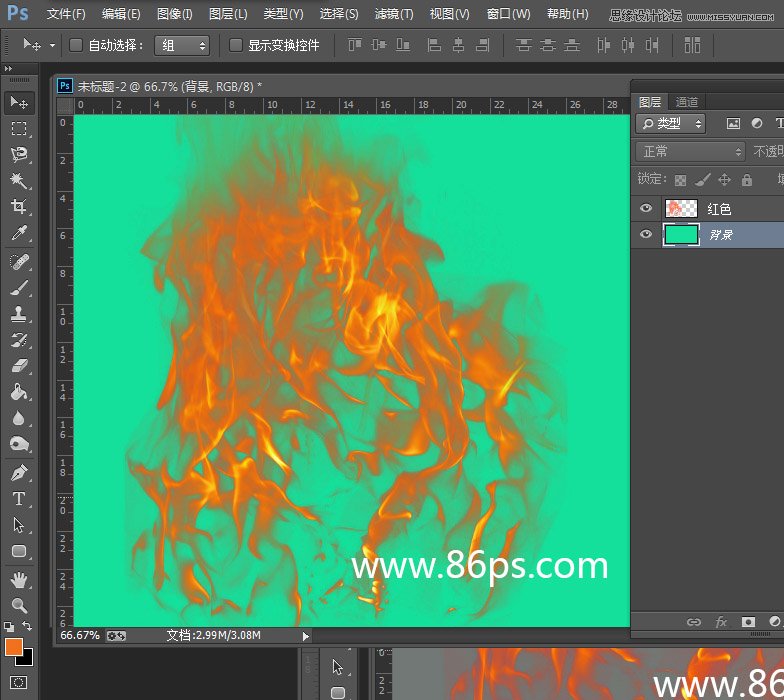
继续进去通道面板,选择蓝色通道,同样载入选区。
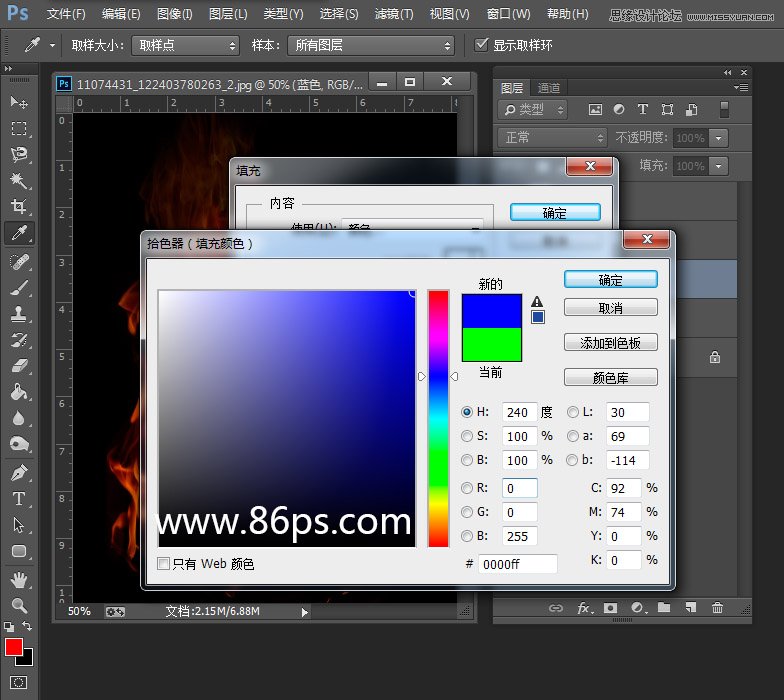
然后又回到图层面板,选择蓝色图层,按Shift+F5填充纯蓝色,R 0 G 0 B 255
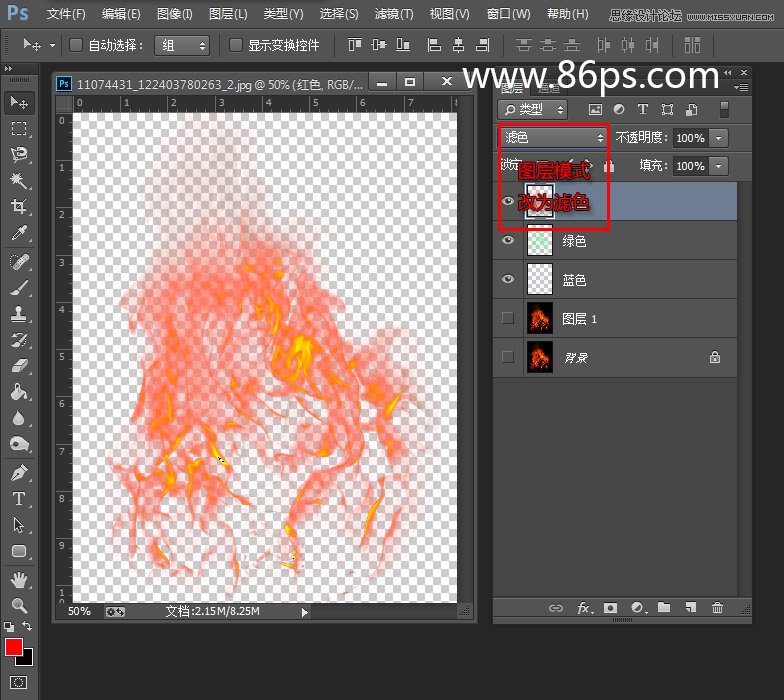
这样我们得到了,红色 绿色 蓝色 三个填充图层,把图层1隐藏,然后依次把图层混合模式都改为绿色,得到效果如图。
按 Shift + Ctrl + E 合并可见图层,这样我们就得到了一个抠好的火焰素材了。
我们可以把它拖动到任意的背景中使用。
也可以保存为单独的文件备用。
教程结束,以上就是Photoshop使用通道快速的抠出燃烧的火苗效果图方法,希望能对大家有所帮助!