

PhotoShop合成花纹美女壁纸效果教程
发布时间:2015-05-12 来源:查字典编辑
摘要:教程学习如何用Photoshop制作性感美女壁纸,主要用到了笔刷蒙版,调整层和素材的叠加,下面让我们一起来学习吧。先看效果图新建文档1000...
教程学习如何用Photoshop制作性感美女壁纸,主要用到了笔刷蒙版,调整层和素材的叠加,下面让我们一起来学习吧。
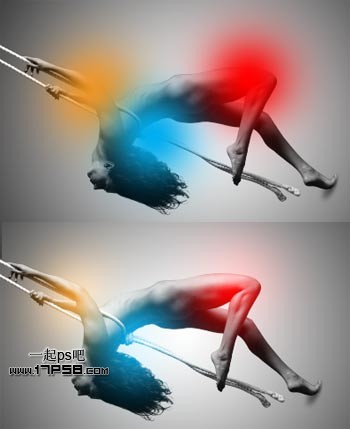
先看效果图

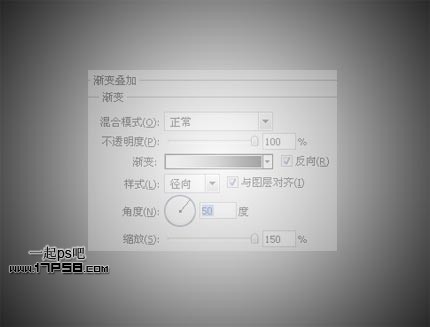
新建文档1000x756像素,建新层填充黑色,添加渐变叠加样式,效果如下。
打开美女素材。
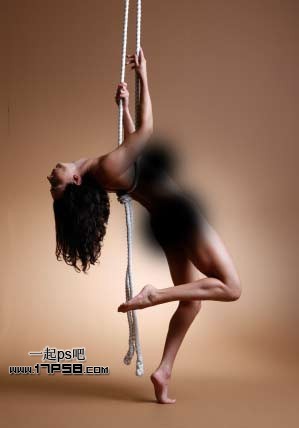
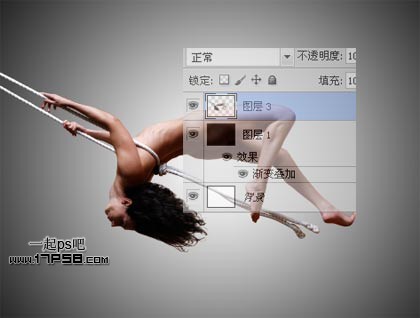
用钢笔或其它方法抠出美女,拖入文档中,旋转一定角度。
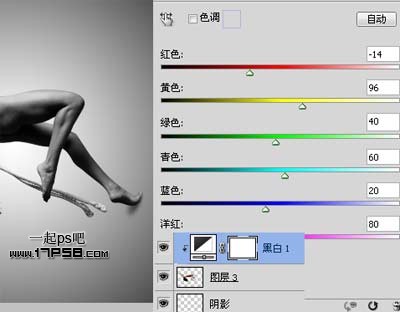
添加黑白调整层,形成剪贴蒙版,美女底部新建图层,用黑色柔角笔刷涂抹,制作美女脚部阴影。
顶部新建图层,用大口径柔角笔刷3种颜色涂抹,图层模式改为滤色。
打开花纹素材。
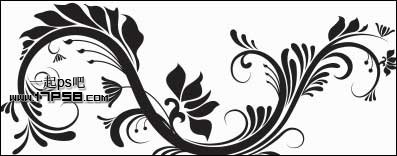
用魔棒去除背景白色,缩小位置如下,新建层,用白色柔角笔刷在红框位置点一下,形成剪贴蒙版,图层模式叠加。
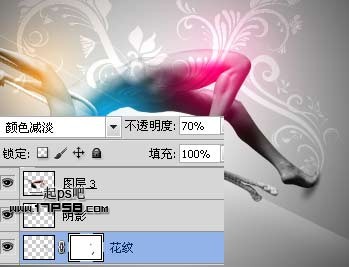
花纹层添加蒙版,用笔刷涂抹掉胳膊部分,图层模式颜色减淡。

新建图层,画1像素白色线条,添加蒙版去除2端部分,使线条渐隐。
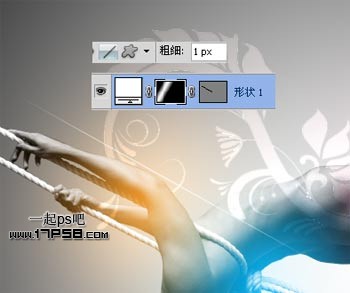
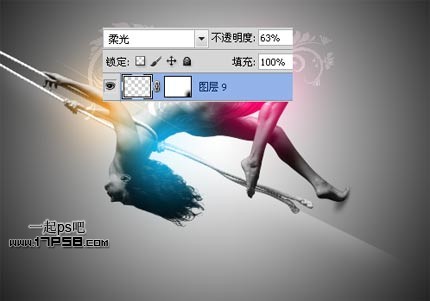
建新层,用直线套索做如下选区,为了看清楚,我填充的红色。
用白色柔角笔刷涂抹选区外侧,图层模式柔光,不透明度63%,添加蒙版去掉末尾部位,产生光条效果。
导入其它花纹,位于美女阴影层之下,同样的出来方法,图层模式颜色减淡,添加蒙版去除多余部分,适当减淡图层不透明度。
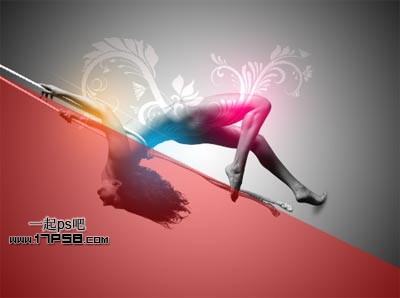
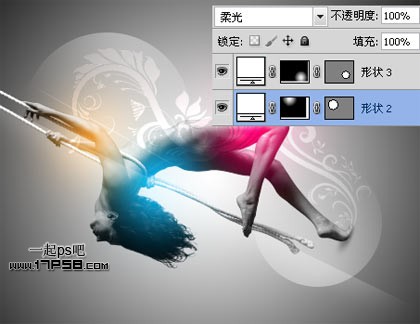
添加其它装饰元素,画2个白色正圆,图层模式柔光,添加蒙版黑白径向渐变,使部分渐隐。
导入其它花纹,放胳膊位置,图层模式颜色减淡。

新建图层,大口径黄色柔角笔刷胳膊位置点一下,图层模式叠加,与花纹层形成剪贴蒙版。

新建图层画一些白色圆点,图层模式柔光,不透明度50%,此层挪到美女阴影层之下。

添加其它光点线条元素,最终效果如下。