PhotoShop绘制古典竹简字画教程
发布时间:2015-05-12 来源:查字典编辑
摘要:步骤1:新建600*400的图档步骤2:选择矩形选框,拉选到适合的长度和宽度,羽化0.5步骤3:新建空白图层,命名为“竹笺&rd...
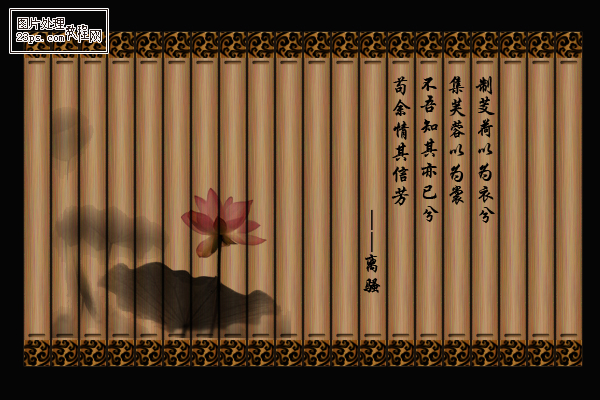


步骤1:新建600*400的图档
步骤2:选择矩形选框,拉选到适合的长度和宽度,羽化0.5
步骤3:新建空白图层,命名为“竹笺”,填充颜色#a67c52
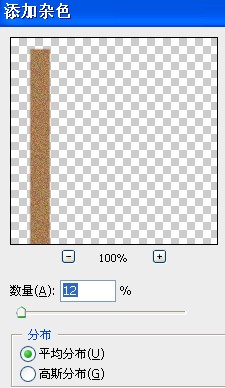
步骤4*:执行滤镜——杂色——添加杂色,参数如图
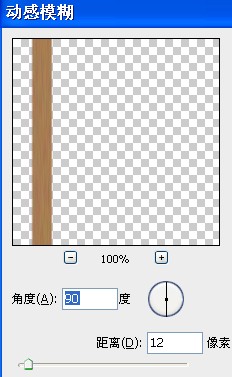
步骤5*:执行滤镜——模糊——动感模糊,参数如图
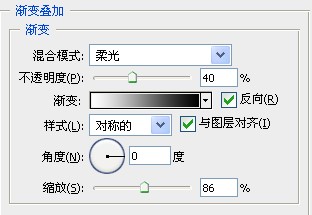
步骤6:双击打开竹笺图层的图层样式,勾选渐变叠加,参数如图