PhotoShop合成后天中水淹城市效果教程
发布时间:2015-05-12 来源:查字典编辑
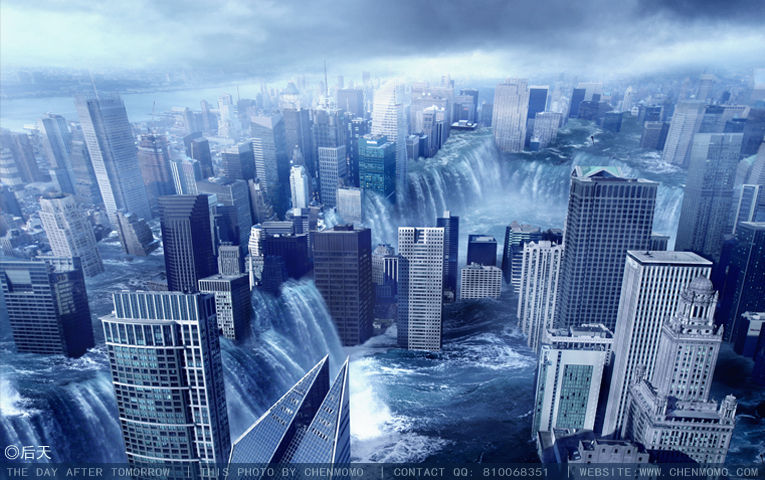
摘要:设定好尺寸,然后把背景填充成你所需要的最终色彩。将事先找好的城市素材拉进来按照楼层的纹理将其扣出来,留下后面填充瀑布的空地。强调一下,在扣出...
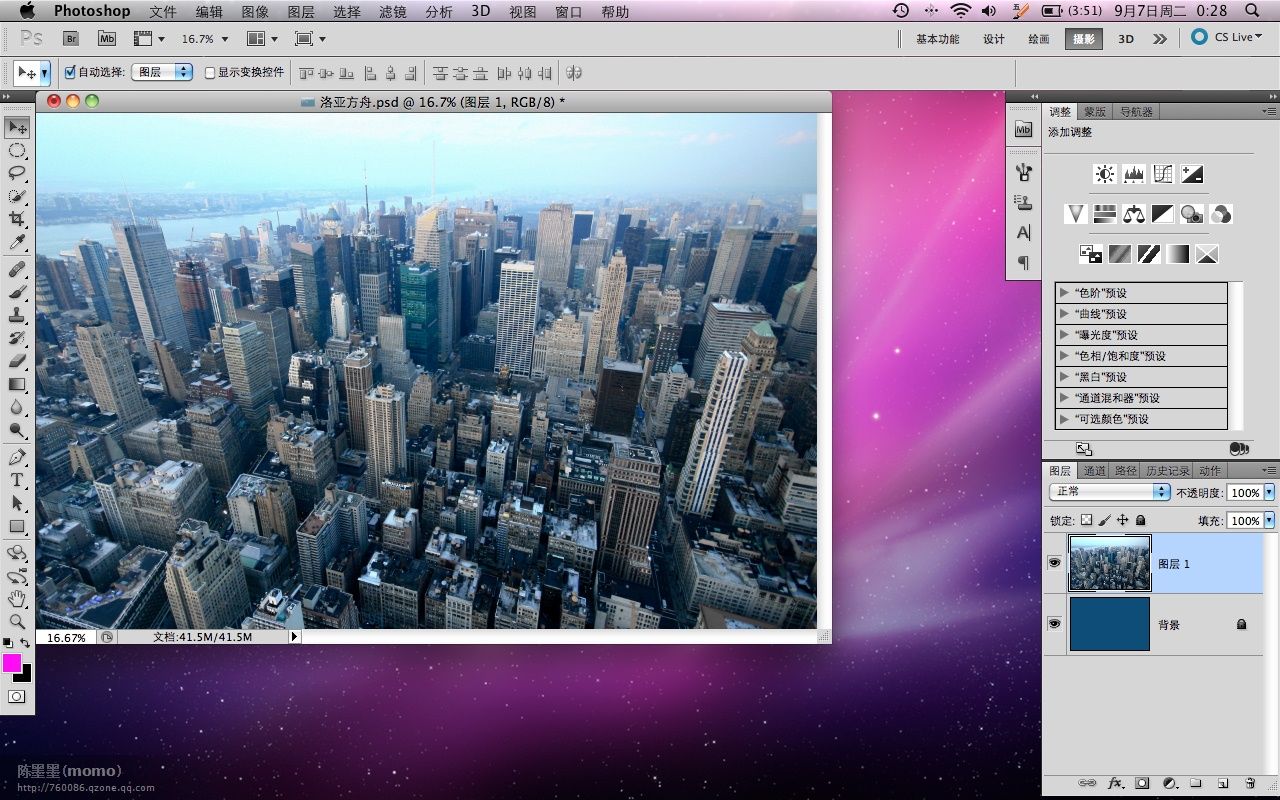
设定好尺寸,然后把背景填充成你所需要的最终色彩。

将事先找好的城市素材拉进来
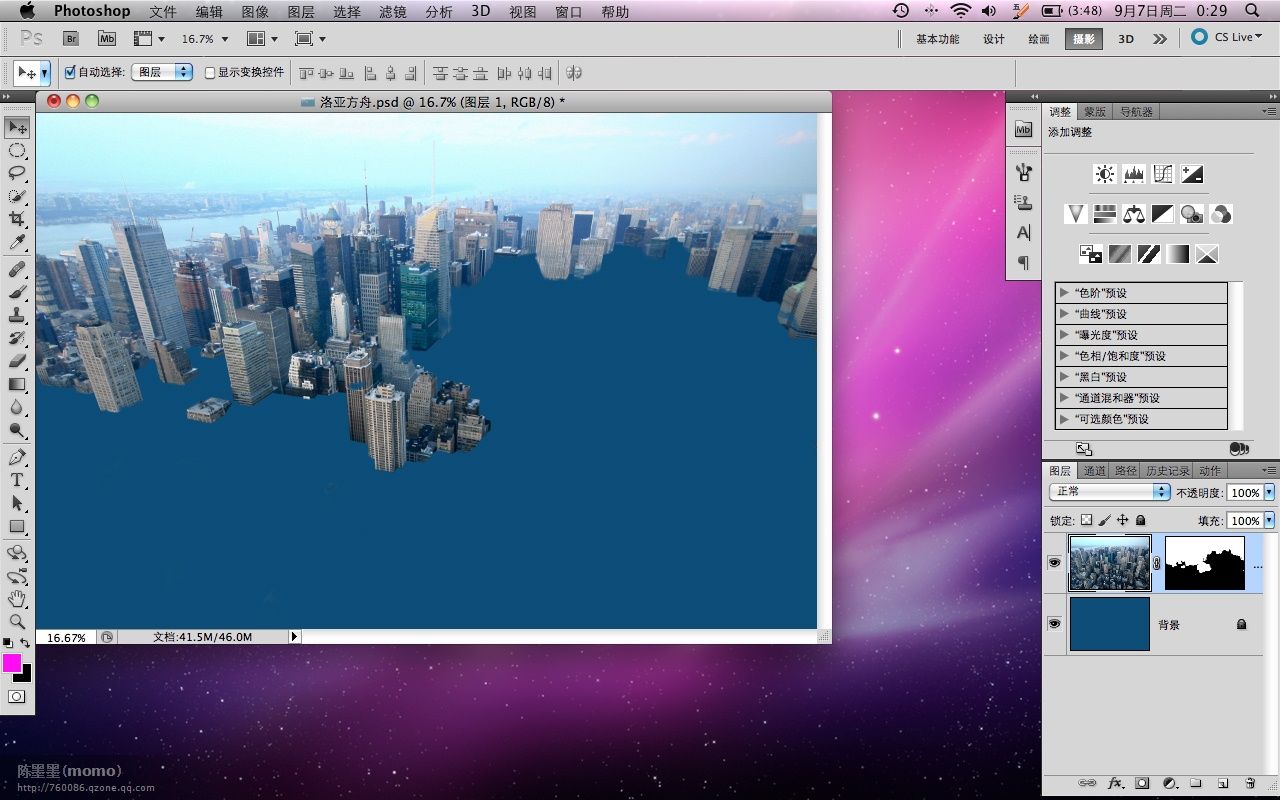
按照楼层的纹理将其扣出来,留下后面填充瀑布的空地。
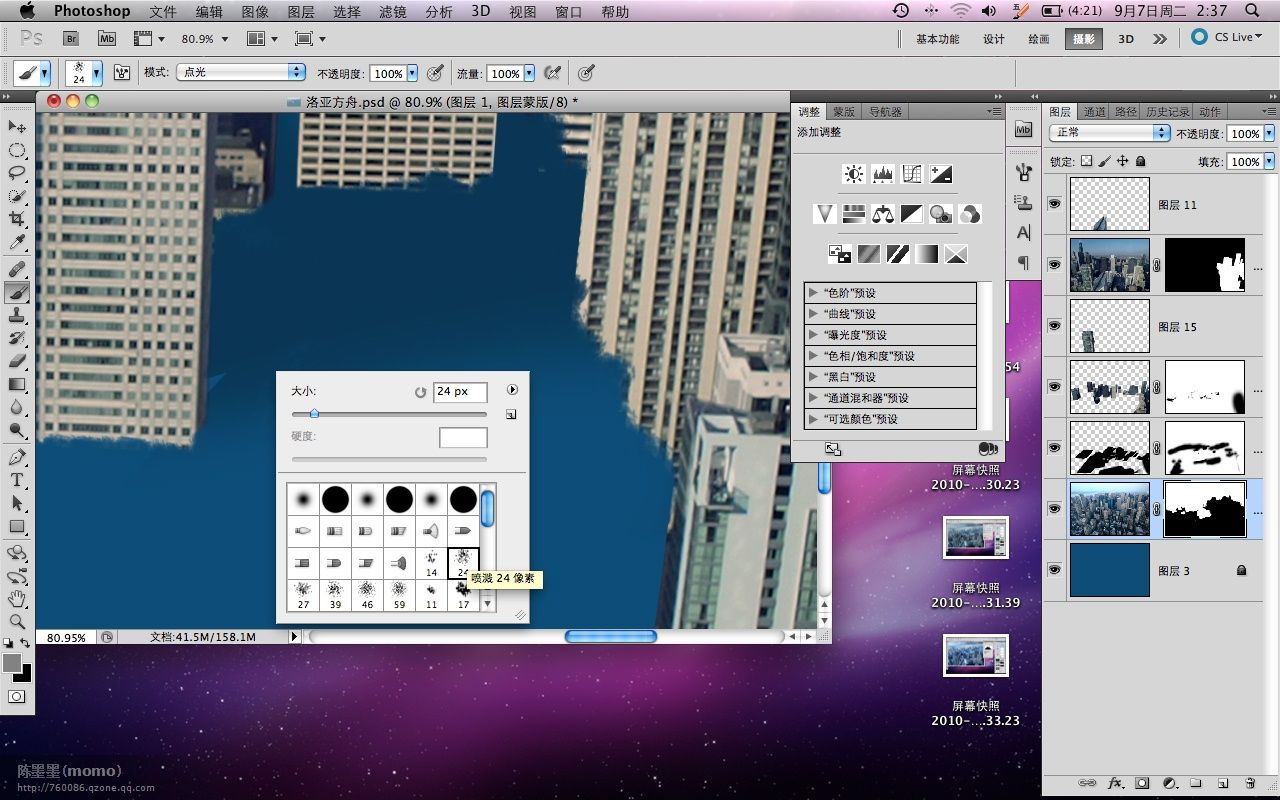
强调一下,在扣出来后最好用笔刷将楼层断面刷一下,这样可以达到逼真的水面效果