

PS合成超酷的幻想花卉生物
发布时间:2015-05-12 来源:查字典编辑
摘要:为什么叫幻想花卉生物呢?因为这种花是幻想出来的,自然界并没有这个样子的花,因此做法可以很随意,自己觉得怎么美就怎么做。欢迎大家观看网页教学网...
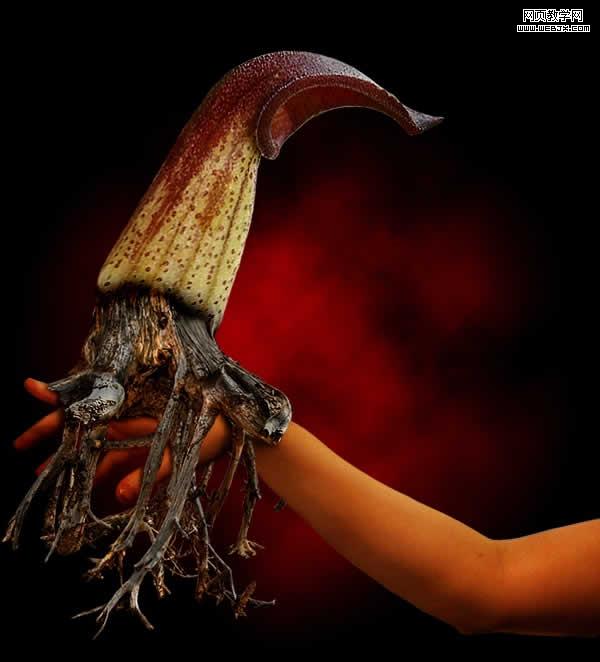
为什么叫幻想花卉生物呢?因为这种花是幻想出来的,自然界并没有这个样子的花,因此做法可以很随意,自己觉得怎么美就怎么做。欢迎大家观看网页教学网的Photoshop教程,本教程我们用Photoshop合成一个幻想的花卉生物,在这个教程中我们将用的一些基础工具:径向渐变图层效果、调整图层、加深减淡工具、锐化滤镜、渐变工具、以及图层蒙板、透视和克隆工具。
先看效果:
教程开始
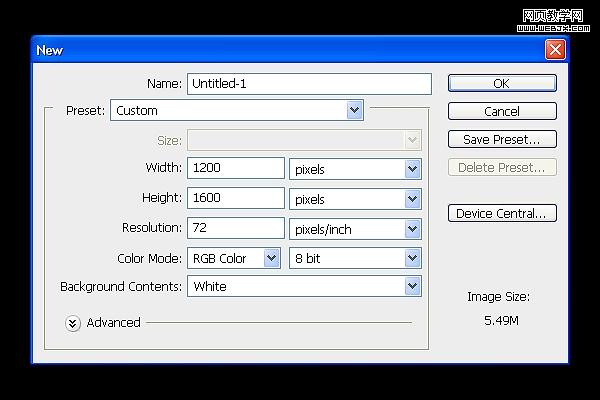
首先我们创建一个1200 X 1600大小的文档
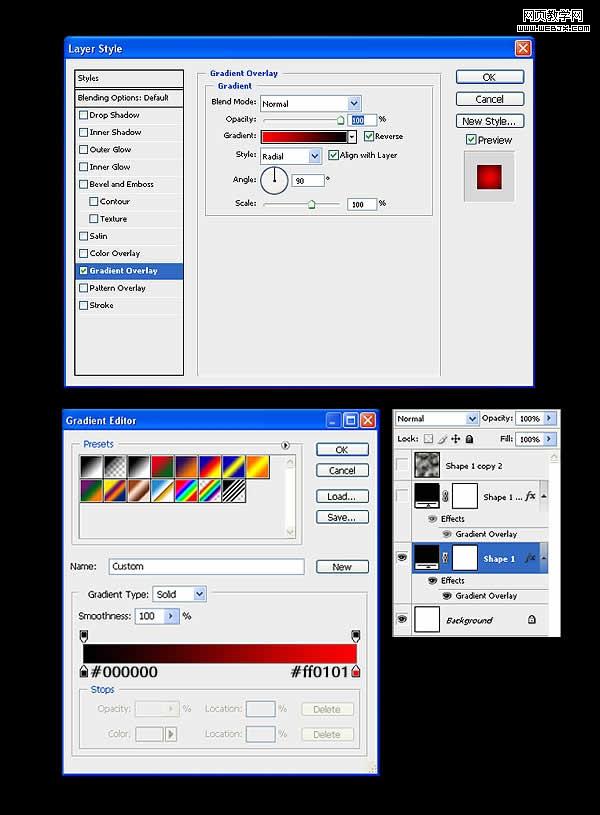
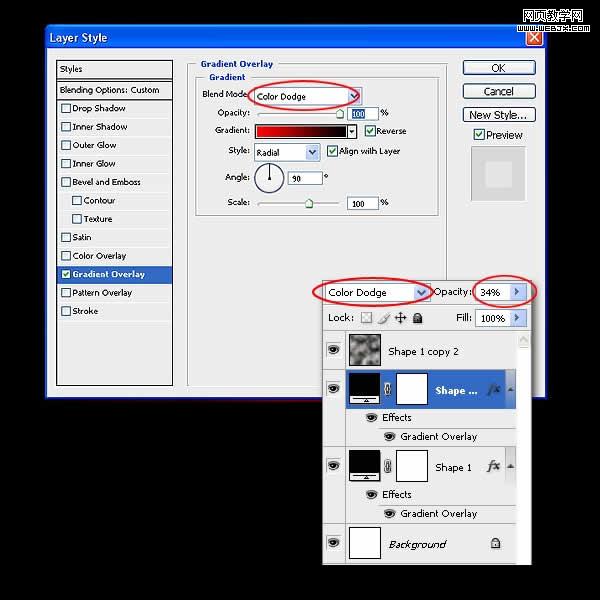
创建一个图层,然后绘制一个矩形填充什么颜色都可以,然后我们设置图层样式。
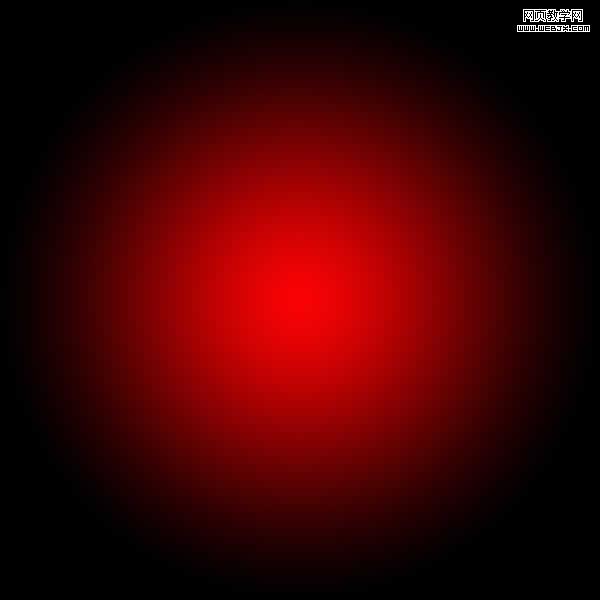
效果如下。
更改图层样式,调整图层模式为颜色减淡,降低不透明度。
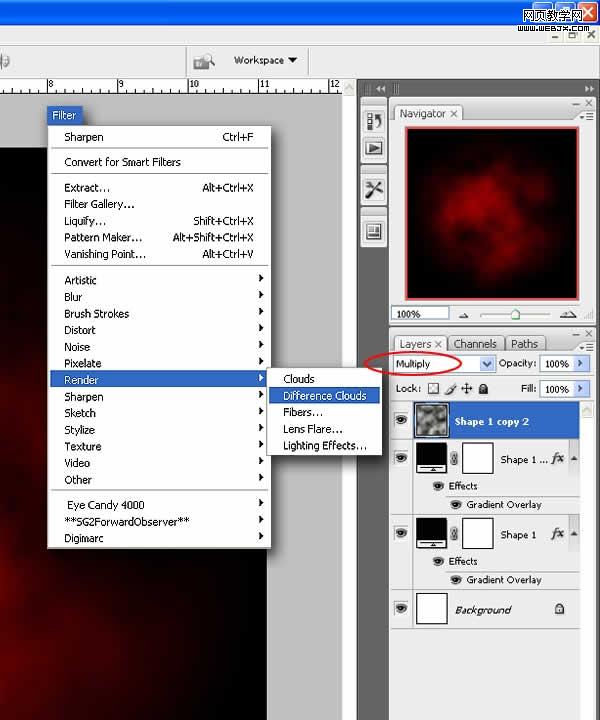
之后再次复制图层,然后确认前景色是白色背景色是黑色,然后执行分层云彩滤镜改变图层模式为正片叠底,效果如下。
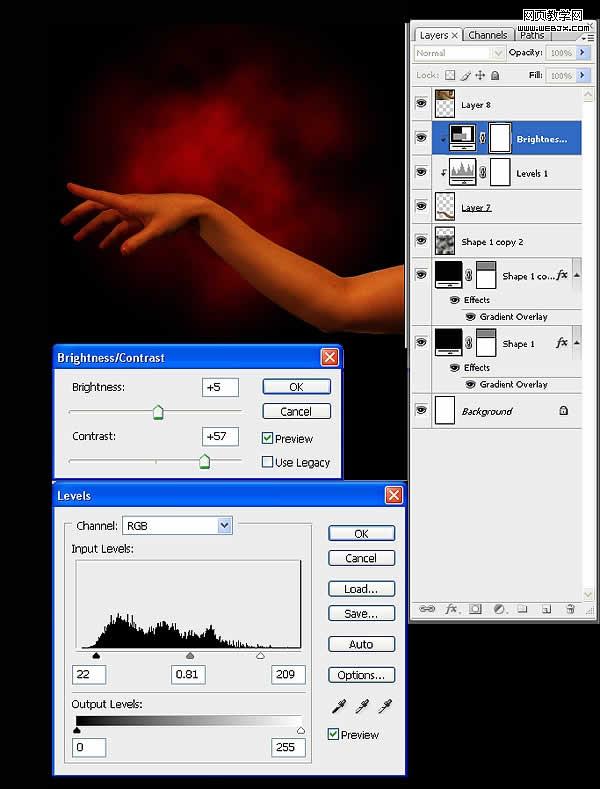
然后我们找到一个素材,用钢笔工具抠出手来买这里不详细讲抠图步骤了!大家可以看网页教学网抠图教程。

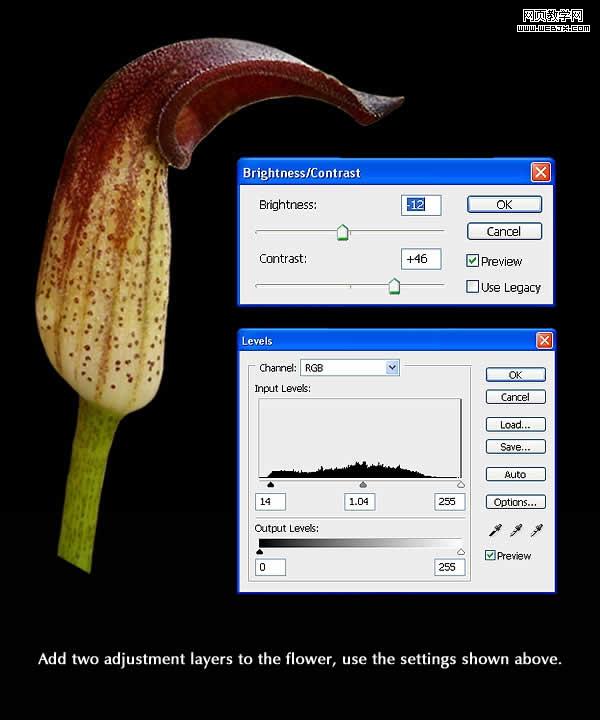
然后把扣取出来的手放到当前文档中来,然后创建亮度和对比度调整图层和色阶调整图层,调整颜色。
然后再找一素材:树根
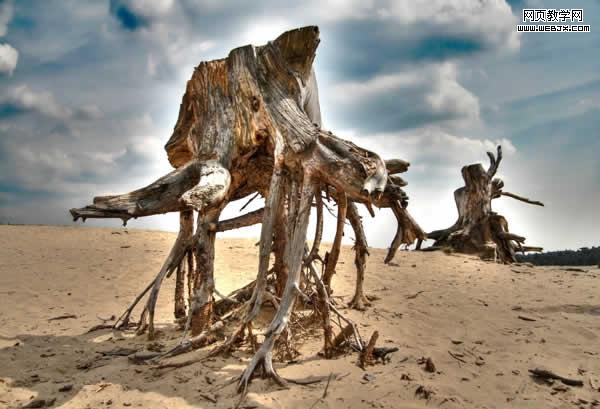
扣取出来后调整其色彩
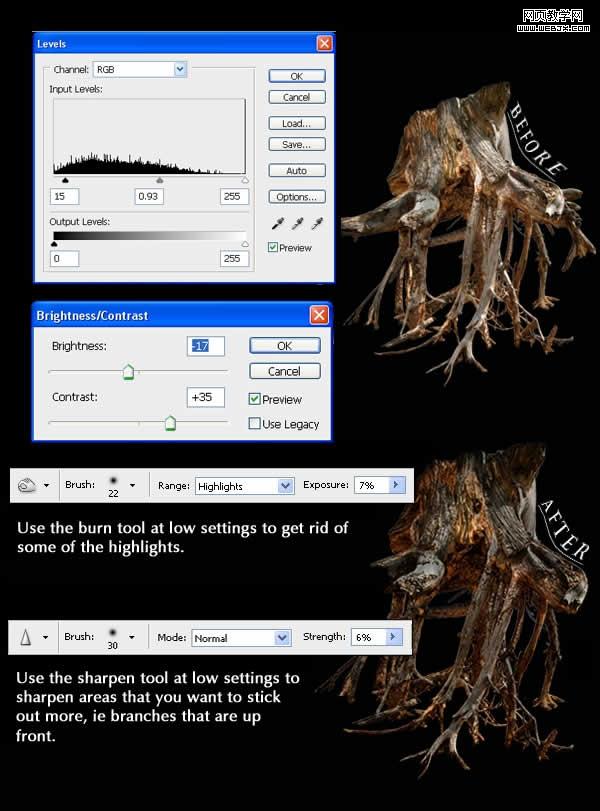
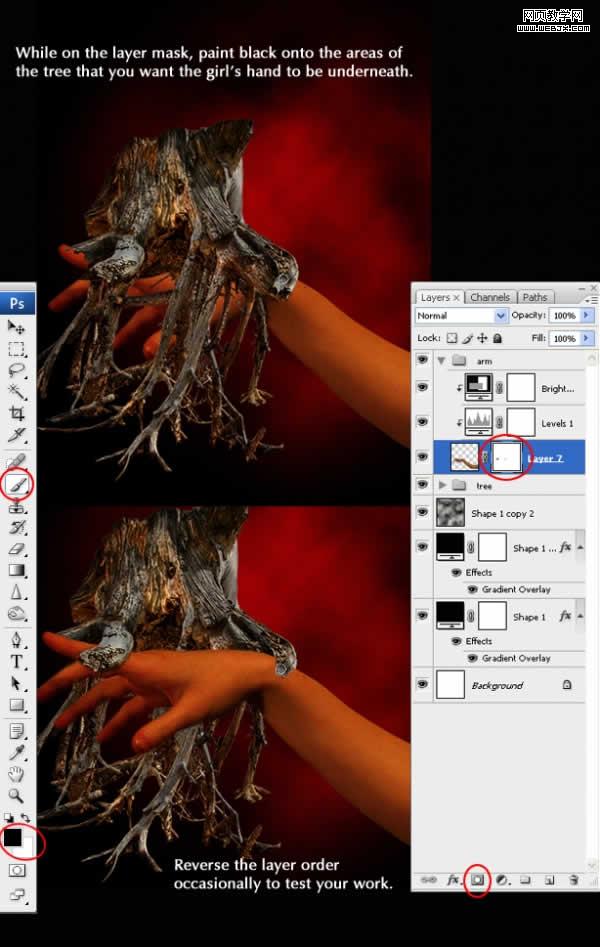
放到文档中的,然后调整次序,使树根正好覆盖住手部,怎么做呢?当然是给手图层添加蒙板了!呵呵
再找到一个素材
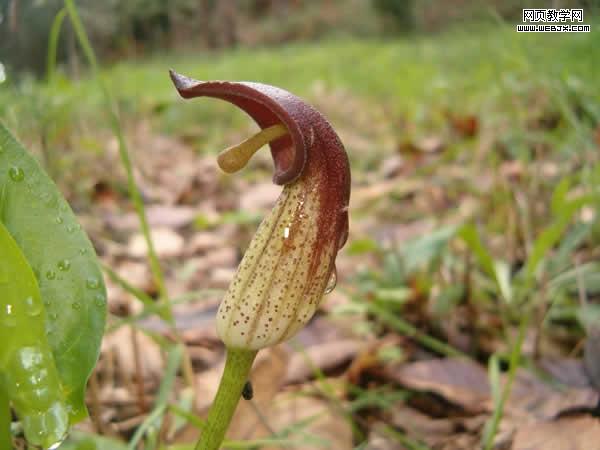
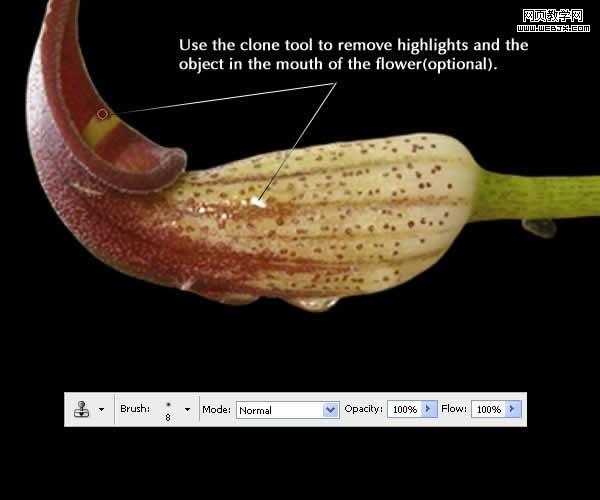
把里面的花卉扣取出来,这里我们可以用克隆 工具移除高光
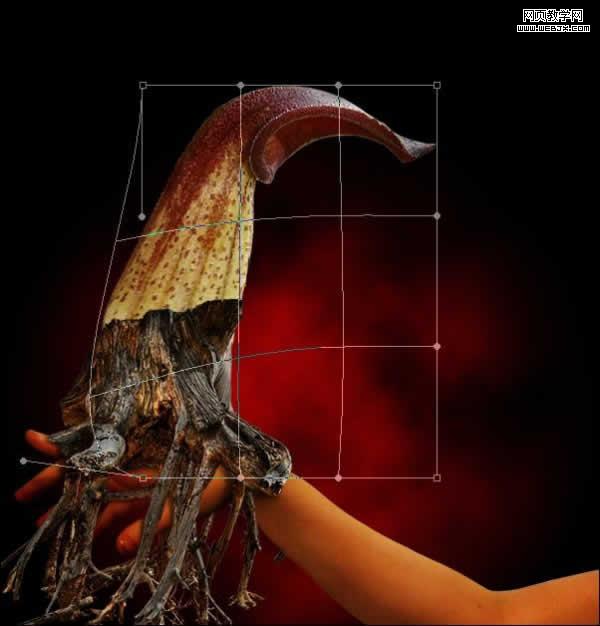
变形,然后调整色彩
执行透视调整形状,放到当前文档中调整图层次序
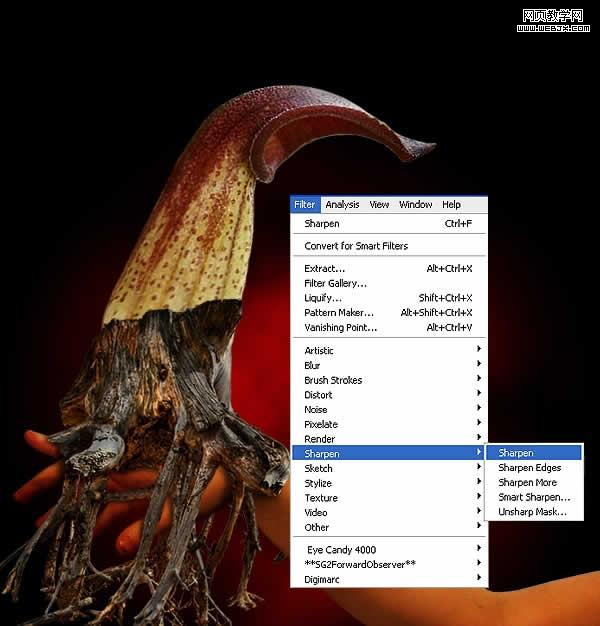
最后锐化一下使之更加清楚
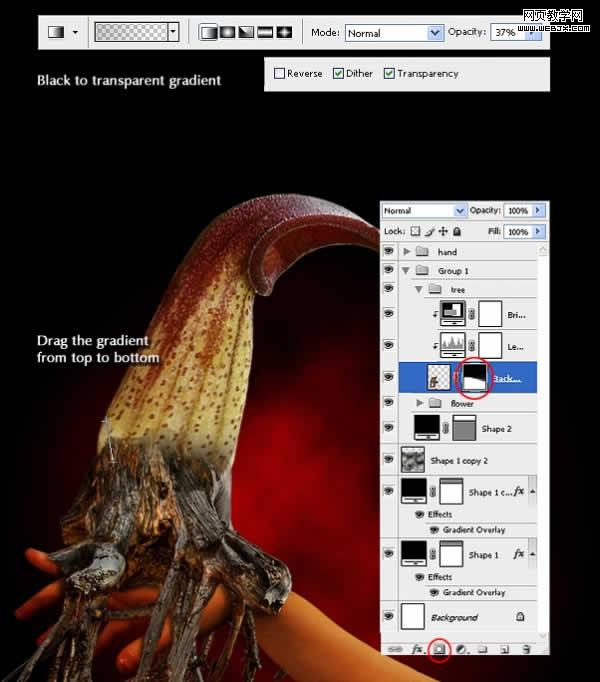
我们给刚刚调整色彩的植物添加蒙板图层,然后使用渐变工具制作一个渐变效果
然后使用加深工具,使细节更加清楚
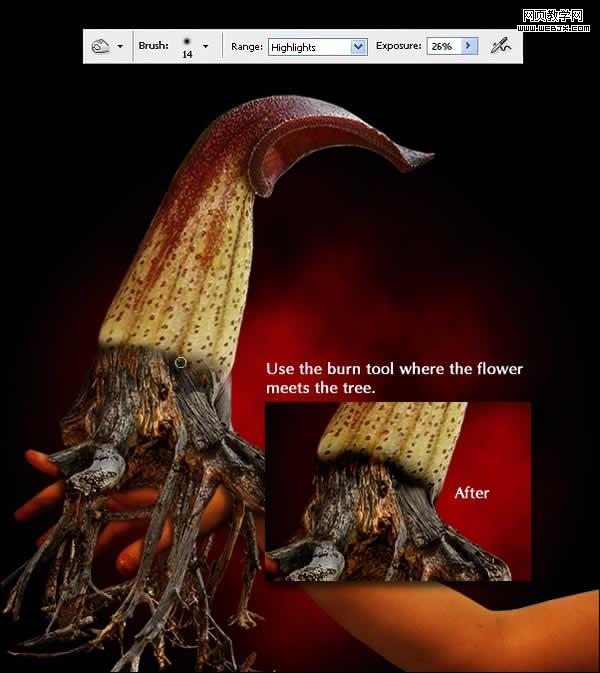
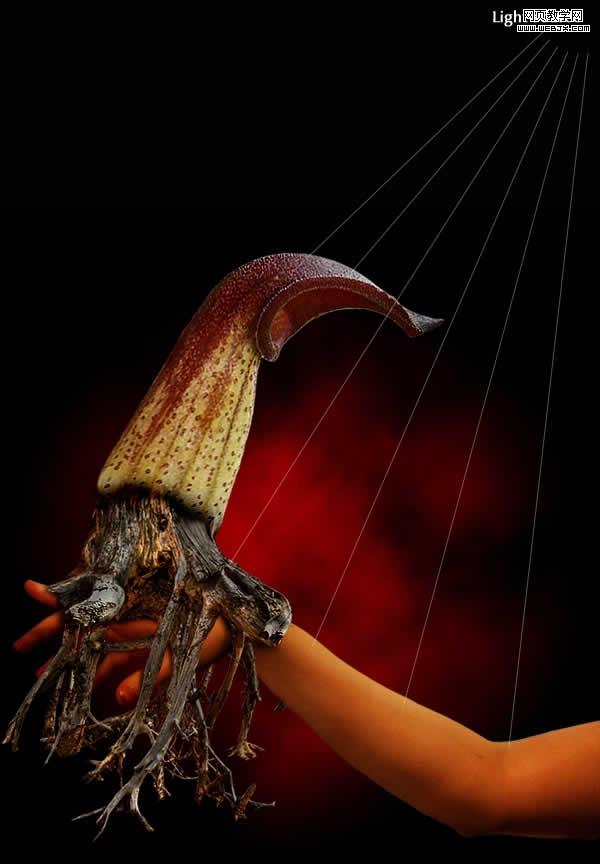
调整光线
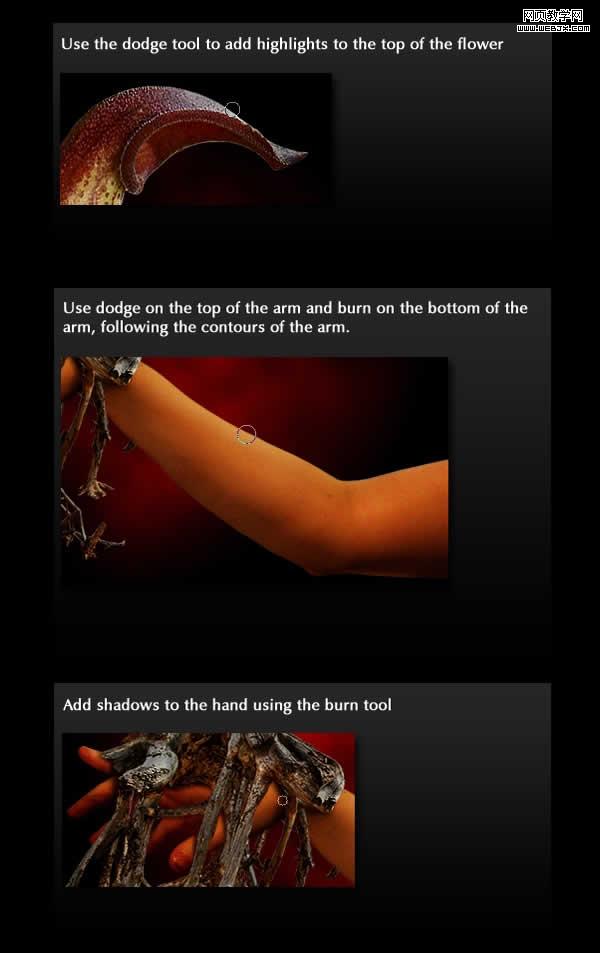
最后用减淡工具为顶部添加高光,同时也减淡一些手部的上面,然后给手部用加深工具添加一点阴影
最终效果
