Photoshop制作彩色火焰中的抽象女性头像图片
发布时间:2015-05-12 来源:查字典编辑
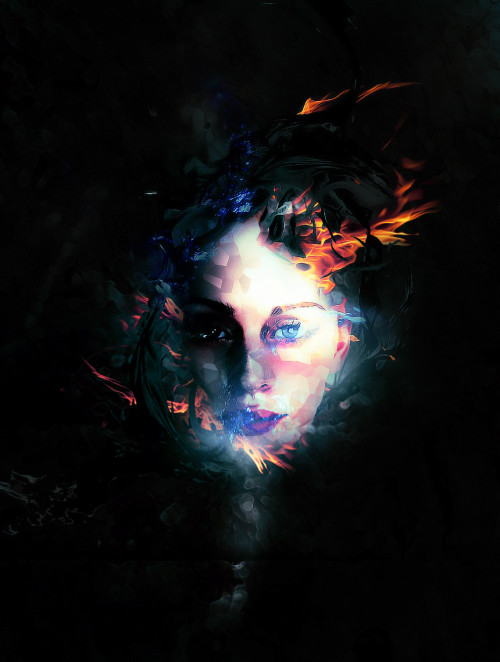
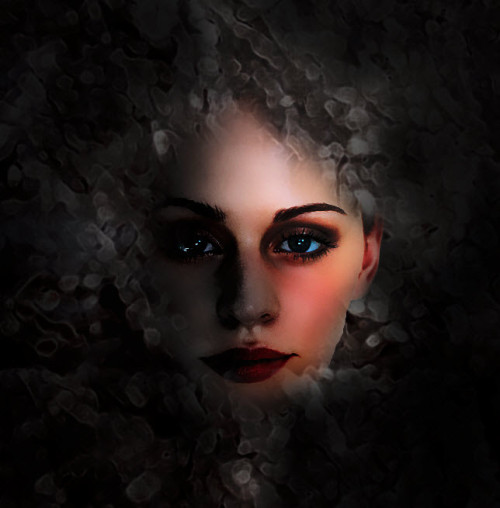
摘要:火焰脸谱看似复杂,其实制作方法比较简单,需要自己多整理一些纹理素材,然后截取不同的纹理叠加到处理好的脸部上面,适当调整颜色及明暗即可。原图一...
火焰脸谱看似复杂,其实制作方法比较简单,需要自己多整理一些纹理素材,然后截取不同的纹理叠加到处理好的脸部上面,适当调整颜色及明暗即可。原图
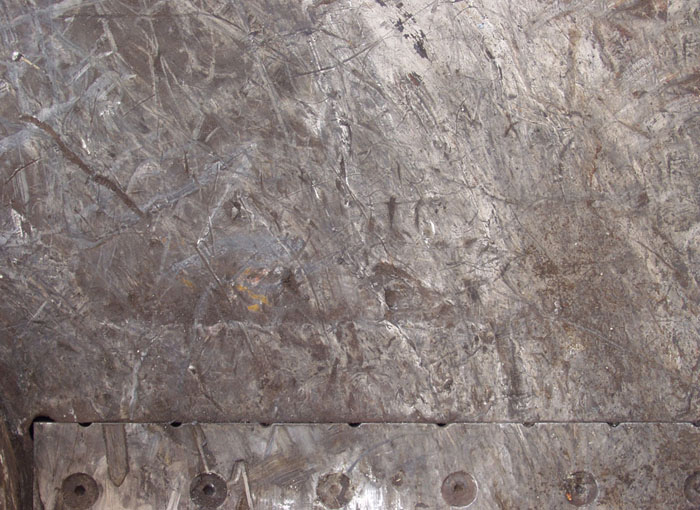
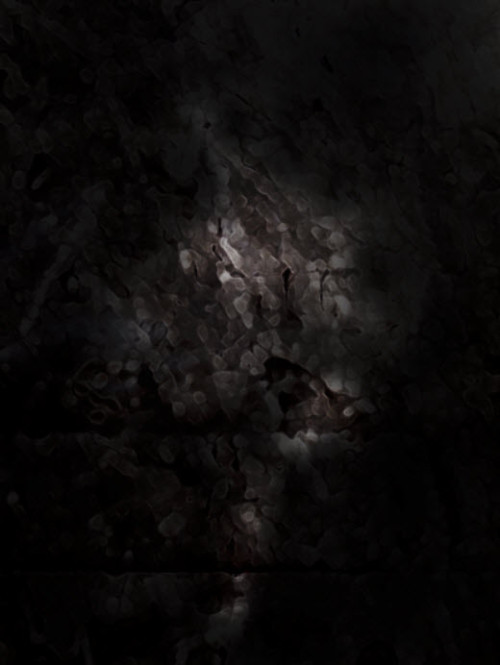
一、新建一个700 * 1000像素的文件,背景填充黑色,打开下图所示的纹理素材,用矩形相框工具选择下图所示的部分,按Ctrl + C 复制。
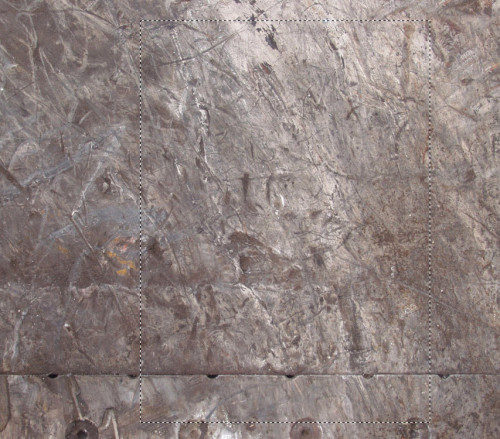
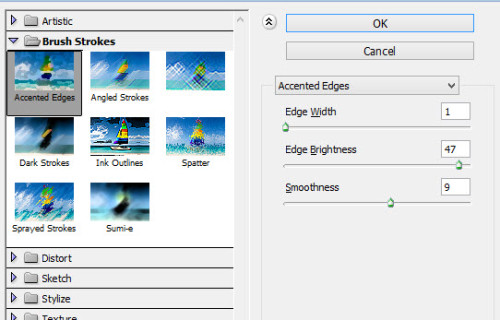
二、回到新建的文件,按Ctrl + V 把复制的纹理粘贴进来,然后执行:滤镜 > 画笔描边 > 强化的边缘,参数设置如下图。
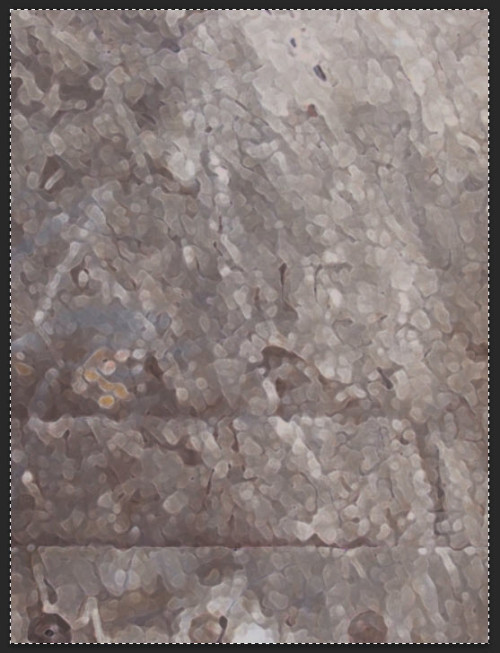
三、用柔角的橡皮擦掉不需要的部分,如下图。
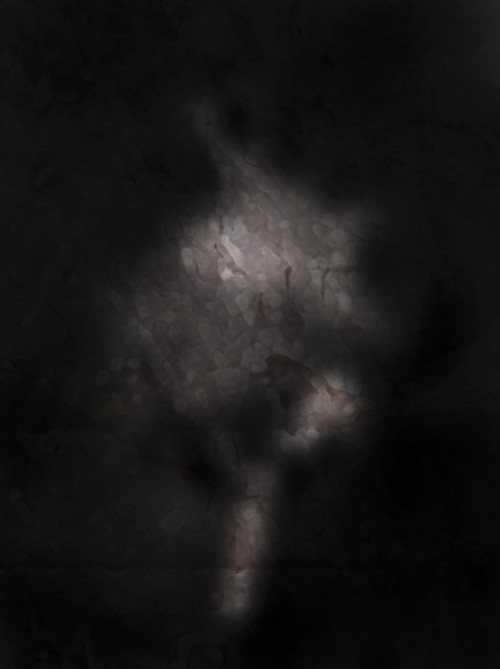
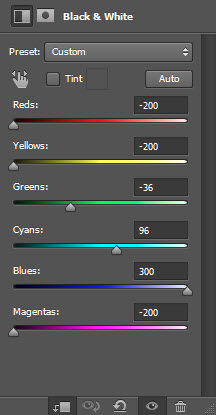
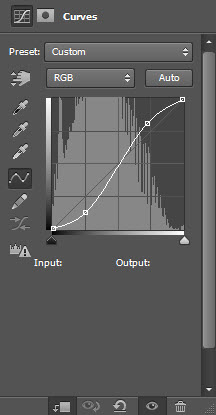
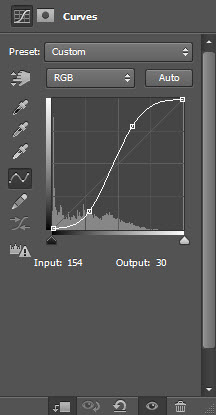
四、分别创建黑白、色阶、曲线调整图层,参数及效果如下图。

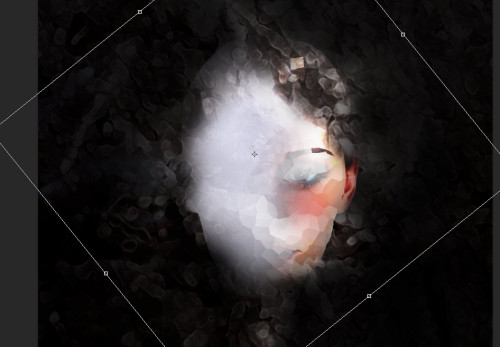
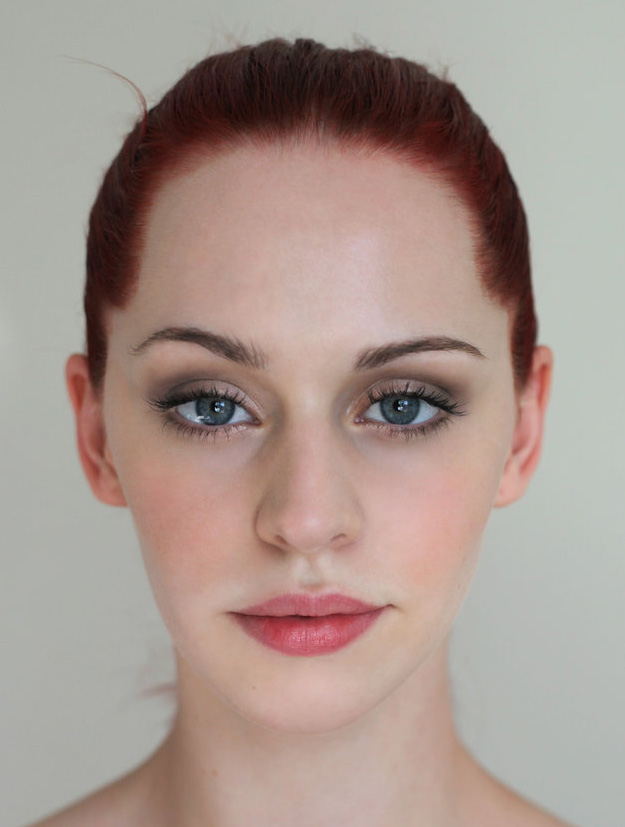
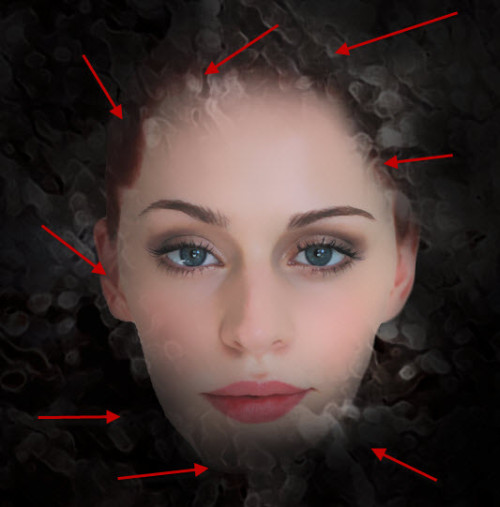
五、打开人物素材,用套索工具选区头像部分,拖进来。
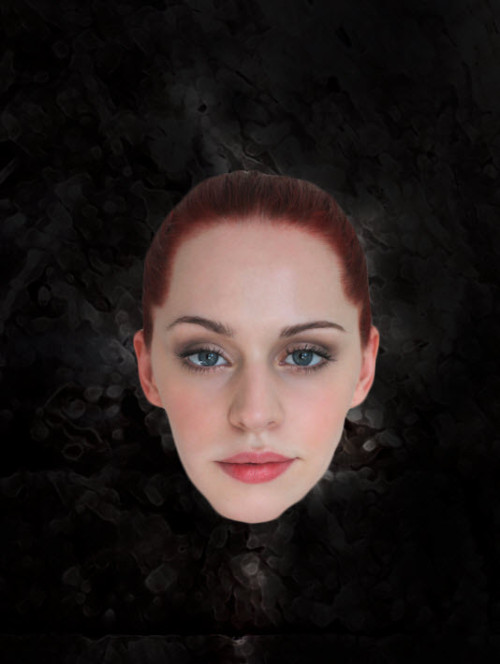
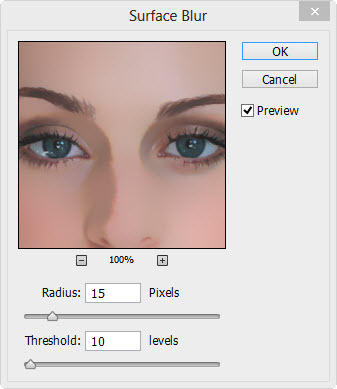
六、执行:滤镜 > 模糊 > 表面模糊。
七、用柔角的橡皮擦拭边缘部分,效果如下图。
八、创建黑白调整图层,参数设置如下图,确定后按Ctrl + Alt + G 创建剪贴蒙版,用黑色画笔涂抹不需要调色部分。

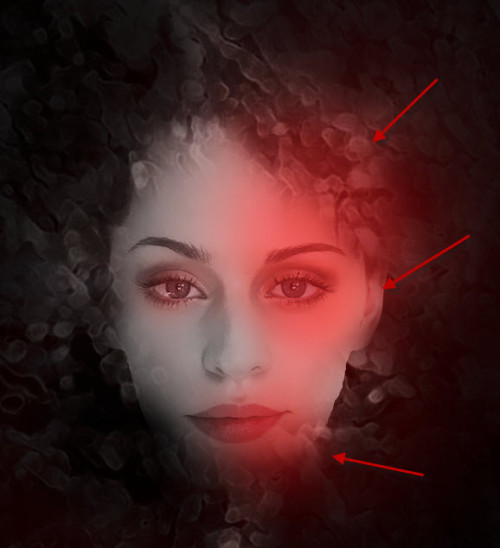
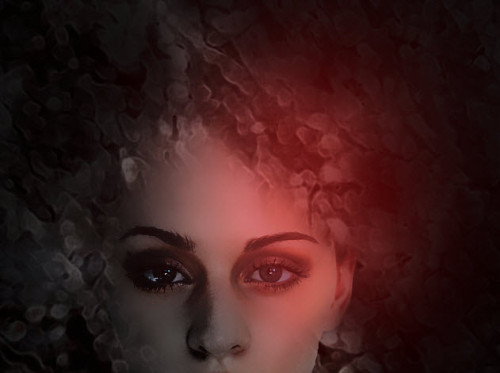
九、同样的方法以剪贴蒙版的方式创建色阶及曲线调整图层,参数及效果如下图。

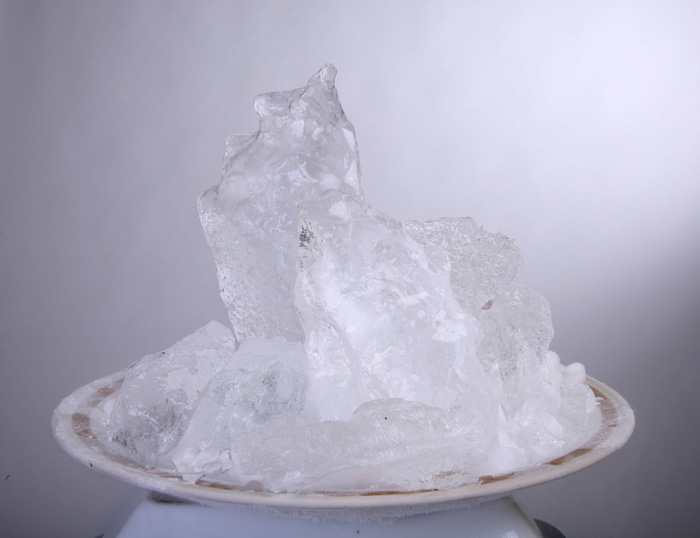
十、打开冰块素材,用套索选取下图所示的区域。
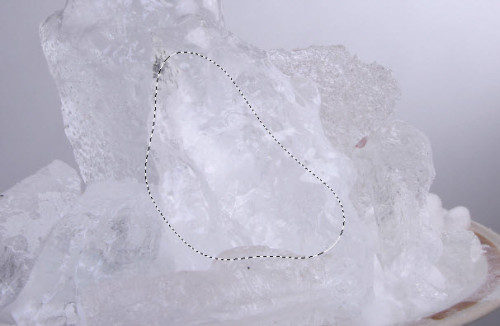
十一、把选好的冰块拖进来,按Ctrl + Alt + G 创建剪贴蒙版,如下图。