

只要对Photoshop进行认真系统地学习,熟悉其各个工具的作用,通过组合运用,发挥想像力,也可以将传统美术的创作意图表现出来。
这里我提供了一种用Photshop画国画的实例,供大家参考。希望大家喜欢!
最终效果图

图0
1、选择“文件/新建”菜单,打开“新建”或者Ctrl+N对话框 名称为:水墨水乡国画,宽度:为600像素, 高度:为480像素, “分辨率”为72 , “模式”为RGB颜色的文档,如图1所示。
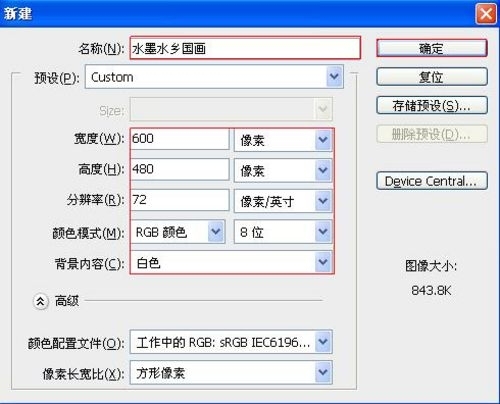
图1
2、执行菜单:“滤镜”/“纹理”/“纹理化”,弹出添加纹理化的对话框,设置缩放为100%,凸现为8,如图2所示。效果图如图3所示。
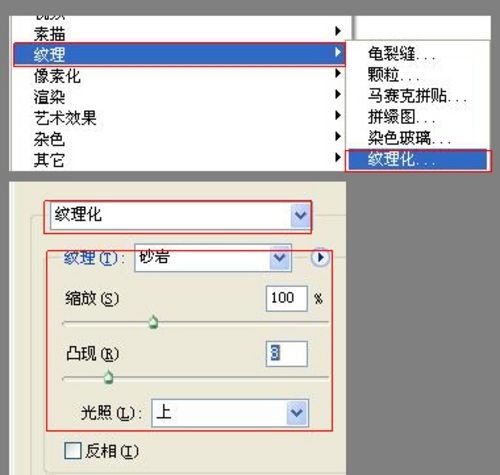
图2
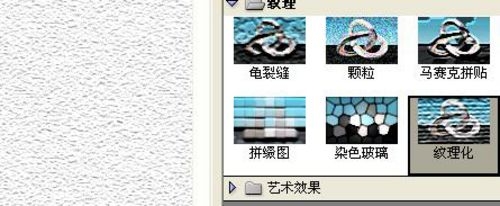
图3
3、在工具箱中,选择套索工具,在工作区中随意套出不规则图形,并设置前景色值为:R:0,G:53,B:4,如图4所示。效果图如图5所示。
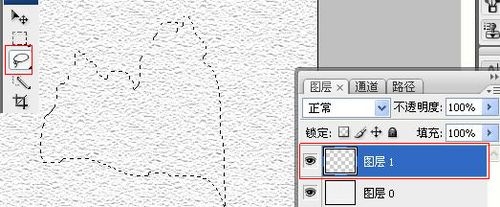
图4
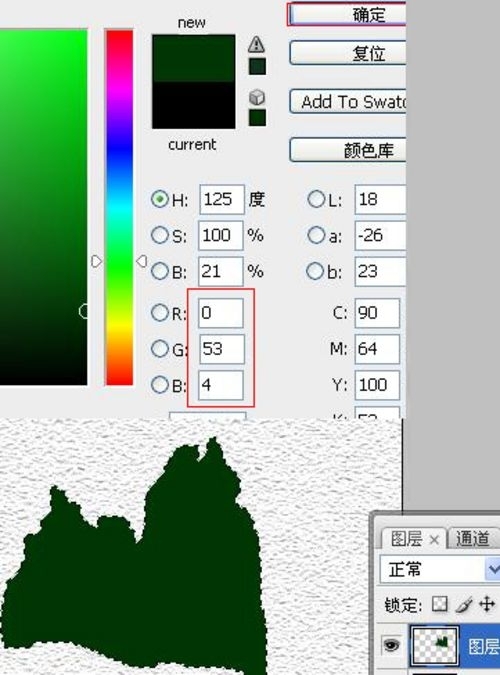
图5
4、执行菜单:“选择”/“修改”/“扩展”,弹出扩展选区的对话框,设置扩展量为20像素,如图6所示。并执行菜单:“滤镜”/“风格化”/“扩散”,弹出扩散选区的对话框,设置模式为正常,效果图如图7所示。
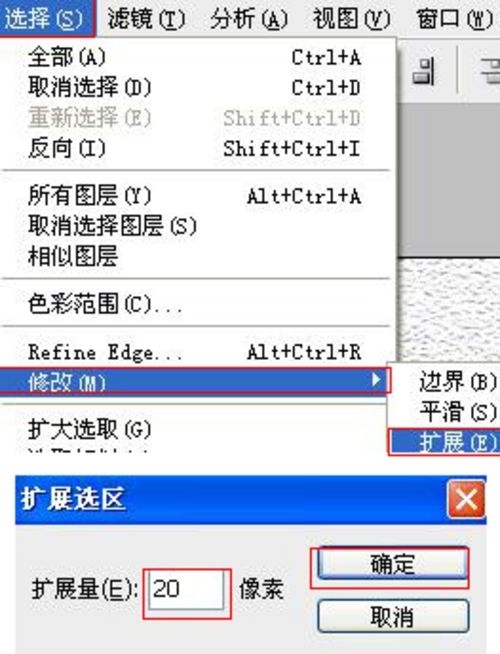
图6
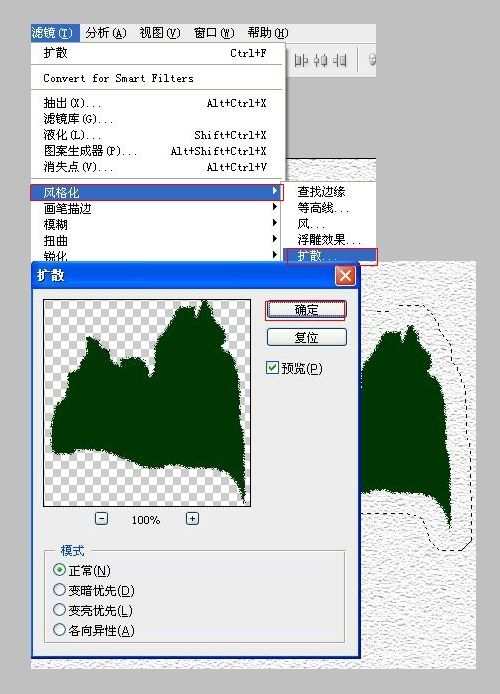
图7
5、在工具箱中选择移动工具 ,按住键盘的Alt键不放,选择图层1,按鼠标左键拖出1个图层1副本,如图8所示。
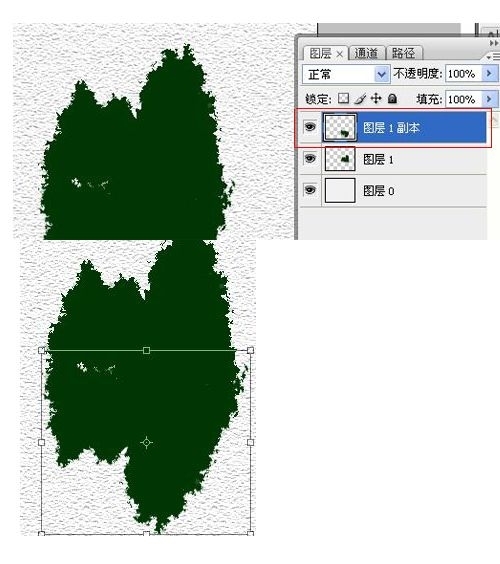
图8
6、在工具箱中选择涂抹工具 ,选择图层1,在工作区涂抹,如图9所示。
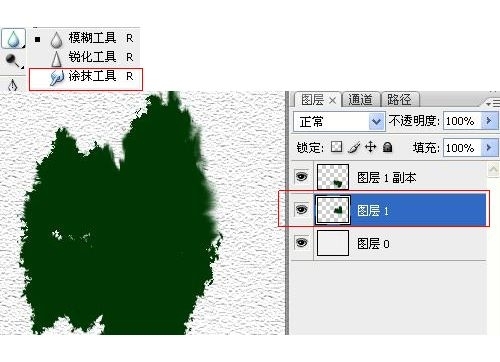
图9
7、执行菜单:“滤镜”/“模糊”/“动感模糊”,弹出动感模糊选区的对话框,设置角度为0,距离为48像素,如图10所示。效果图如图11所示。
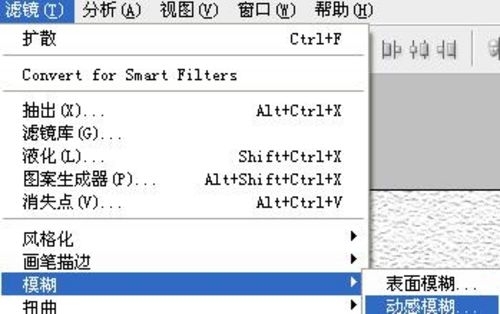
图10
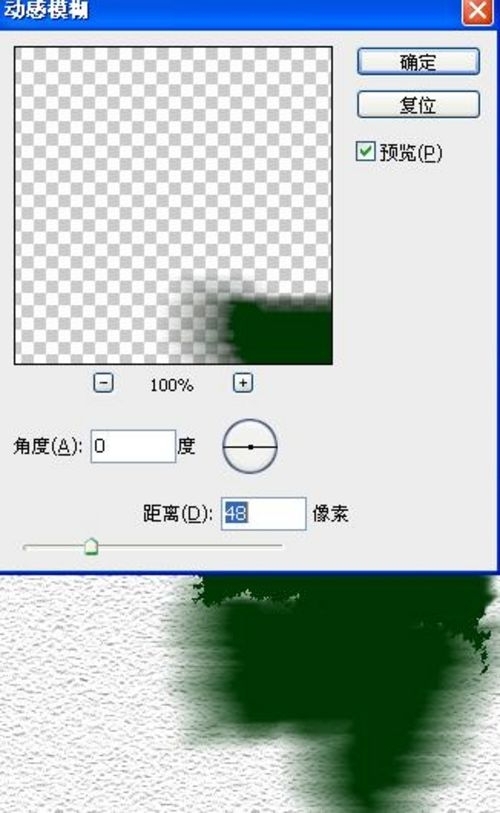
图11
8、在工具栏中选择画笔工具,在画笔工具属性栏设置画笔为3,模式为正常,不透明度为100%,流量为100%,如图12所示。
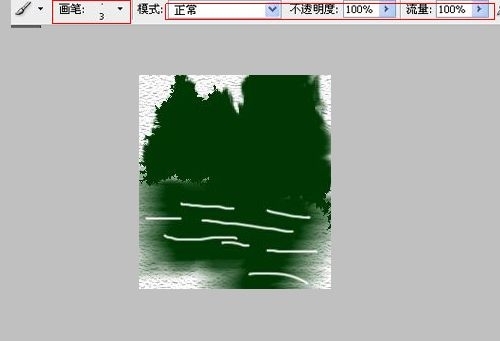
图12
9、在工具箱中选择涂抹工具 ,在涂抹工具属性栏中设置画笔为17,模式为正常,强度为50%,在工作区涂抹,如图13所示。效果图如图14所示。
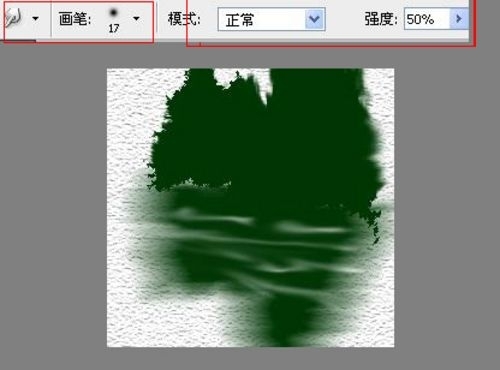
图13
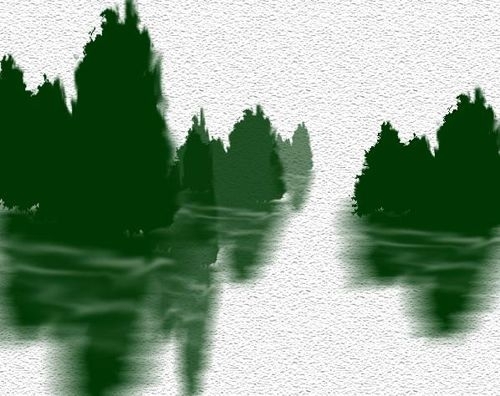
图14
10、在工具栏中选择渐变工具,在渐变工具栏属性中设置参考图15,效果图如图16所示。

图15
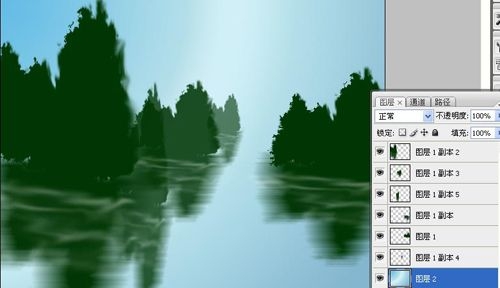
图16
11、设置图层混合模式为正片叠加,设置不透明度为100%,如图17所示。
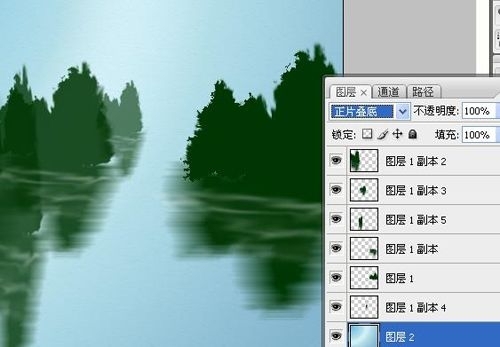
图17
12、在工具栏中选择钢笔工具,在工作区绘制出一个船的形状,如图18所示。
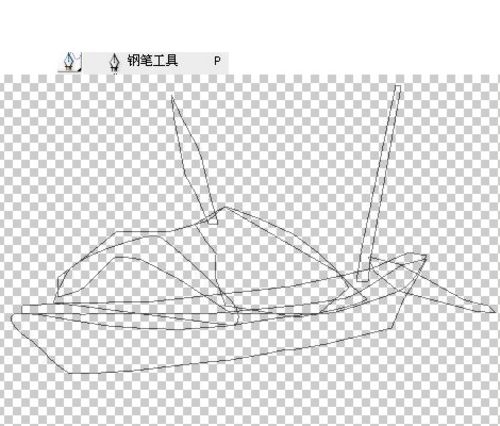
图18
13、并设置前景色为黑色,然后描边,如图19所示。
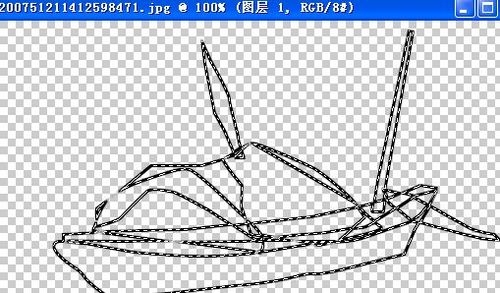
图19
14、在工具栏中选择画笔工具,在画笔属性栏中设置画笔为13 ,模式为正常,不透明度为30%,流量为100%,如图20所示。调整后的效果图,如图21所示。
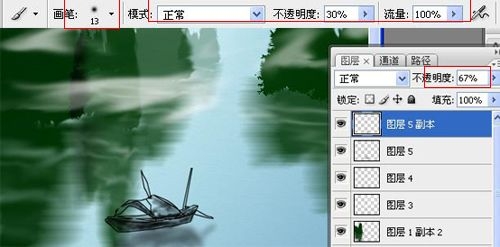
图20
图21