

Photoshop绘制闪耀的徽章教程
发布时间:2015-05-12 来源:查字典编辑
摘要:这篇PS教程将向大家介绍一款漂亮的图层样式,我们将用它制作一个闪耀的徽章。第一步:先建立一个新文档,尺寸为400px×150px...
这篇PS教程将向大家介绍一款漂亮的图层样式,我们将用它制作一个闪耀的徽章。

第一步:
先建立一个新文档,尺寸为400px×150px。再添加上一个材质背景,使图像看上去更丰富。
我使用了一款木质背景,我在原图上做了一些修改,让它的色彩显得更深,且具有光感。

第二步:
创造出徽章的形状。选择多边形工具,你可以看到下面的截图:
选取以后,需要改变一下设置,使你能够得到漂亮的徽章形状。画出一个徽章,这时颜色并不重要。
第三步:
现在我们将增加徽章的质感和细节,打开徽章层的图层混合选项,加入以下样式:
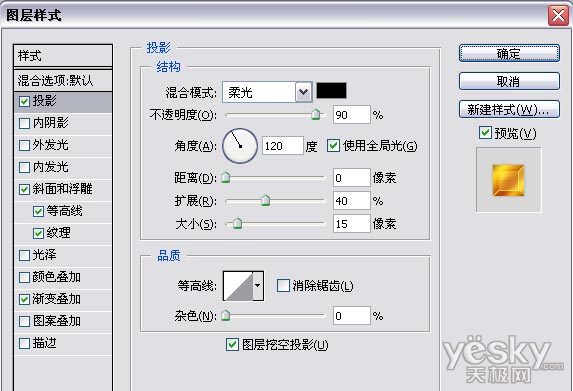
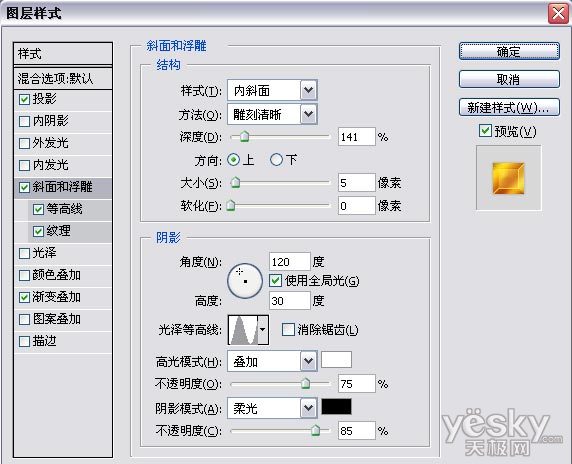
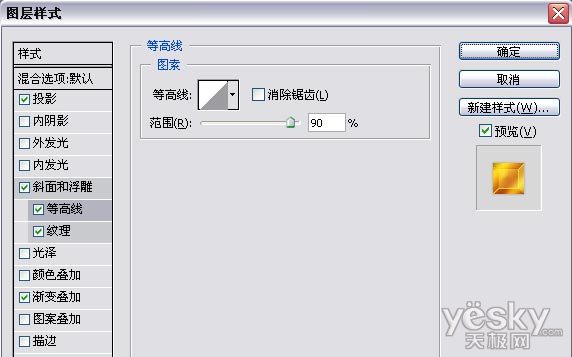
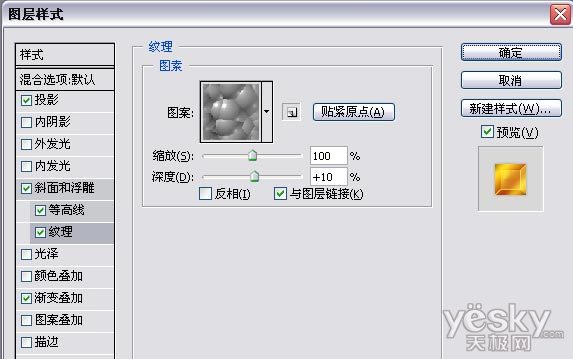
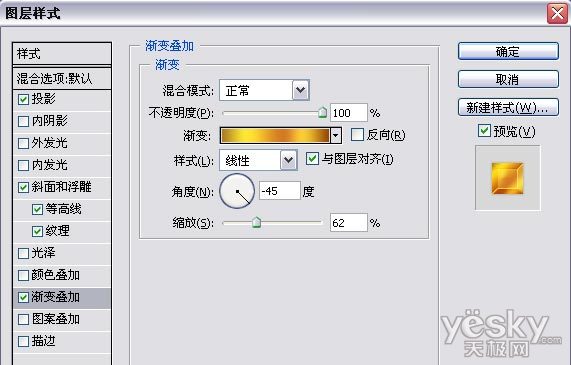
现在你应该如下面的图那样

第四步:
现在加些东西,使徽章完整。我用椭圆工具画了一个白色的圆,然后在它的图层混合模式添加一个描边样式,也就是给它一个黑边。


第五步:
添加文字,这里我用了Arial Black字体。外圈的字体有2种方法,可以用文本自带的“文字变形”,还可以用路径工具来做,我选用了后者。


好了,教程到此结束,希望大家喜欢~