

photoshop绘制光效卡通笑脸图标教程
发布时间:2015-05-12 来源:查字典编辑
摘要:教程学习如何用Photoshop的一些基本工具和图层样式打造一个蓝色卡通笑脸图标,挺简单的,喜欢的朋友可以一起来学习!先看效果图。新建文档6...
教程学习如何用Photoshop的一些基本工具和图层样式打造一个蓝色卡通笑脸图标,挺简单的,喜欢的朋友可以一起来学习!
先看效果图。

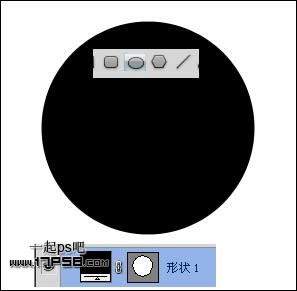
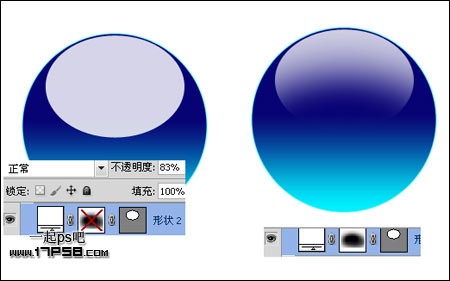
新建文档630x600像素,背景白色。建新层,画一黑色正圆。
添加图层样式。
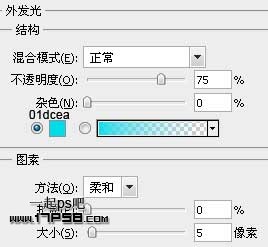
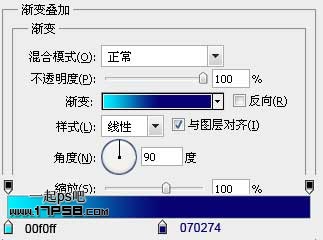
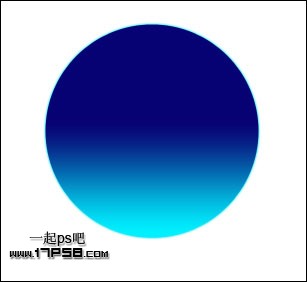
效果如下。
新建图层,画一白色椭圆,图层不透明度改为83%,之后添加蒙版用黑色柔角笔刷涂抹底部,效果如下,这是笑脸的高光。
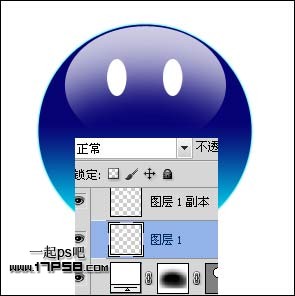
新建图层1,画一个白色椭圆,复制一层挪到另一侧,这是笑脸的眼睛。
新建图层,用钢笔画出嘴巴形状,颜色白色。

同样方法新建图层画一个白色椭圆,复制一层挪到另一侧,嘴巴搞定。

剩下的步骤添加阴影,背景层之上新建2个图层,画2个正圆选区,一个填充黑色一个蓝色,之后去掉选区高斯模糊一下,往下挪动一定距离。
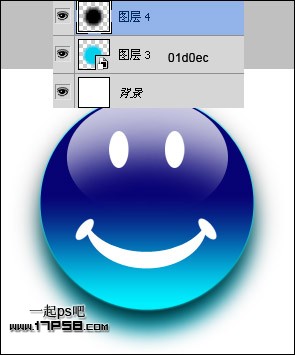
最终效果如下,本ps教程结束。