

photoshop制作海报霓虹灯文字教程
发布时间:2015-05-12 来源:查字典编辑
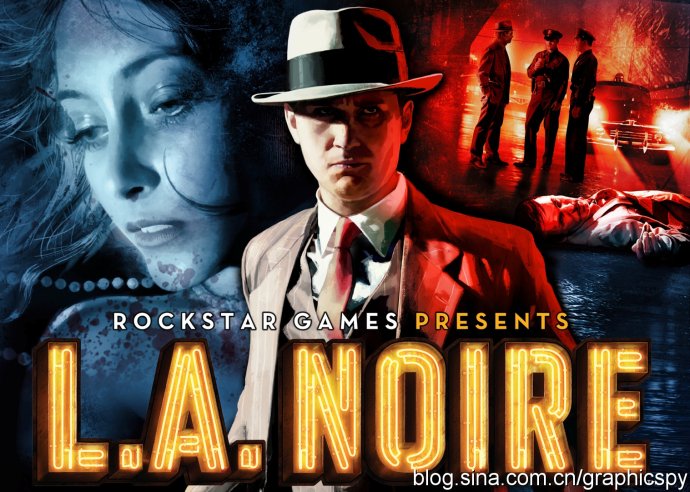
摘要:几个月前,我开始在旧金山看到的一些《黑色洛城》游戏海报,这些旧式霓虹灯的效果真的很酷,我知道我做过以前教程是关于类似效果的,但我想在phot...
几个月前,我开始在旧金山看到的一些《黑色洛城》游戏海报,这些旧式霓虹灯的效果真的很酷,我知道我做过以前教程是关于类似效果的,但我想在photoshop中在做一次
因此,在本教程中,我将教你如何实现类似《黑色洛城》游戏封面中的文字效果,整个过程大约一到一个半小时,他真的很不容易,但结果是很酷的
效果图:
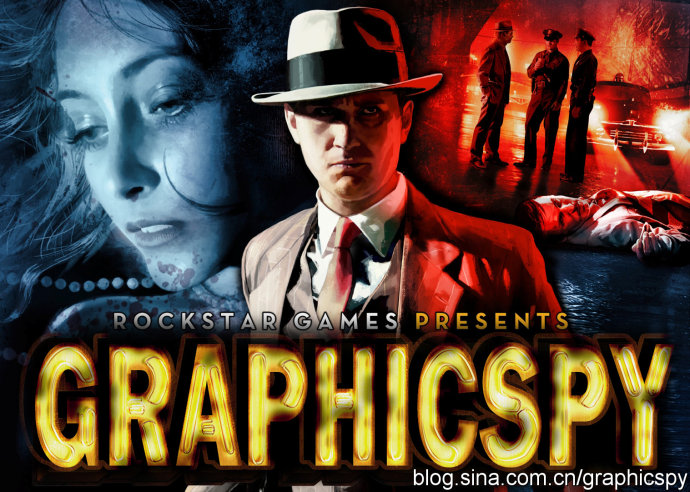
我做的最终效果图:
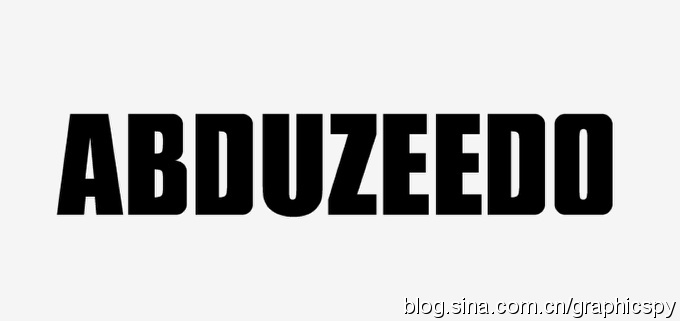
第1步
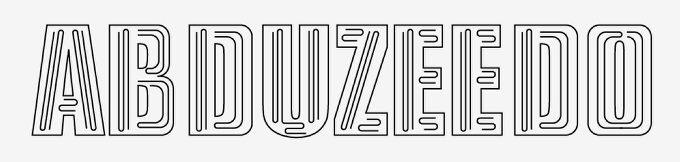
首先要做的事情是创建文本,这一部分我用Illustrator来做,因为这样会容易。我用的是Arial Black字体,但是我改变了 B .D和 O 字母,使他们不那么圆润
第2步
使用圆角矩形工具制作霓虹灯,下图供以参考:
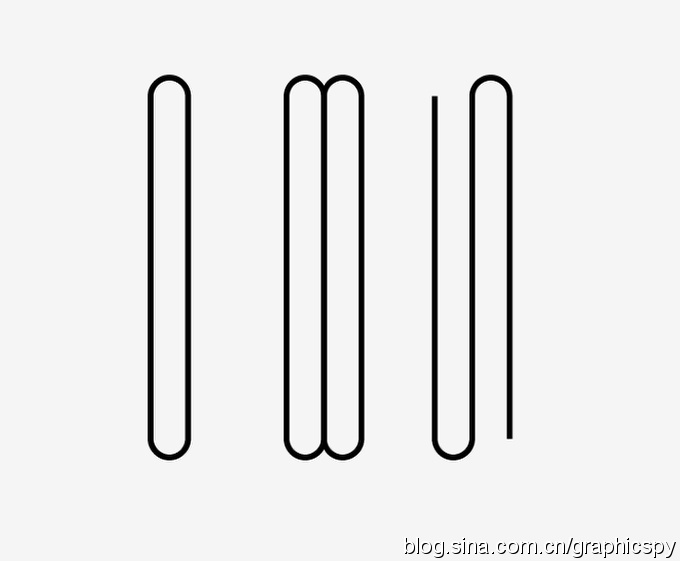
第3步
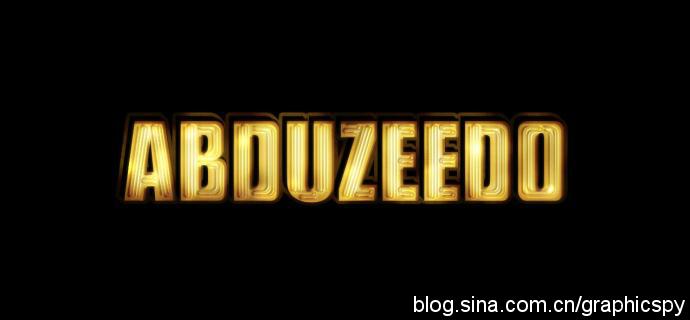
然后像下图一样,让条纹和字母融合一体
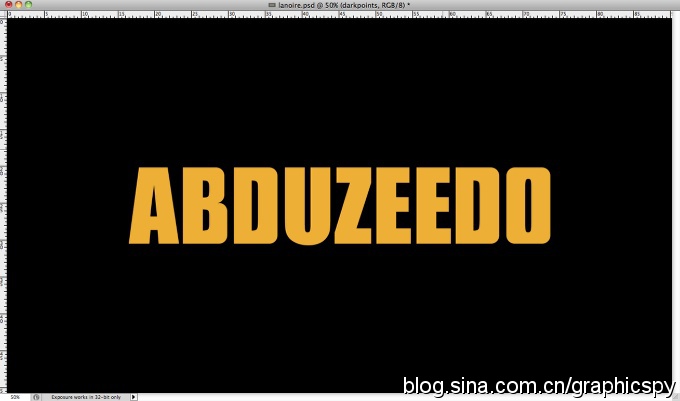
第4步
打开photoshop,创建一个新文档,2560x1440px,用黑色填充背景,然后把在illustrator中做的工作,拷贝到photoshop中来,我使用黄色(#f0af17的)
第5步
打开图层样式,选择内发光,混合模式为颜色减淡,不透明度60%,20%阻塞,大小为60px

第6步