Photoshop制作精美的卡通剪纸字
发布时间:2015-05-12 来源:查字典编辑
摘要:剪纸字看上去比较可爱。制作过程并不复杂。首先要选好合适的字体,字体尽量粗一点可爱一点,然后给文字描边,再给文字及描边部分加上相应的纹理及样式...
剪纸字看上去比较可爱。制作过程并不复杂。首先要选好合适的字体,字体尽量粗一点可爱一点,然后给文字描边,再给文字及描边部分加上相应的纹理及样式即可。
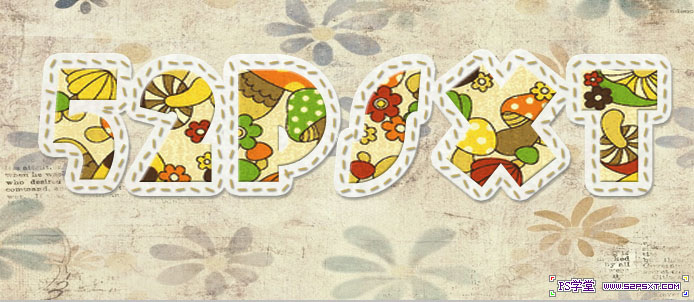
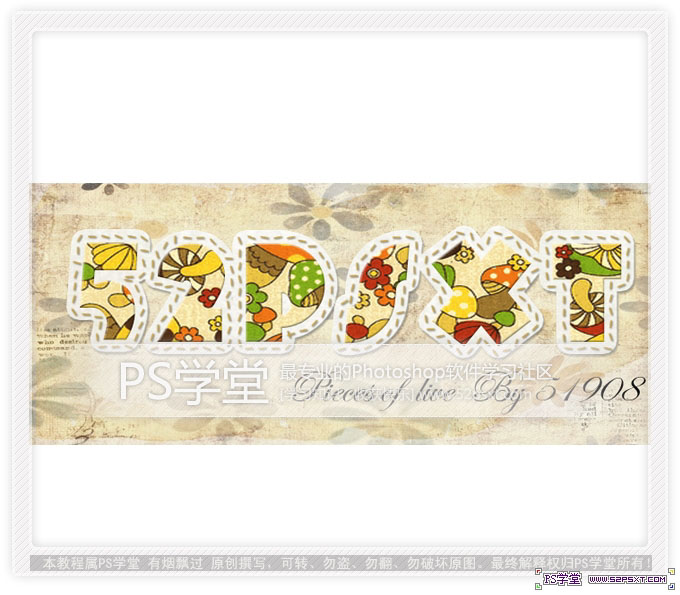
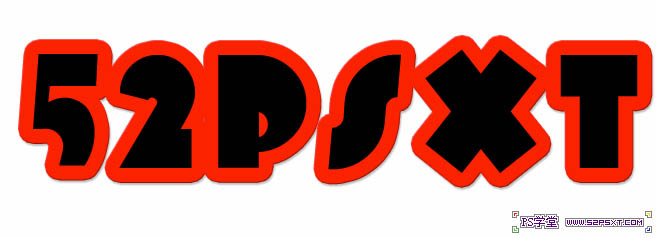
最终效果
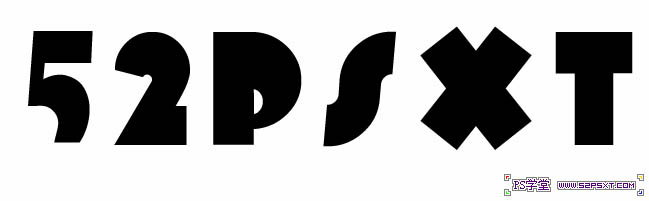
1、新建文件700*300,背景白色。用比较粗的好看的英文字体打上“52psxt”(字体选择自己喜欢,粗的就行,不要太花哨)。
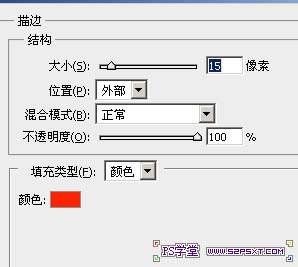
2、将字体设置图层样式--描边,设置如下(半径大小具体看效果)。
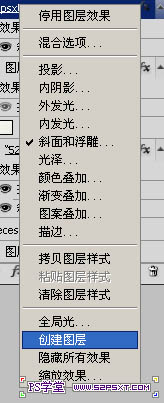
3、右击你文字图层后面的F,选择创建图层。得到外描边图层。