

Photoshop制作蛇年2013彩色霓虹字
发布时间:2015-05-12 来源:查字典编辑
摘要:平时我们都是用图层样式来制作霓虹字,这次介绍一种纯手工的方法。过程可能复杂一点。思路:先做出文字的轮廓,复杂的文字可以分段。然后加上想要的底...
平时我们都是用图层样式来制作霓虹字,这次介绍一种纯手工的方法。过程可能复杂一点。思路:先做出文字的轮廓,复杂的文字可以分段。然后加上想要的底色,并用钢笔勾出边缘的高光适当羽化选区后复制底色,然后再加强效果即可。
photoshop教程原图

<点小图查看大图>
1、新建一个1024 * 768像素的文件,背景填充黑色。

<图1>
2、打开素材图片,解锁后拖进来,锁定透明像素后填充白色,如下图。

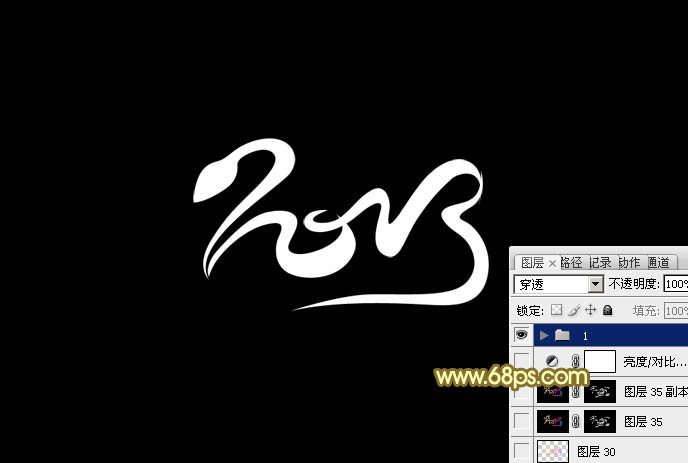
<图2>
3、先来制作第一部分,新建一个组,用钢笔勾出头部的轮廓,转为选区后给组添加图层蒙版,如下图。
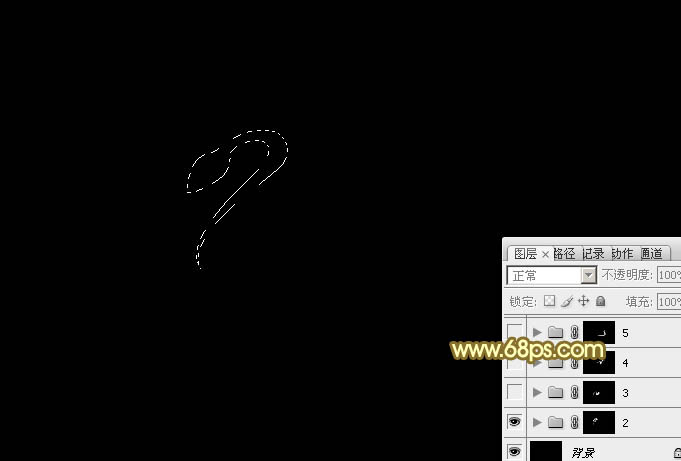
<图3>
4、在组里新建一个图层,选择渐变工具,颜色设置如图4,拉出图5所示的线性渐变,效果如图6。
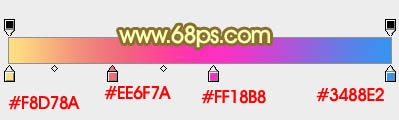
<图4>
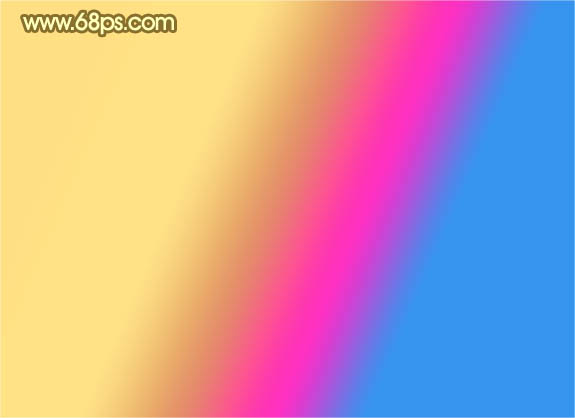
<图5>

<图6>