

Photoshop制作2013金色蛇年艺术字
发布时间:2015-05-12 来源:查字典编辑
摘要:春风送暖蛇年好!瑞气盈门鹊语香!PS联盟所有成员恭祝大家蛇年大展宏图!效果图制作难点是要把数字与蛇完美结合起来,过程是非常繁琐的,需要找一些...
春风送暖蛇年好!瑞气盈门鹊语香!PS联盟所有成员恭祝大家蛇年大展宏图!
效果图制作难点是要把数字与蛇完美结合起来,过程是非常繁琐的,需要找一些相关的素材进行组合,确定后大致的轮廓后,再慢慢细化。制作的时候一定要有耐心。
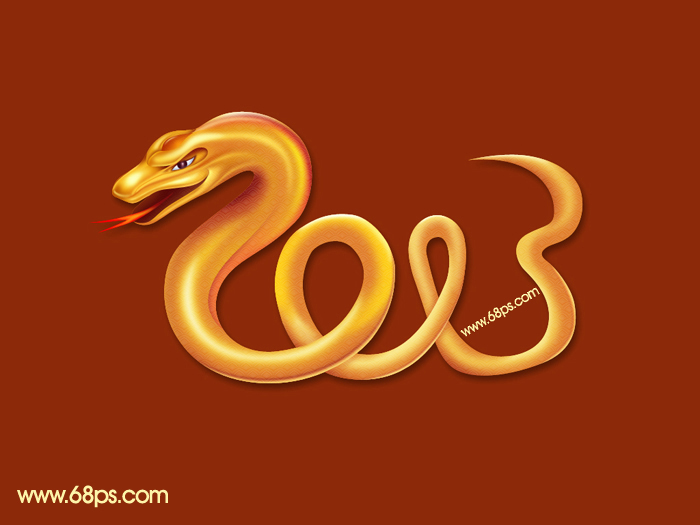
最终效果
photoshop教程
1、新建一个1024 * 768像素的文件,背景填充暗红色。

<图1>
2、新建一个组,用钢笔勾出文字的轮廓路径,转为选区后给组添加图层蒙版,如图2。在组里新建一个图层填充橙红色,效果如图3。
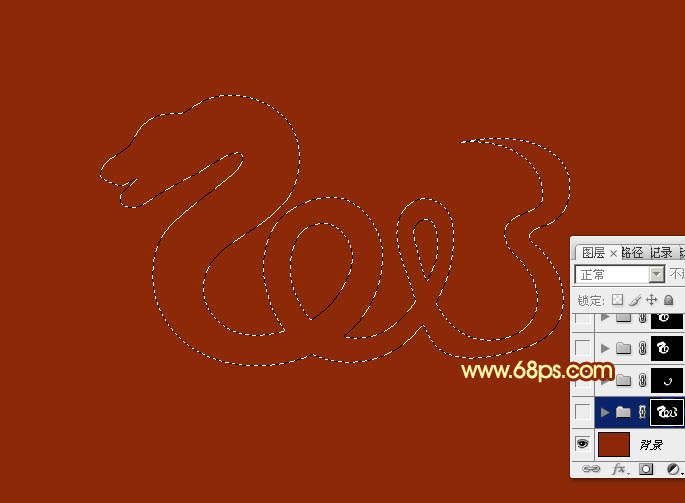
<图2>
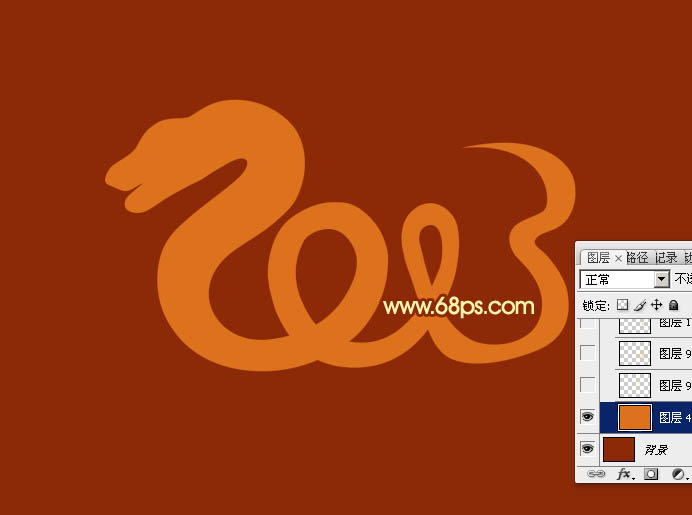
<图3>
3、先来制作蛇头部分,需要完成的效果如下图。
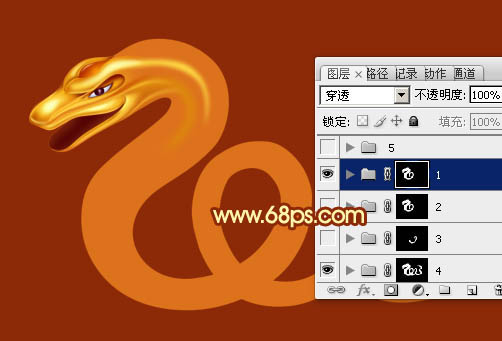
<图4>
4、新建一个组,调出文字选区,给组添加图层蒙版,然后用钢笔勾出不需要部分的选区填充黑色,如下图。

<图5>
5、在组里新建一个图层,用钢笔勾出下图所示的选区,羽化10个像素后填充暗红色。
<图6>
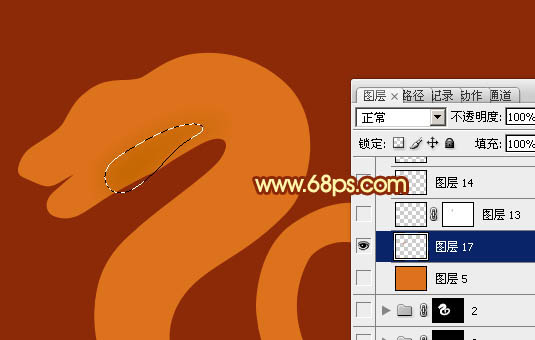
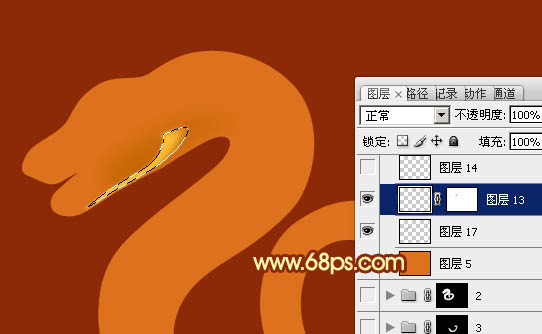
6、新建一个图层,用钢笔勾出下颚高光部分的选区,羽化1个像素后填充橙黄色,取消选区后添加图层蒙版,用透明度较低的黑色画笔把右侧边缘的过程擦出来。
<图7>