

教你如何用PhotoShop制作金色质感的艺术文字
发布时间:2015-05-12 来源:查字典编辑
摘要:本例教我们用PhotoShop简单制作一款金色质感文字效果,很简单,只需要设置图层样式就可完成,新手朋友也可以学得会,喜欢的同学跟着一起学习...
本例教我们用PhotoShop简单制作一款金色质感文字效果,很简单,只需要设置图层样式就可完成,新手朋友也可以学得会,喜欢的同学跟着一起学习吧!
效果图:

1、新建一个600 x 400的白色文件。
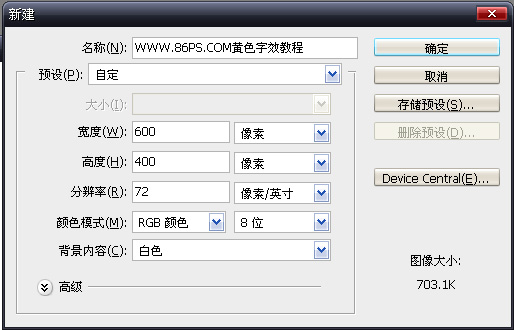
如下:
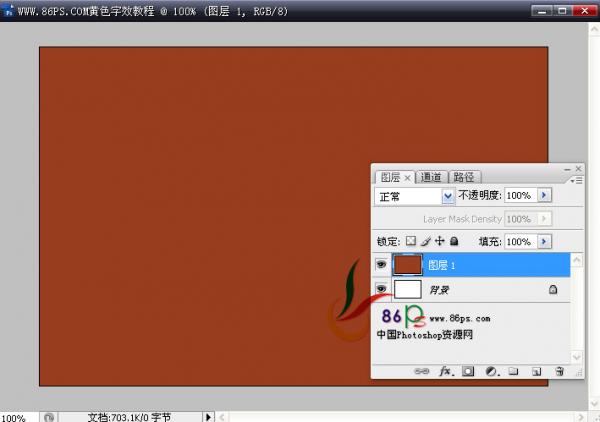
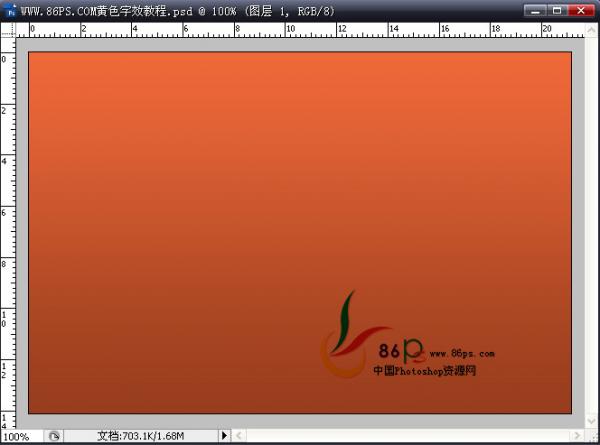
2、点击前景色,设置颜色#993B17。
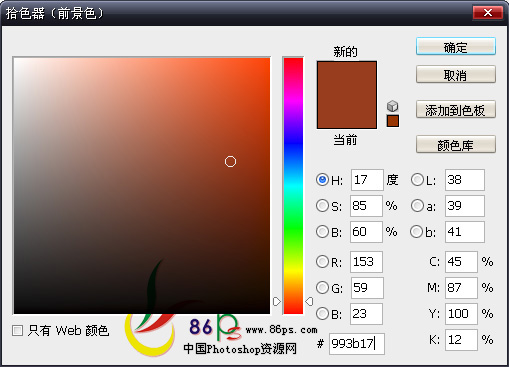
新建图层,用油漆桶工具填充。
3、双击图层1,给字设置一个渐变叠加样式。渐变设置颜色:#993B17,#F06937。
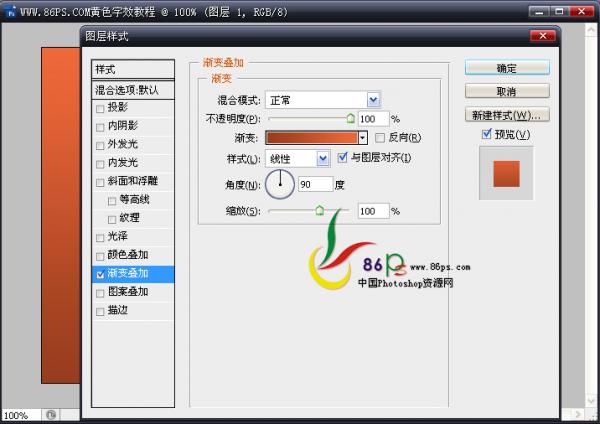
效果如下:
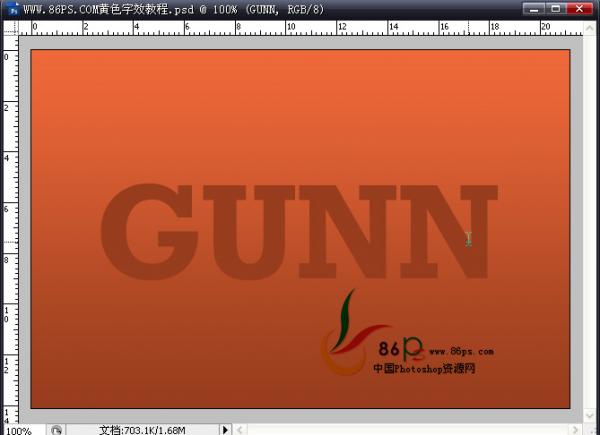
4、选择文字工具,输入文字,字体和颜色都随便,后面还要设置图层样式,所以颜色用什么都没关系,这里就用的前景色。
这里字体不能用那些太细的,否效果不是很好看,最好用粗一点方正的字体。
5、给文字设置图层样式,首先是投影,设置如下:
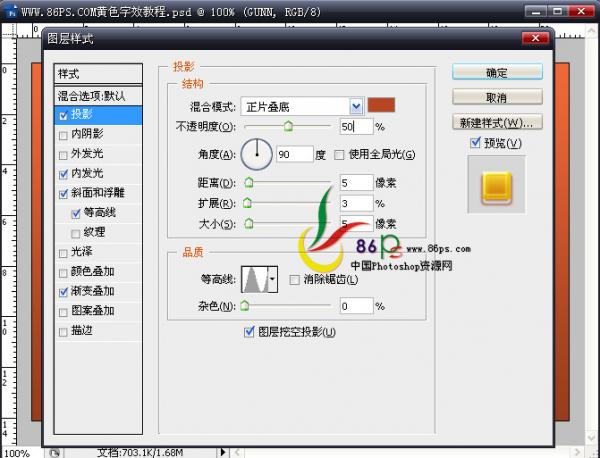
颜色的设置:
