

教你用Photoshop绘制超酷的3D门牌艺术字
发布时间:2015-05-12 来源:查字典编辑
摘要:如果有对PS里的3D功能感兴趣的同学,这是个不错的教程,有许多小的设置技巧,希望对大家有所帮助,再次感谢原作者这么细心的教程。教程素材:3D...
如果有对PS里的3D功能感兴趣的同学,这是个不错的教程,有许多小的设置技巧,希望对大家有所帮助,再次感谢原作者这么细心的教程。
教程素材:3D效果艺术字PS教程素材
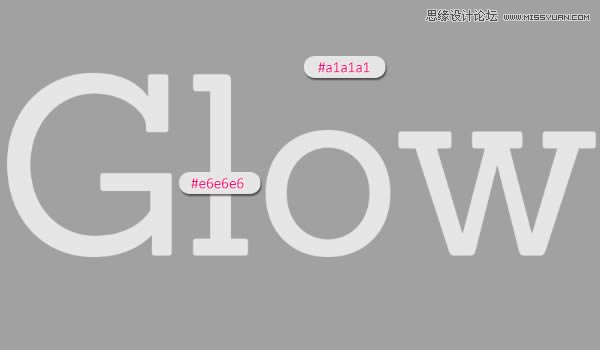
最终效果

1、创建文本和基本形状变化
(1)打开Photoshop,创建一个1280×1024像素的文档,背景填充为#A1A1A1,然后,使用Sanchez字体创建文本Glow,颜色为#E6E6E6,大小为335点
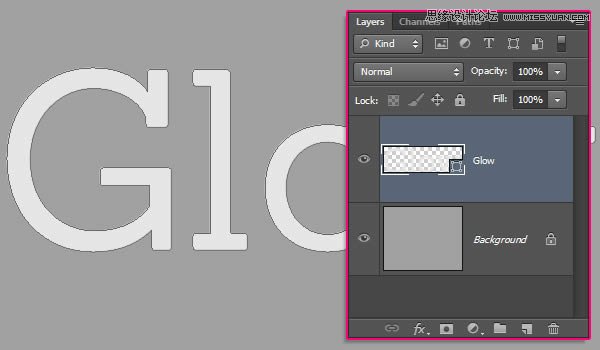
(2)右键文字层,选择“转换为形状”
(3)拷贝形状层,选择“直接选择工具(A)”,设置填充为无,描边为3点,颜色为#959595
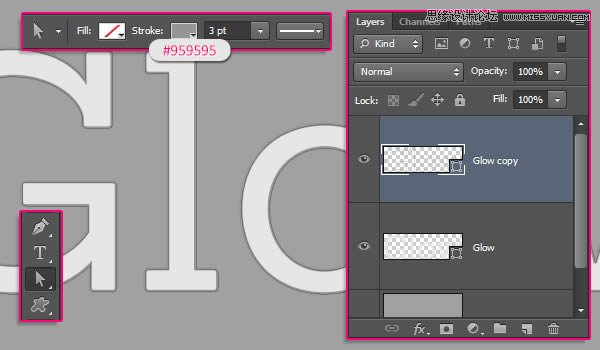
(4)继续设置描边的对齐方式为中心对齐
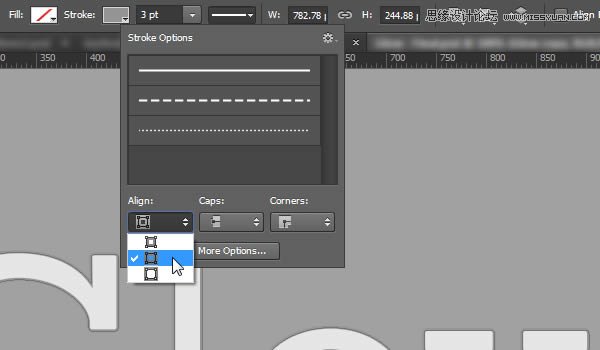
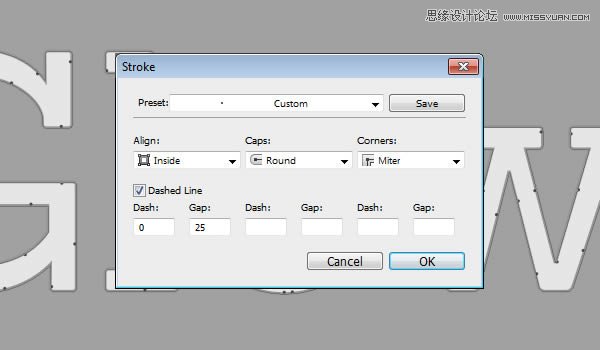
(5)继续拷贝形状层(有描边的那层),改变描边颜色为#464646,然后打开描边选项,点击“更多选项”按钮

(6)设置对齐为“内部”,端点为“圆形”,勾选“Dashed Line”,并设置第一个Dash为0,Value为25
2、创建文本里的路径
(1)创建新层,命名为“Path”,使用钢笔工具,选择“路径”选项
