

文中的光感艺术字体看上去很酷很绚,使用时我们要用深色的背景,这样也能突出问题的效果,制作方法并不难,主要用到PS的滤镜,只要掌握后就能随意做出自己想要的任何字体样子,比如本文最后做的几个艺术字体都不一样。
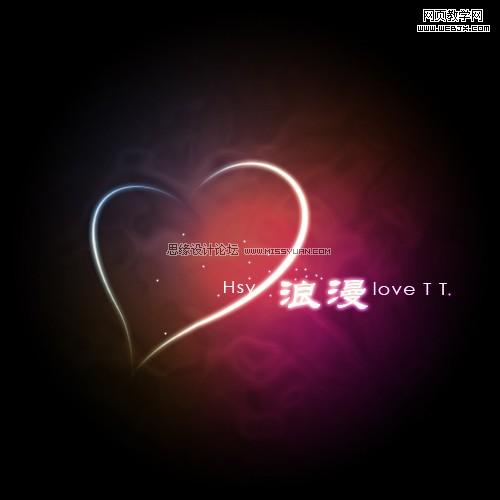
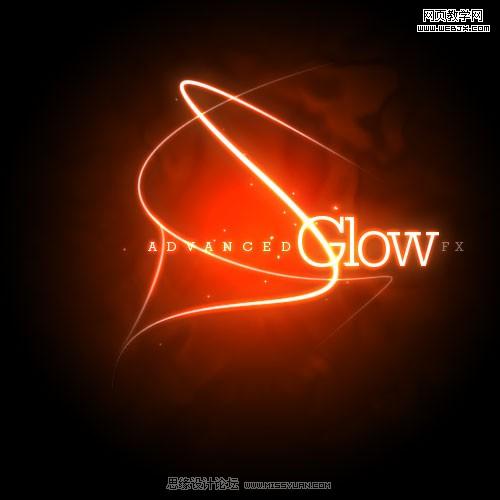
先发上我的临摹
新建文件500x500像素。
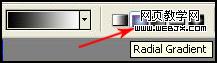
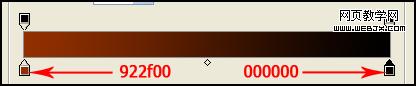
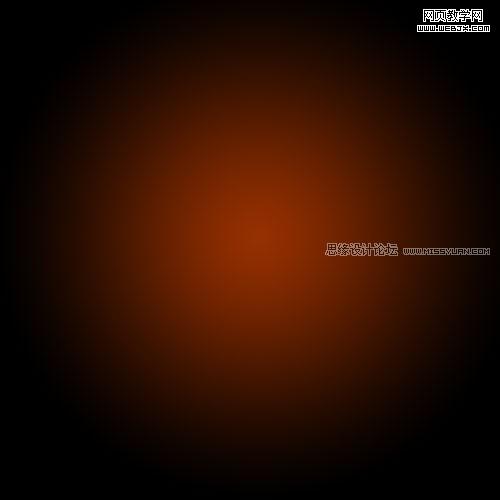
填充径向渐变,(Radial Gradient) 从浅棕色至黑色。
效果:
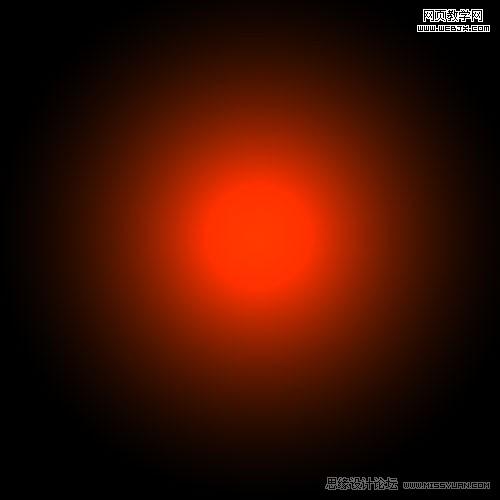
要区分圆心,要做到这一点,复制层。(Ctrl+J),改变混合模式«Color Dodge»«颜色减淡»。目的是建立一个圆圈。
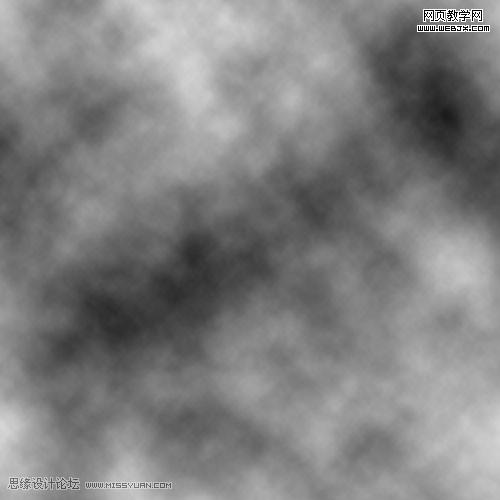
现在,我们在朝霞中添加一个很好的纹理背景。要做到这一点,我们创建一个轻雾或雾样。要做到这一点,我们需要创建一个新层,并确保您的前景颜色为白色,#ffffff一个黑色的背景#000000。
然后应用筛选器(滤镜)“云”Filter滤镜 > Render 渲染> Clouds云彩。并取得了云纹理随机抽样,如图片所示
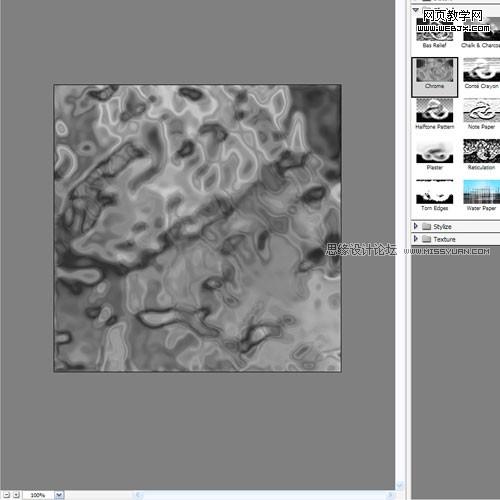
改变这层混合模式«Overlay»叠加。并降低透明度(不透明度)为30%和应用过滤器Filter > Sketch素描 > Chrome铬黄,使用默认属性
Detail: 4
Smoothness: 7
结果您可以看到下面的截图。
原则上,你可以尝试与这些设置,而是由“默认”完全符合我们的要求得到的结果。
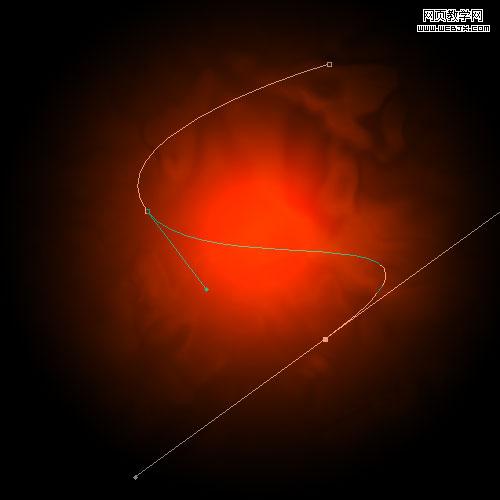
为了得到一些发光的线,使用的工具«钢笔工具»。你可以得到合适的曲线,改变倾斜角度手臂。在下面的一个程式化的信屏幕S是仅仅基于三点。两点开始和结束,并在中间一点,使曲线的曲率。
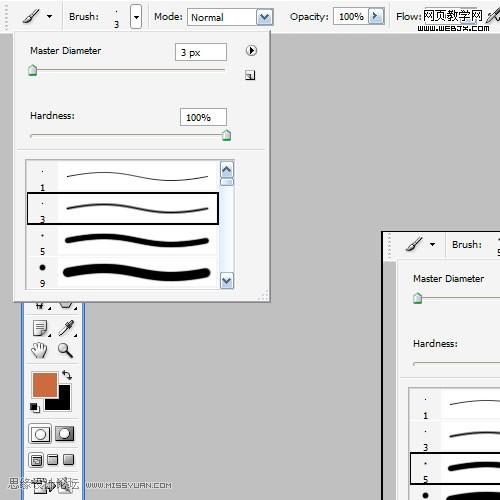
创建一个新层,然后点击画笔工具(b),选择一个直径为3像素硬笔
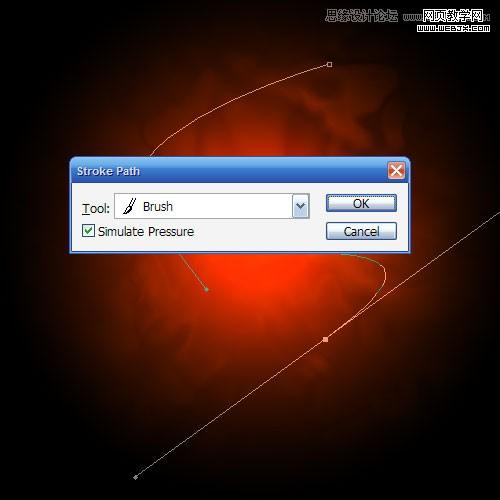
现在又回到了钢笔工具。并点击曲线上鼠标右键,选择属性«描边路径»。在您看到一个对话框,您需要更改画笔工具(工具:画笔),请确保您已注意到财产«模拟压力»。现在,再次右键点击曲线并将其删除(删除路径)。
得到效果如下:
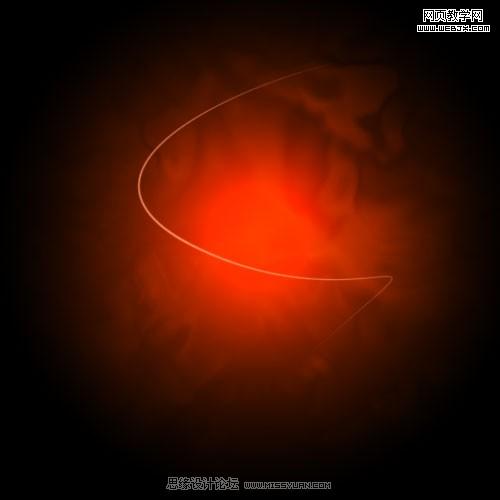
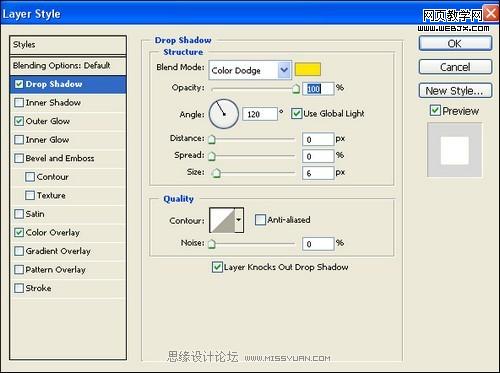
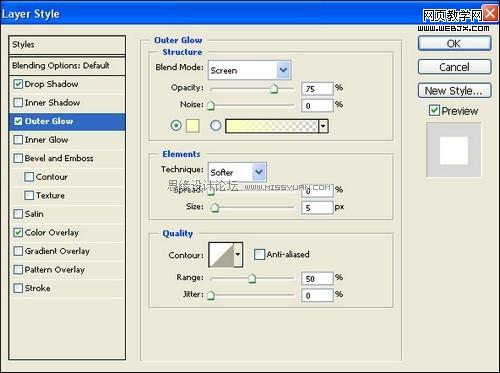
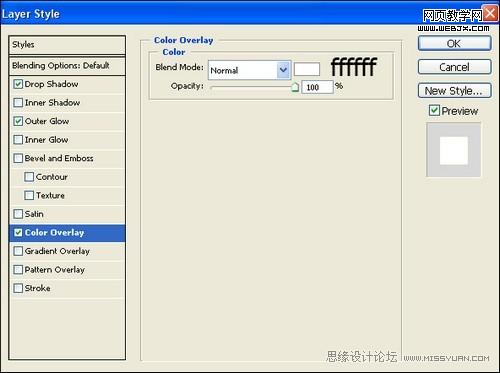
现在我们必须增加发光曲线。还要向层(图层样式)的性能和应用以下设置。见截图。
投影(模式:颜色减淡)
外发光(模式:滤色,方式:柔和)
颜色叠加(模式:正常)
创建一个重复步骤5,6和7几行。第9步上应用的设置。
在例子,作者提出了一个比别人厚线,用画笔大直径,并增加一条连接两个数字。
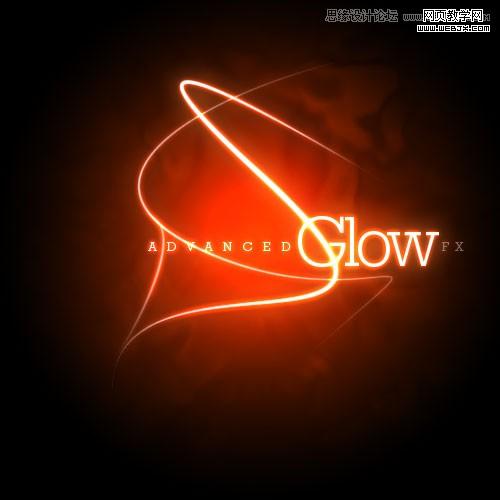
现在添加文本同层的风格(步骤9),作为与线的例子。
您需要找到合适的字体,大小,字母之间的距离。在这里,作者设计的这3个字,减少的规模和增加的话字母之间的距离«ADVANCED和FX »。
添加一个粒子的图片。要做到这一点,用硬刷子直径3像素。
创建一个新层,并绘制它的地步。
现在razukraste取得的光芒。要做到这一点,创建填充由蓝色透明的径向渐变一个新层。

效果:
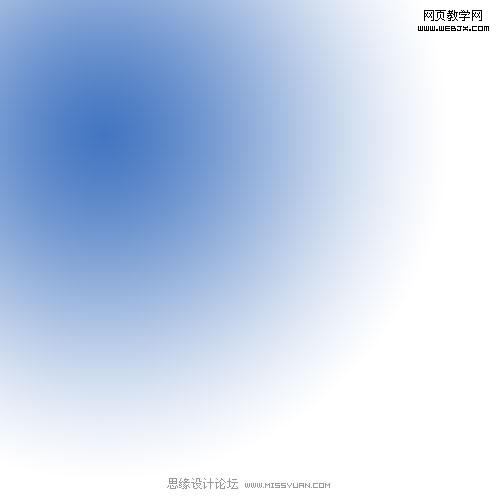
然后,改变了«颜色»新的图层,混合模式和不透明度降低到50%。现在你看到蓝色的光芒成了。添加具有类似特性数彩色层得到一个彩色的光芒。

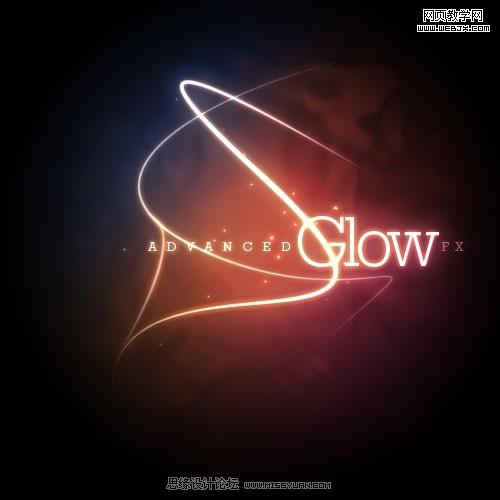
结论...
现在,你得到的结果:彩色发光覆盖,有烟霞。
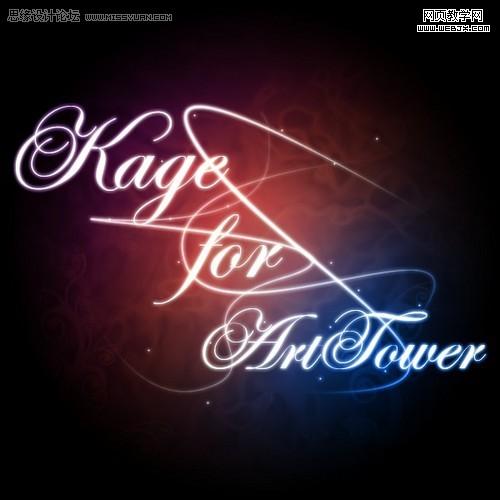
你可以运用类似的技术,任何地方,你可以用属性实验得到的东西非常出色!祝您好运!
注:更多精彩教程请关注三联photoshop教程栏目,三联PS群:182958314欢迎你的加入