Photoshop给室内人像照片加上金色质感肤色
发布时间:2015-05-12 来源:查字典编辑
摘要:质感肤色处理不是简单的调色,而是难度较大的综合美化处理。不仅要把肤色对比拉大,更需要把金属质感的光泽感也调出来。处理的时候需要非常细致。原图...
质感肤色处理不是简单的调色,而是难度较大的综合美化处理。不仅要把肤色对比拉大,更需要把金属质感的光泽感也调出来。处理的时候需要非常细致。
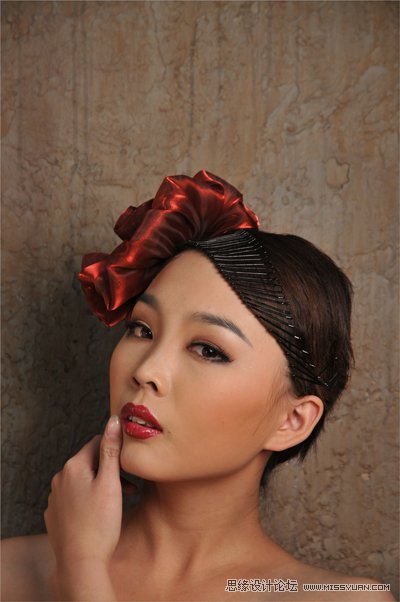
原图
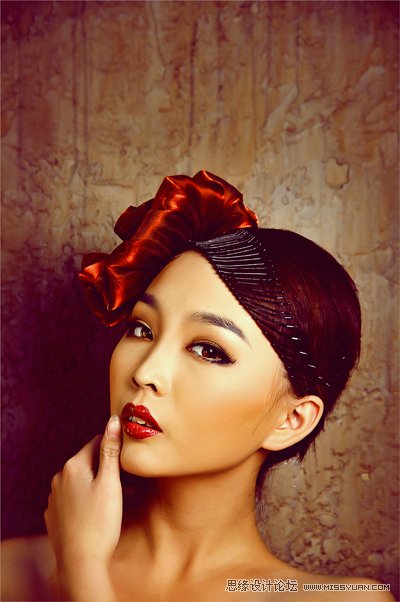
最终效果
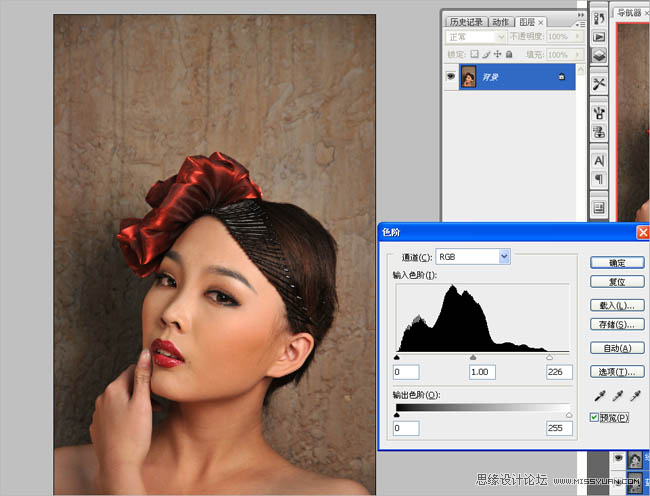
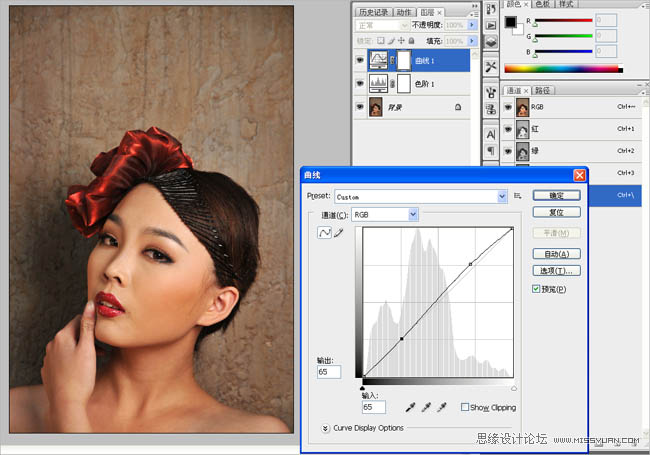
1、调整照片直方图,使照片得到准确的曝光。
2、曲线调整高光与阴影部位。使人物更加立体。
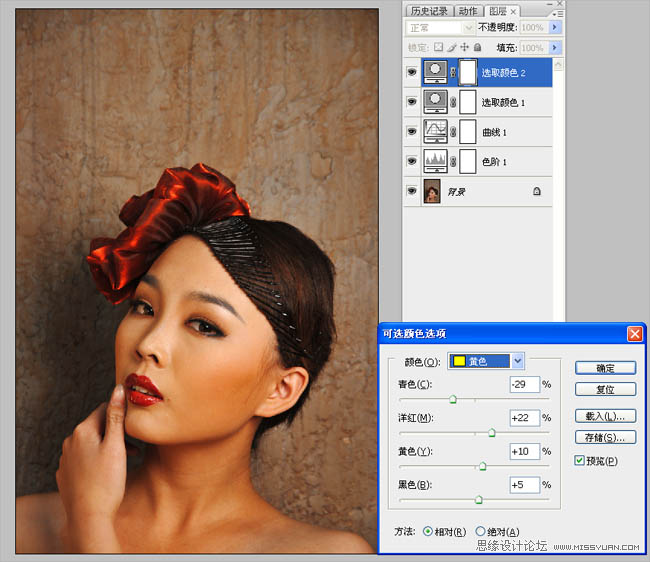
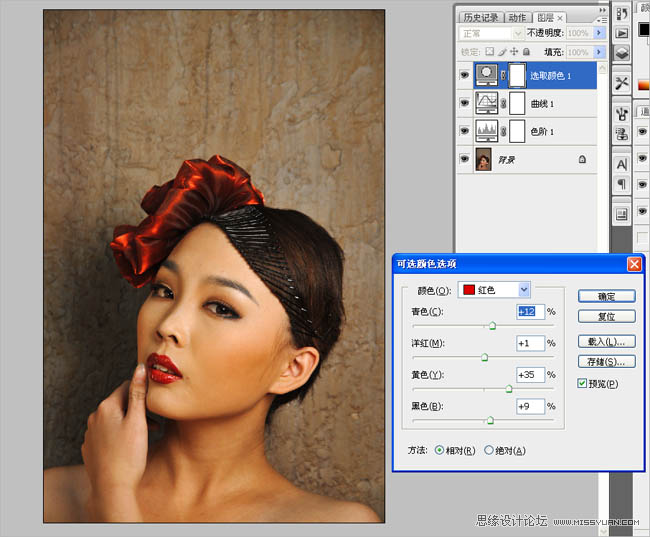
3、进入色调的调整通道调色,打开可选颜色工具,选择红色通道,加青{+12}、加洋红{+1}、加黄{+35}、加黑{+9}。这一步主要是调整人物的肤色与头饰的颜色。使整体融和,接近油画的风格特点。
4、油画风格多数偏暖色。色彩感强烈。我们在打开可选颜色工具选择黄色通道,青色{-29}、洋红{+22}、黄色{+10}、黑色{+5}使照片颜色更加暖。